In WooCommerce, a product slider is an amazing feature that shows different products of a store in slides, these product slides can be changed automatically or manually.
Creating a product slider in any WooCommerce store can be a confusing task as it requires proper knowledge. But this article is dedicatedly written for store owners who want to set sliders to display their products.
So, let’s start working together to create your desired product slider!
What’s the Difference Between A Product Slider and Carousel?
A product slider and carousel are both the same when it comes to showing information about products. But, when it comes to their operation, they have differences. A product slider shows one slide at a time, whereas a carousel can display multiple slides at a time.
So, from this, we can say all the carousels are sliders but they are special types of sliders, however, all sliders are not carousels.
Why Should You Add a Product Slider?
Adding a product slider on any Woo store can bring multiple positive changes. Any store may have hundreds of products, and displaying the highlighted, promotional, new, or featured products in a slider can play a vital role.
Any store owner can use this as a navigator for his/her shop, displaying the best products of the shop can easily grow customers’ interest and lead them to explore more products from the slider. So, we can see that it works as a marketing tool.
This feature increases customer engagement as it is very interactive, and customers can see multiple products at a time without browsing. So, it saves time for your customers.
Product sliders are well decorated with layouts, so it attracts customers to explore more products and its effects on boosting sales of the Woo store.
How to Add a Product Slider in WooCommerce?
ProductX is now WowStore! We’re very excited to bring you this experience, packed with exciting features. Please note that the features, blocks, starter packs, etc. all work the same. If you have used ProductX, you’ll feel right at home with WowStore.
The default WooCommerce does not allow adding a product slider in any store. We need an additional plugin to add a slider to our WooCommerce store.
ProductX is a great plugin that lets you add a fully customizable slider in WooCommerce. It’s super simple, so anyone can do it by following these steps.
Let’s see the steps →
Before adding this feature, install “ProductX” from your plugins section. After installation, you need to activate the plugin.
Product sliders are usually added to the home page to grab the attention of customers, you need to fix where you want to display the slider. I am going to add this to my home page.
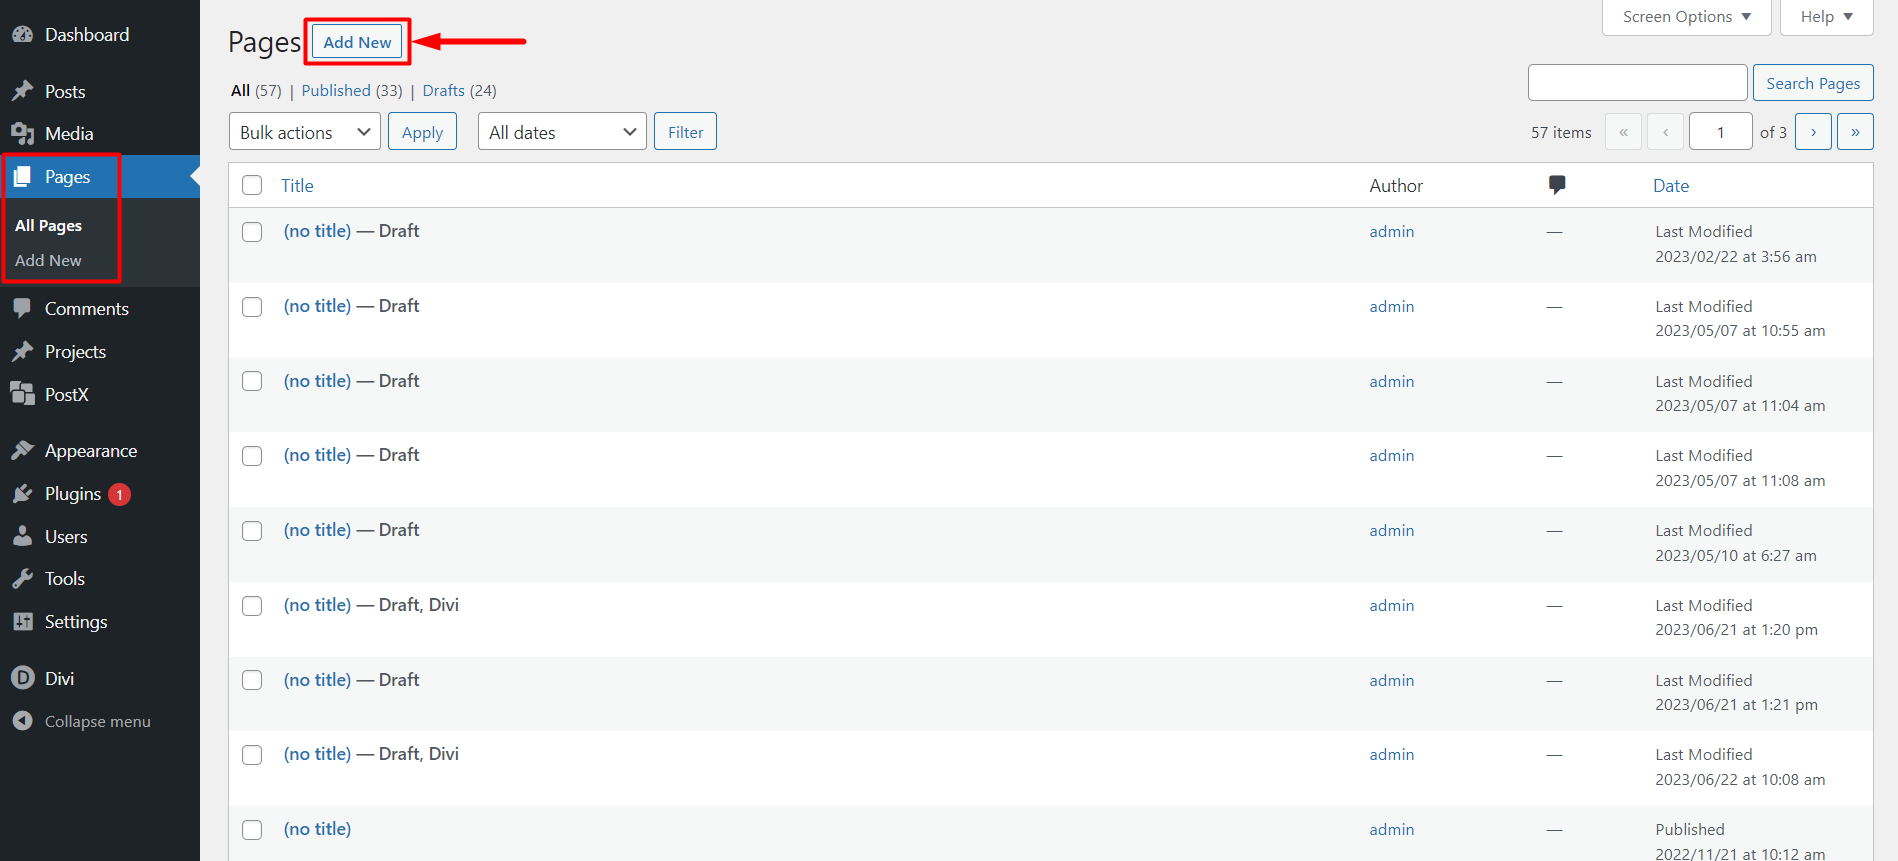
So, go to the “Home page” from the “Pages” option of your dashboard. In the “All Pages” section you can see it, press the “Edit’ button to edit the page. You can also create a custom home page using the “Woo Builder’’ of ProductX.
Once you’re on the homepage, you just have to add a block to display the product slider. ProductX comes with preset blocks for this function, simply click on the “Add Block (+)” icon.
In the Blocks Section, you will find a block “Product Slider #1”. This block will let you use a slider on your desired page.
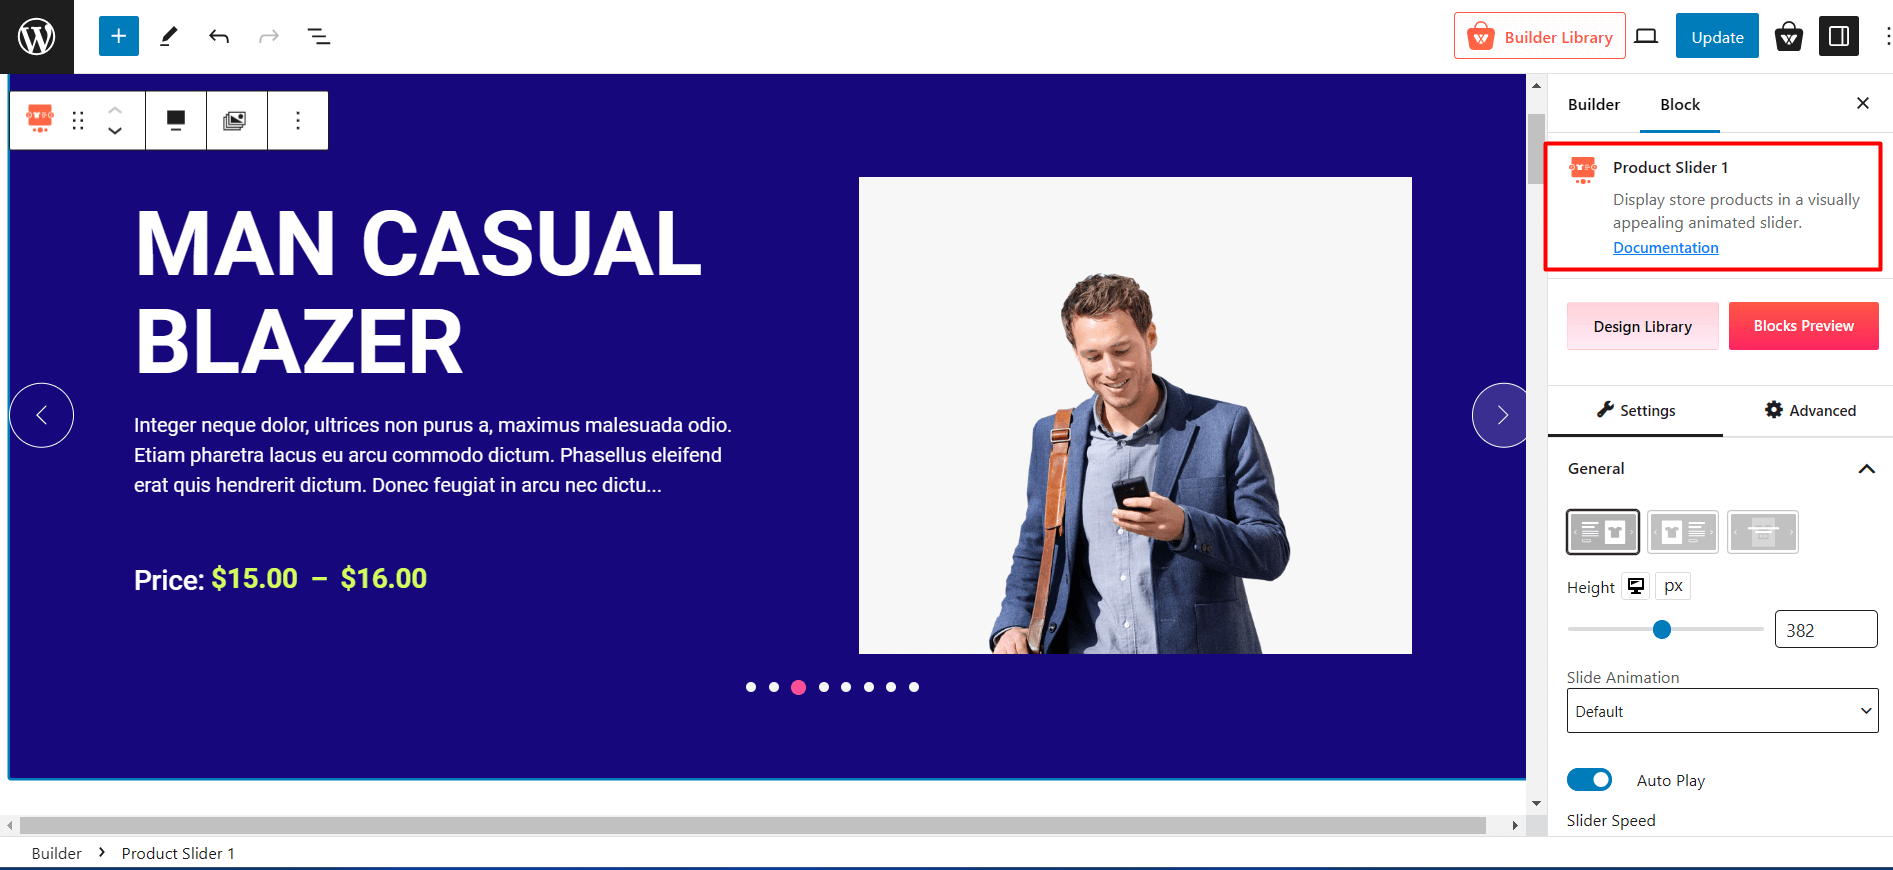
After clicking on the block you will see multiple pre-made slider designs, you can pick any of these designs. To select a design just click on the “Import” button.
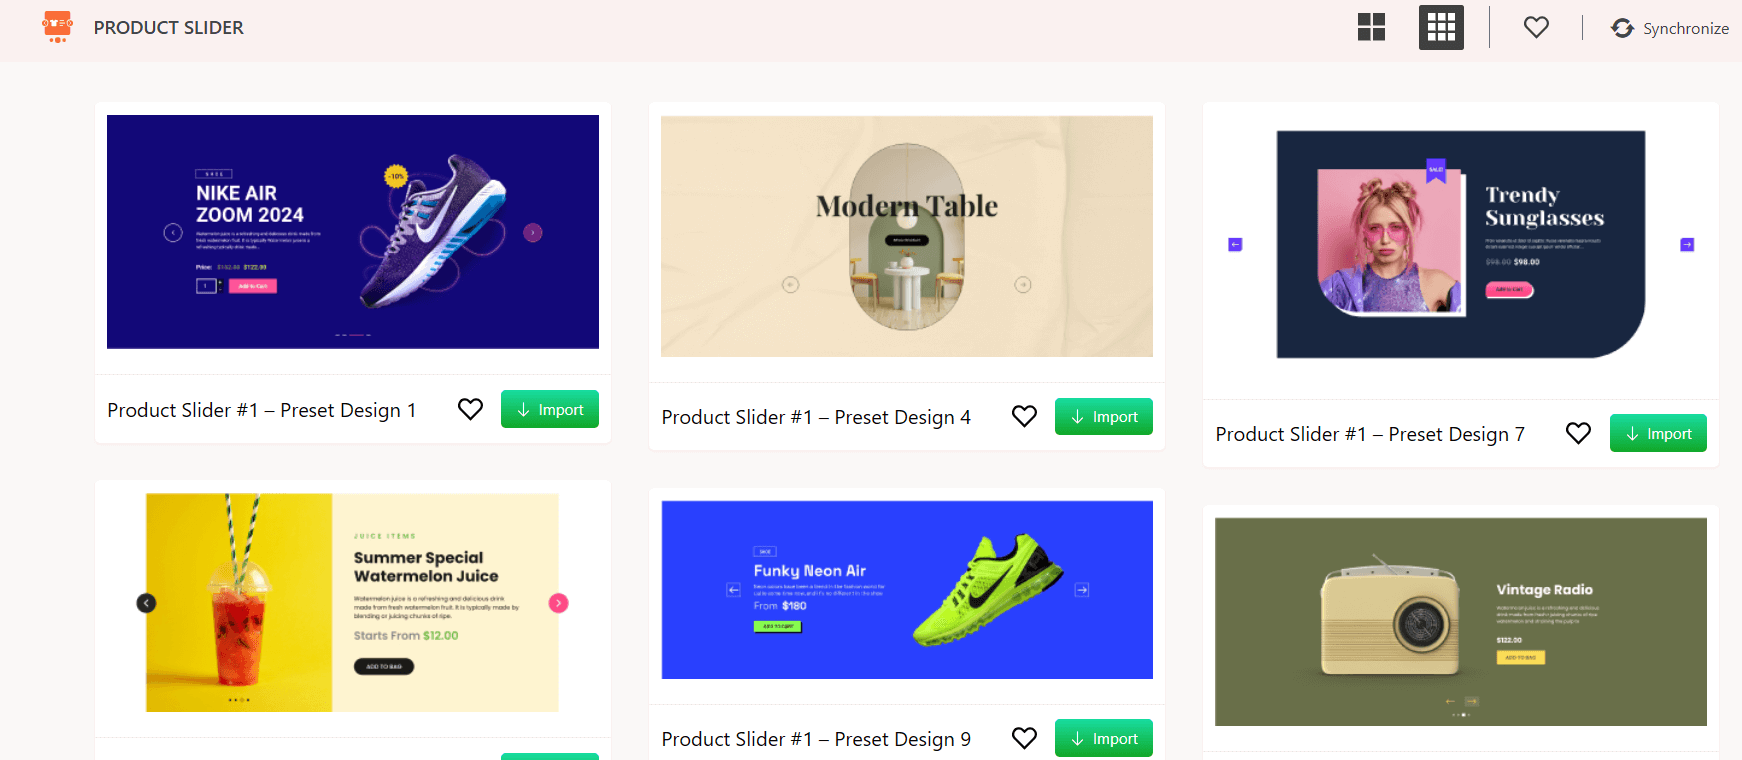
You can access all the customization through the “Block settings”. Do not forget to click the “Publish” button for the final result on your homepage.
How to Add Products in the Slider Based on Category?
Displaying products based on their product category is also easy with the ProductX plugin.
To add a product based on its category →
You must add the “Product Slider #1” block of ProductX on your home page or desired page. It will enable the slider.
Then go through the “Block Settings”. You will see block settings on the right side of your home page or preferred page.
Scroll down in the block settings until you see the “Product Sort” option. Click on it to open the full setting. This setting decides what kind of products will show up on the slider.
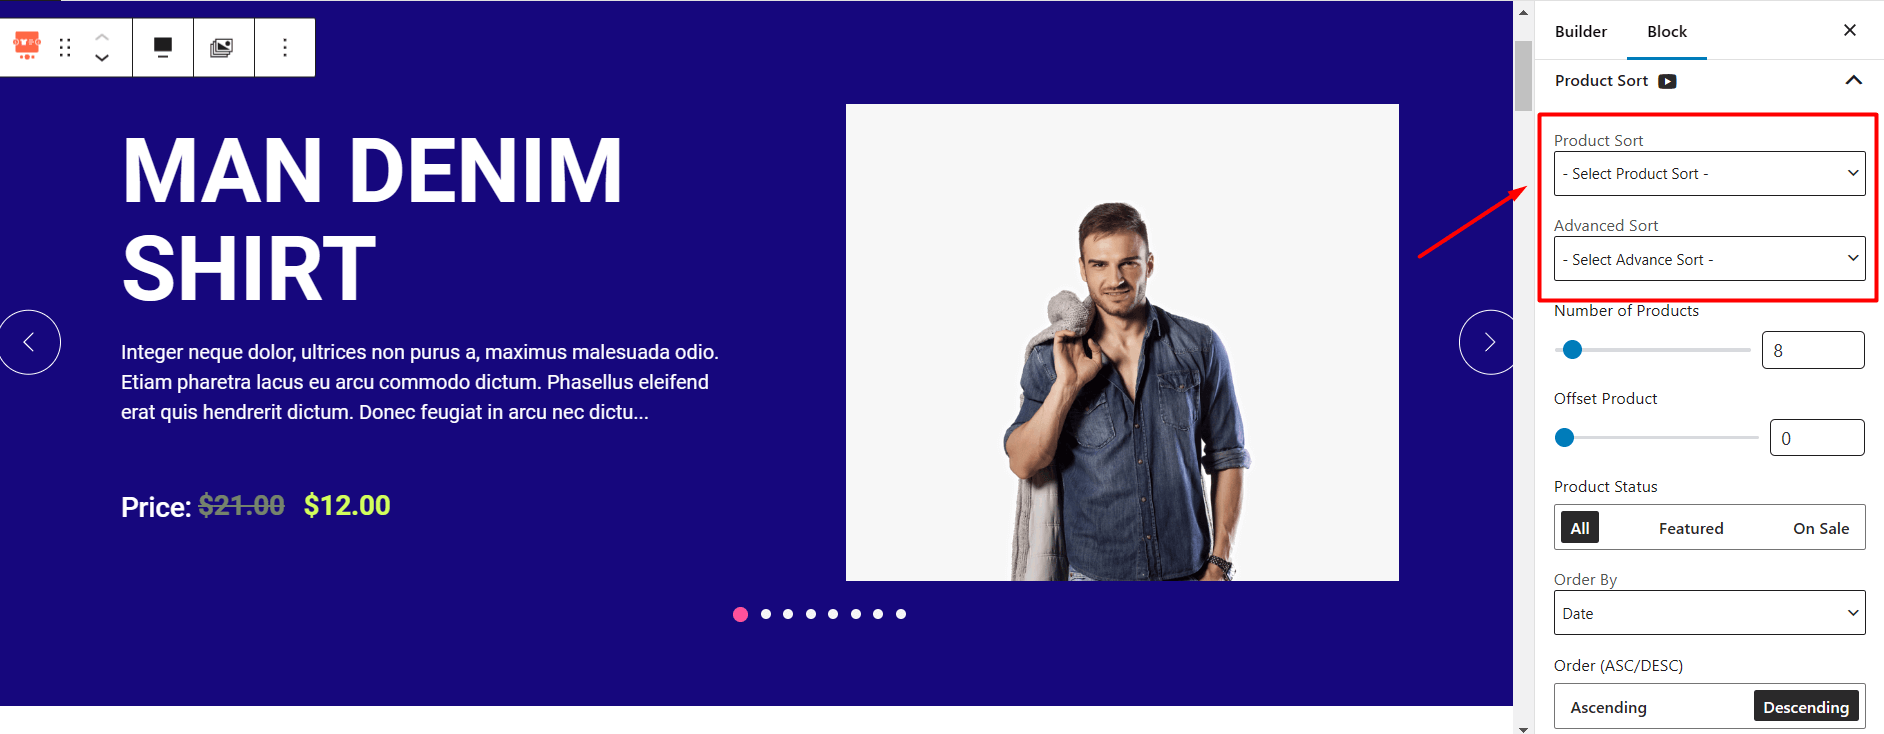
After clicking on the product sort option, you will find different product sorting settings. From there, you have to choose the “Taxonomy” setting and pick “Product Category” from the options to display products from the same category. And if you want to display products from multiple categories just select “Multiple Taxonomy” from the box.
Next, find the “Taxonomy Value” option below. Pick the product “Category” you want to show on the slider. You can choose multiple categories to display products from different categories on the slider.
Finally, you need to click the “Publish” button for the final result on your homepage.
How to Add On-Sale Products in Slider?
You can showcase any products you want to display in your slider with ProductX. This plugin even allows you to show discounted/on-sale products in your store.
To add on-sale products on slider →
From the “Product Slider #1” block on your desired page, go to the “Product Sort” settings.
In the product sorting option, you will see Product Status” where three options are available. From these three options, you need to select the “On-sale” option.
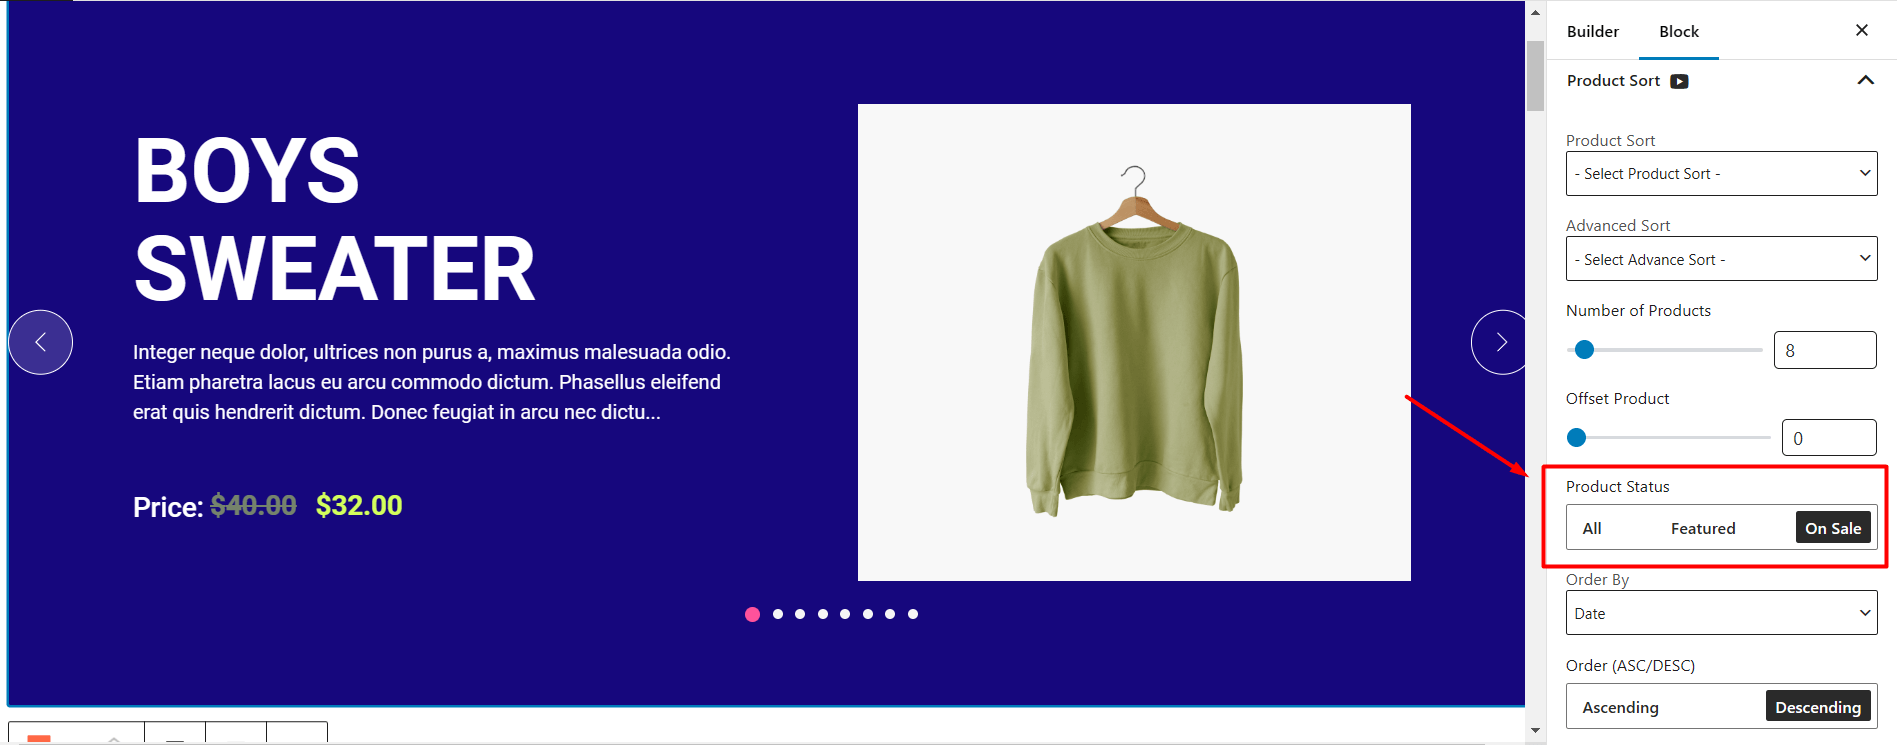
Do not forget to hit the “Update” button to see the on-sale products on the slider.
How to Customize Product Slider in WooCommerce?
ProductX offers full liberty on customizations. You can change anything simply from the block settings.
Now, we will see the available customizing options in this plugin →
Starting with the General settings of the block where tons of features are ready to make your slider more appealing to your customers.
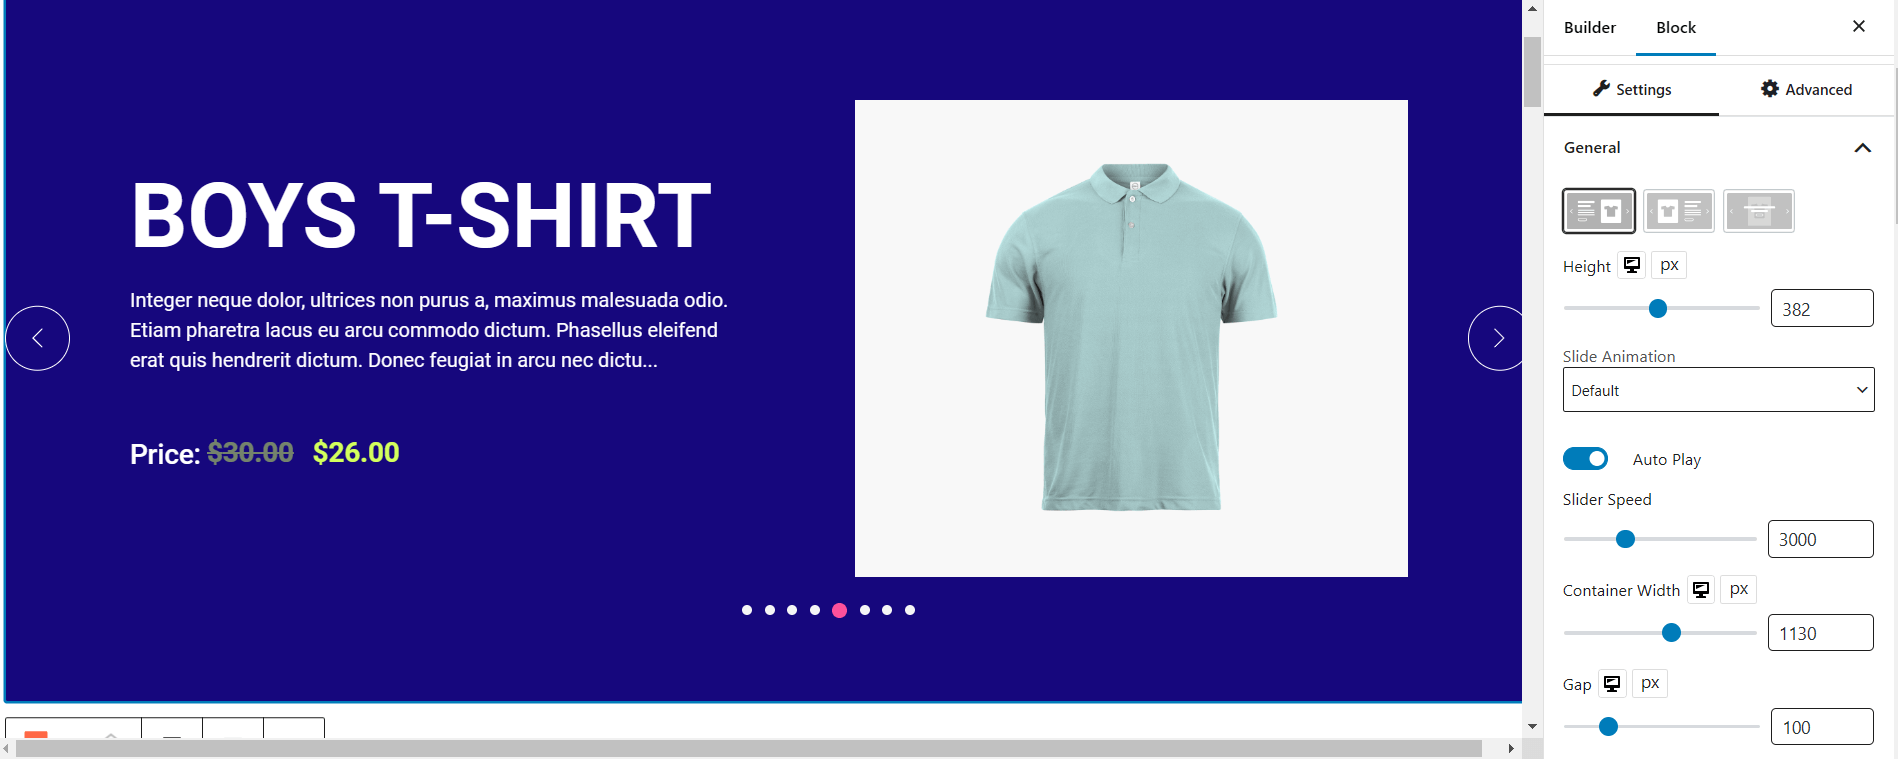
The first customizing opportunity you will get is choosing the layout of the slider from multiple designs. You can choose any design you want. Additionally, you can enable auto-play, and change alignment, speed, height, width, and gap.
One cool feature you’ll have is adding animations to your slides. This will make your slides look way better than you imagine.
Block setting will permit users to enable or disable the following features on the slider with one tap:
- Taxonomy
- Title
- Description
- Price
- Add to Cart Button
- Images
- Arrows
- Dots
- Sales Tag
“Product Sort” settings allow selecting the products that you are going to display on your slider. There, are multiple settings inside this option, from where you can show products like featured, new coming, promotional, on-sale, etc.
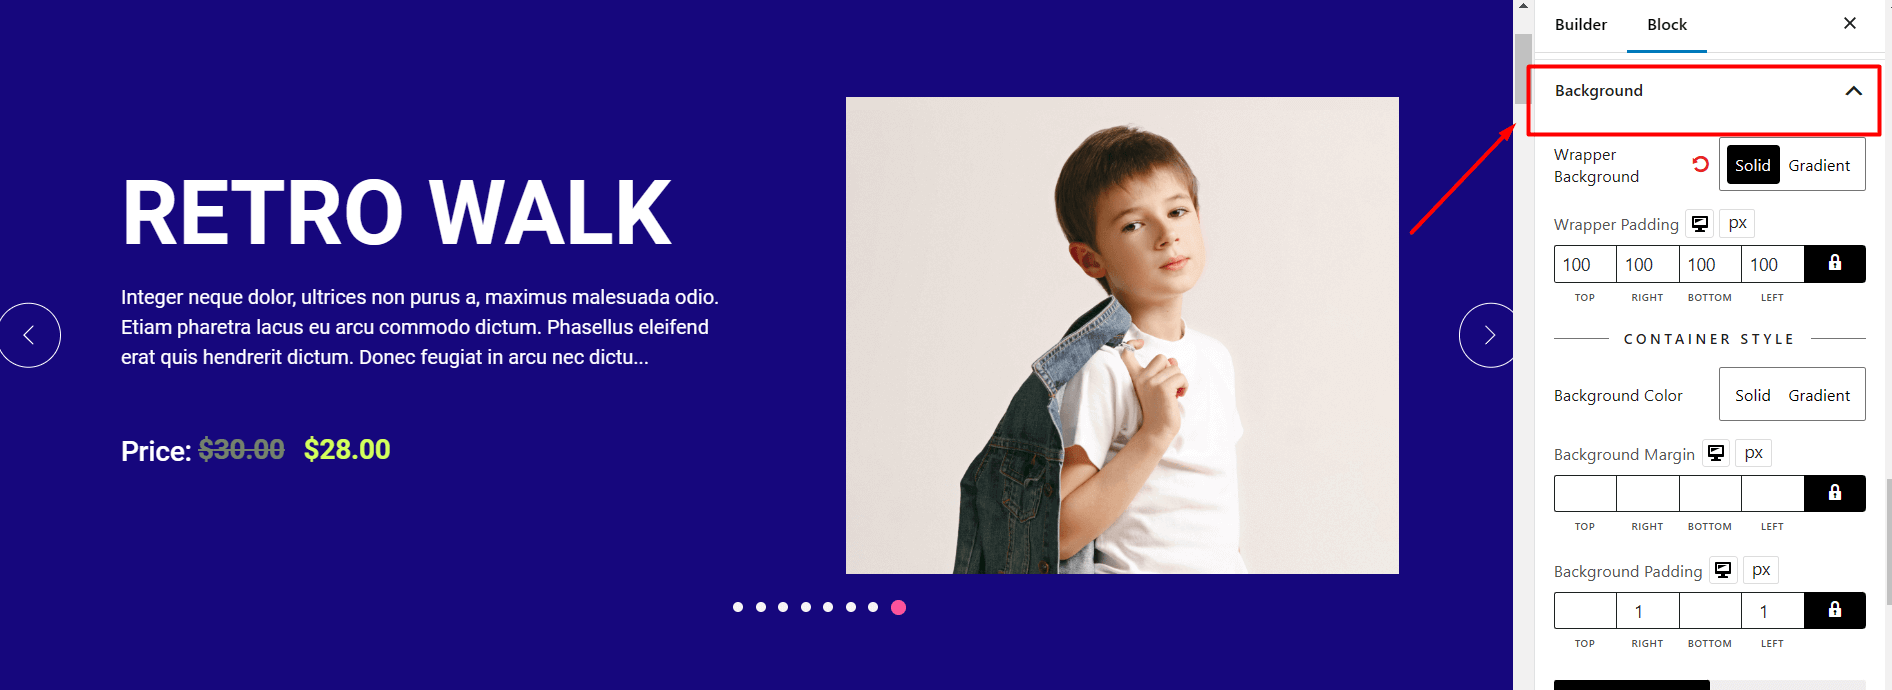
The background of the wrapper enhances the appearance of your slide, allowing you to modify the background color. Moreover, you have the flexibility to adjust the padding, margin, border, and border radius of the background of the content wrapper.
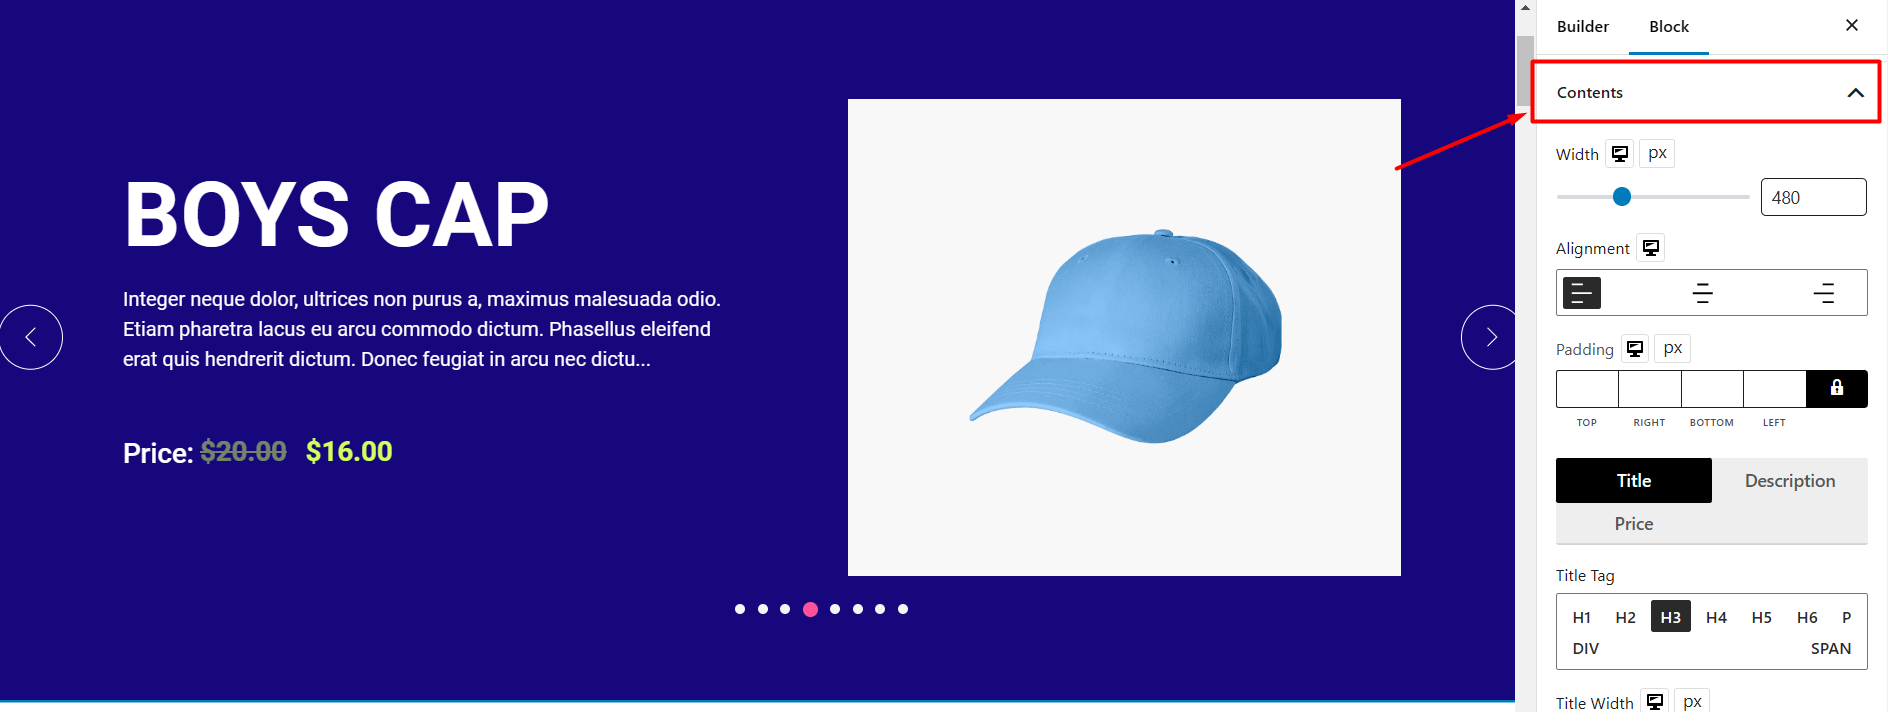
You will get the “Contents” option in the block setting. It allows you to set the alignment, width, and padding of the contents of the slides. Within it, four options are accessible, they are- Taxonomy, Title, Price, and Description. Each option allows you full customizations of typography, size, color, hover effects, and overall appearance.
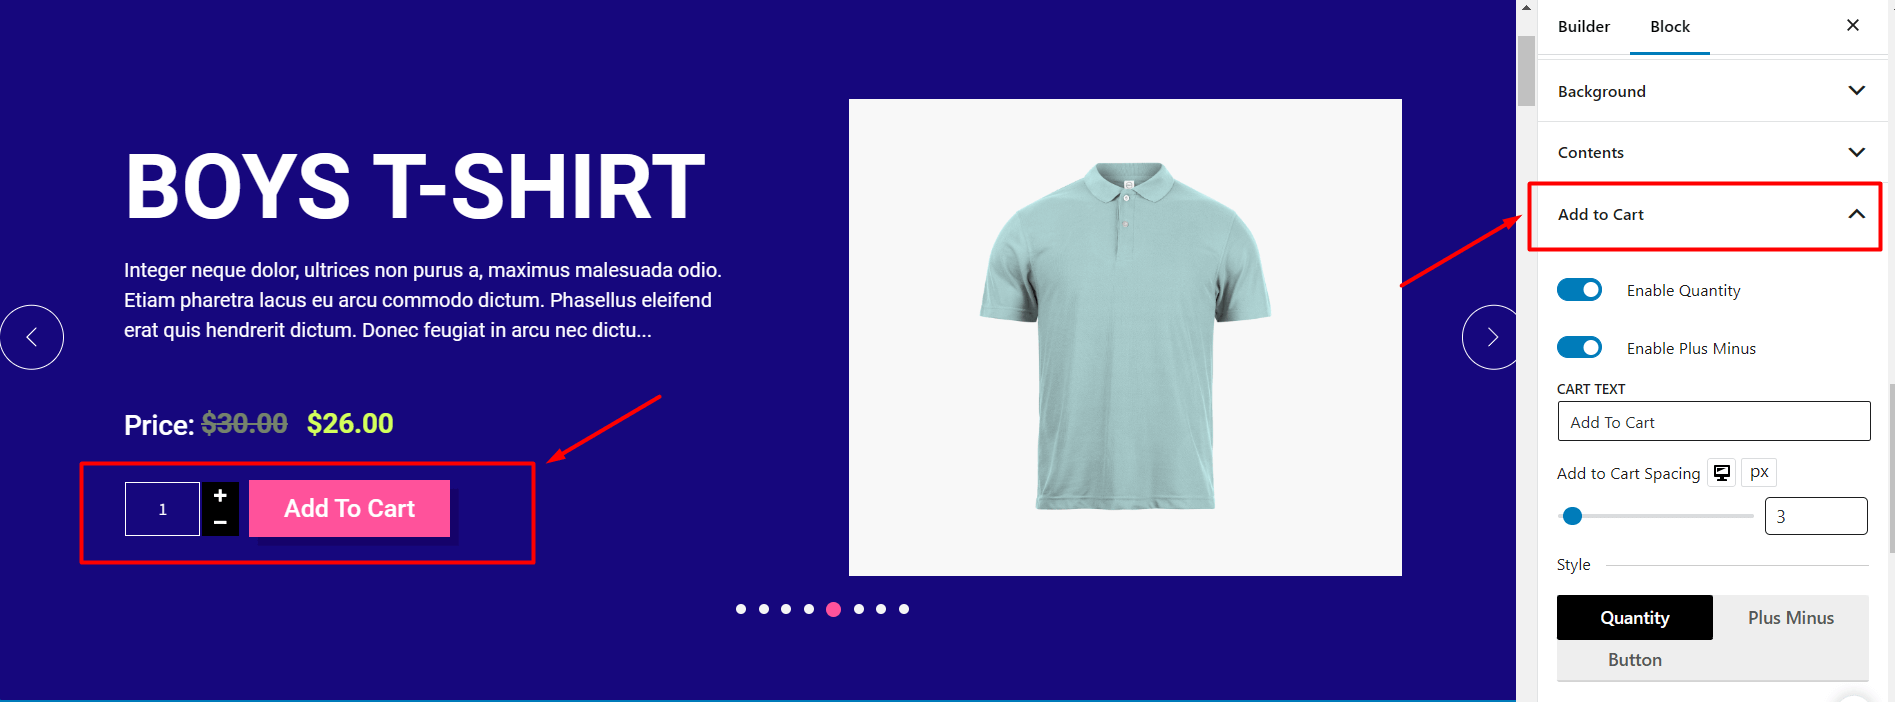
I would recommend this plugin for its super customization flexibility. You will see the “Add to Cart” option in the settings. From there you can enable the quantity button, moreover, you can also add (+) and (-) buttons with the add to cart button in the slider.
Furthermore, you can customize the placement, size, and colors of the buttons, as well as the background. You can also modify the text “Add to Cart” and incorporate a hover effect for these texts.
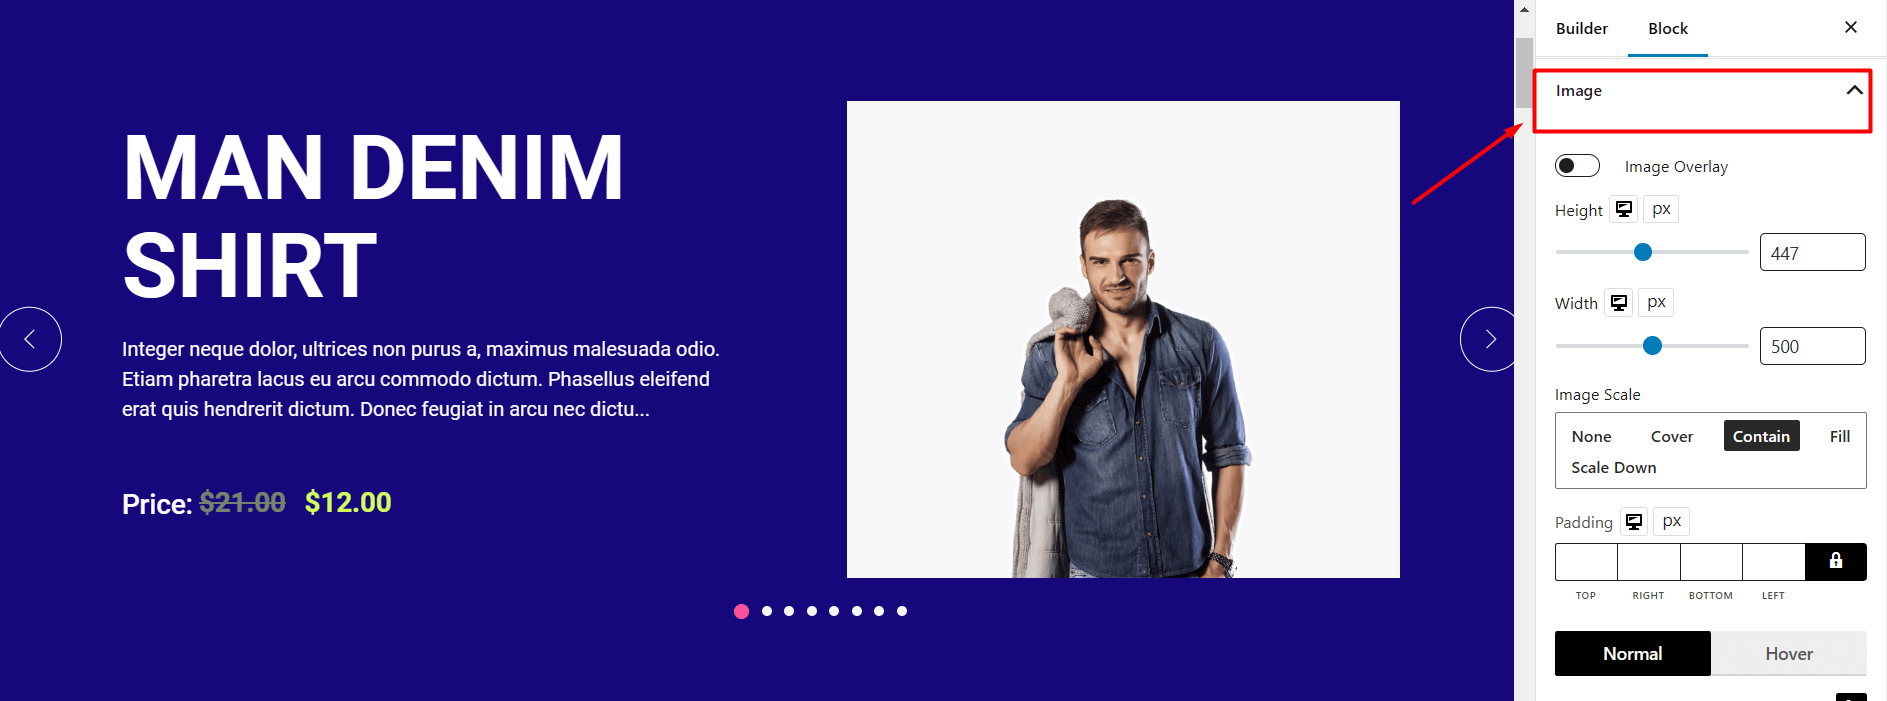
The “Image” option of the settings, will give you the scope to adjust the height, width, and padding. Enabling image overlay for the products is just a matter of clicks. In addition to these settings, you are getting the chance to add “Hover effects”.
For customizing on-sale products, ProductX offers a different setting option which is “Sales”. Click here and you will see different customizing options including on-sale texts, positioning of the text, typography, color, and style.
When you click on the “Arrow” icon”, it will show you four buttons from which you can enable or disable the arrow of the slider on mobile, tab, or PC. You can change the style, color, size, width, height. Additionally, you can apply hover effects to the arrows for added visual appeal.
Conclusion
WooCommerce product sliders can have huge impacts on any store. It gives both customers and store owners a positive vibe through its visualization, time-saving mechanism, customer engagement, and inter-activeness.
ProductX can play a significant role in boosting the sales and revenue of your store by giving you the full customizing opportunity to make a perfect slider for your store.
Hopefully, this article and plugin both was helpful to you!