WooCommerce Backorder
Allow customers to order out-of-stock products in your WooCommerce store, ensuring continued sales even when inventory’s running low.
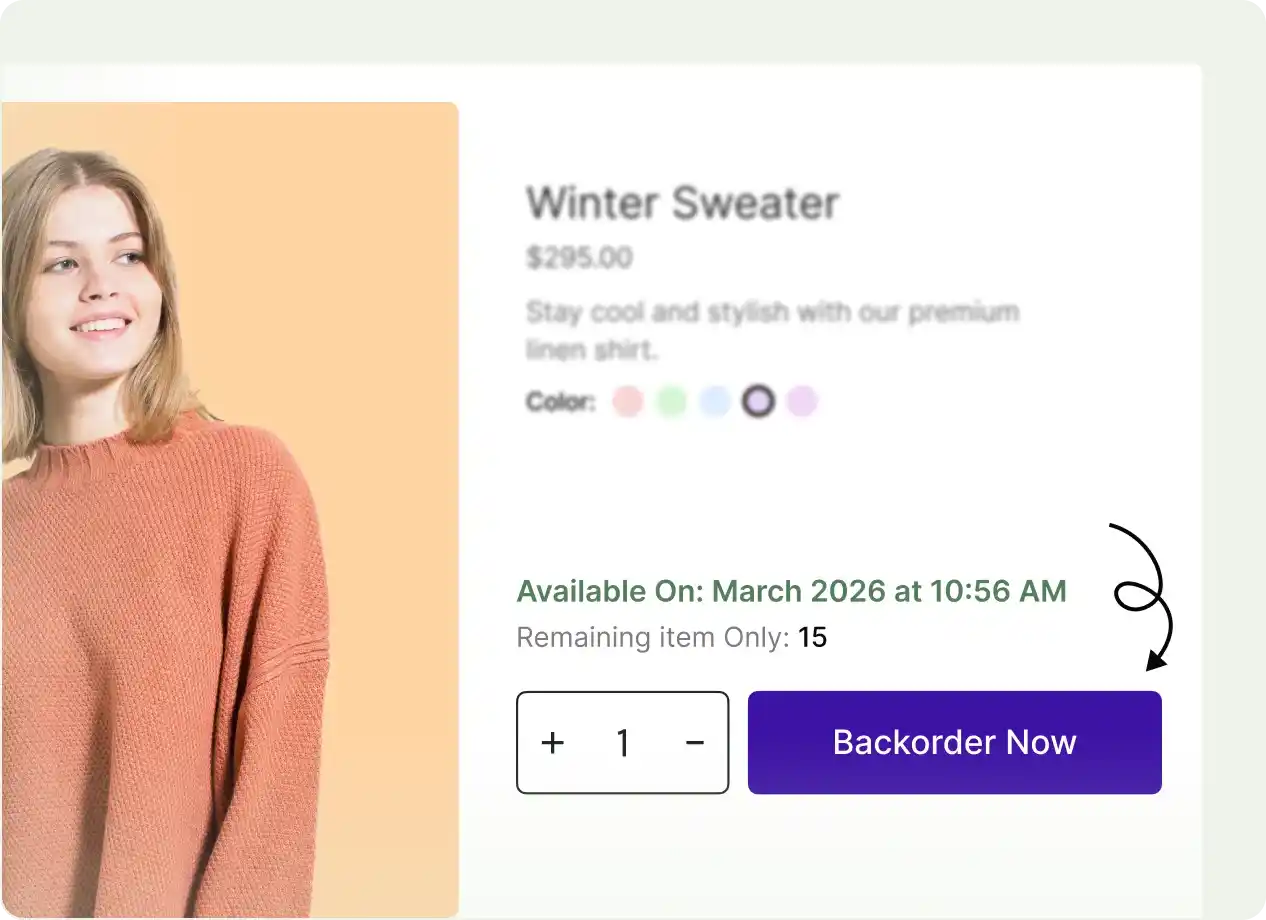
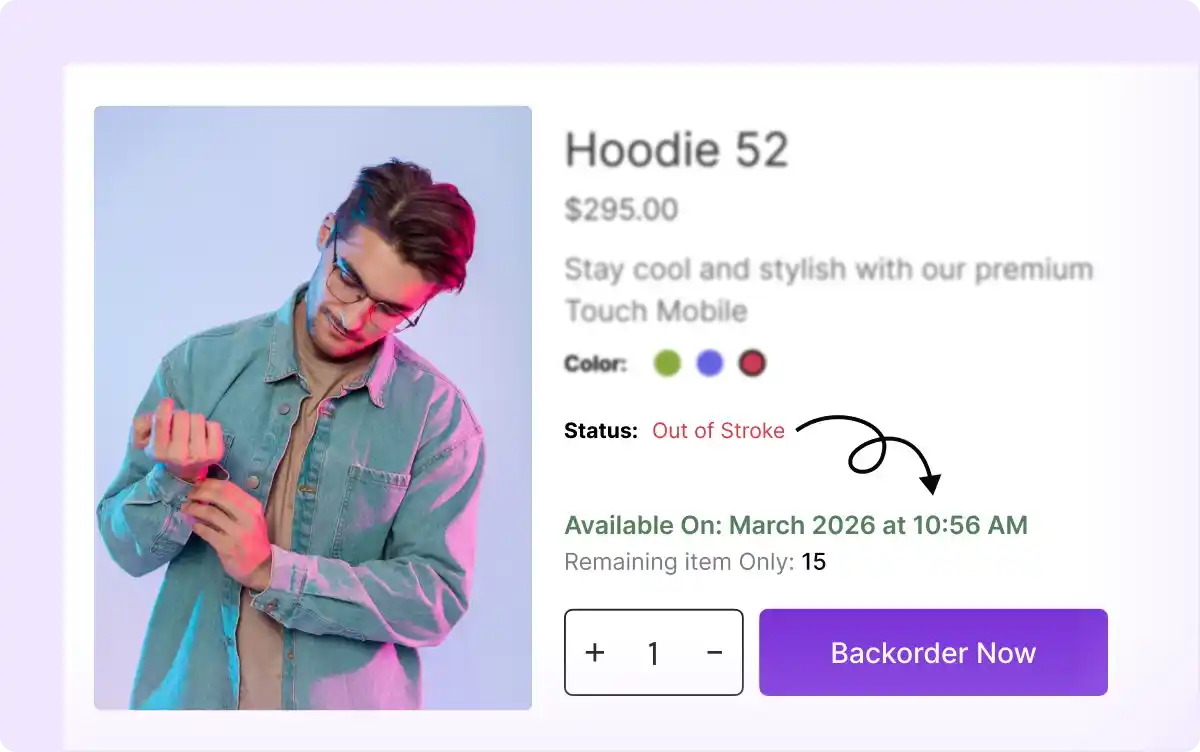
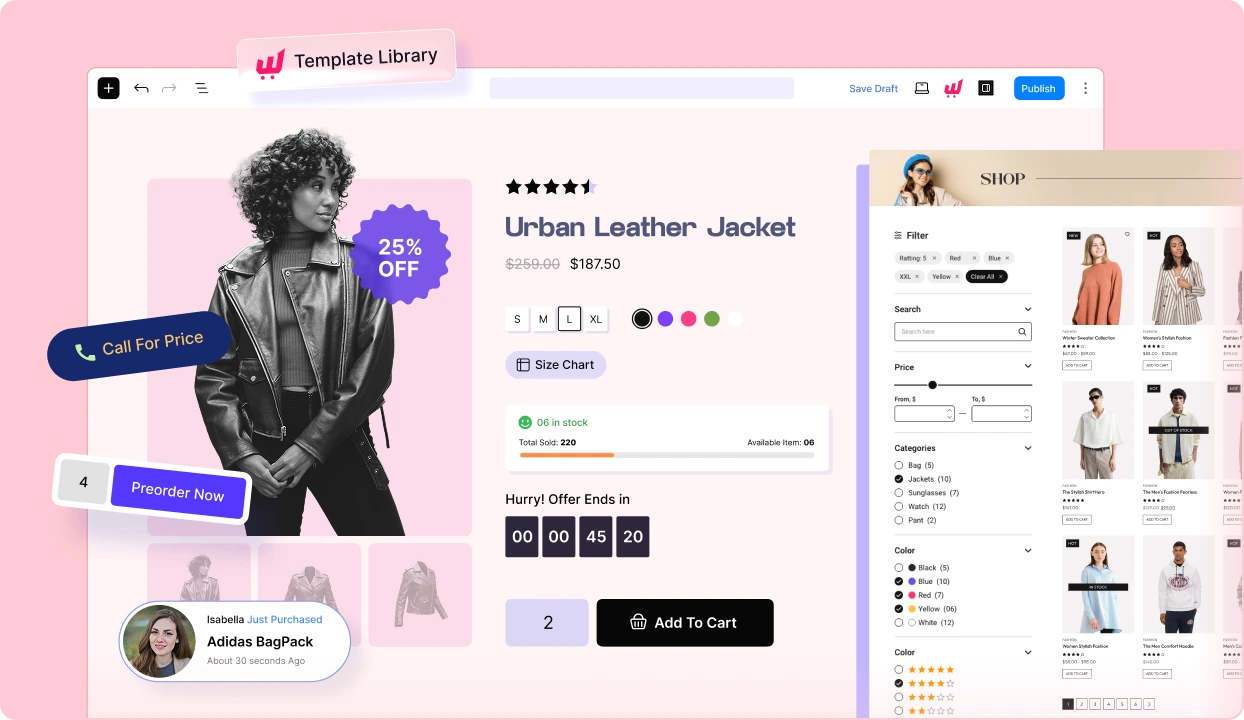
Allow Out of Stock Products on Backorder
Allow customers to place orders for out-of-stock products, so they can still purchase while awaiting new stock availability.
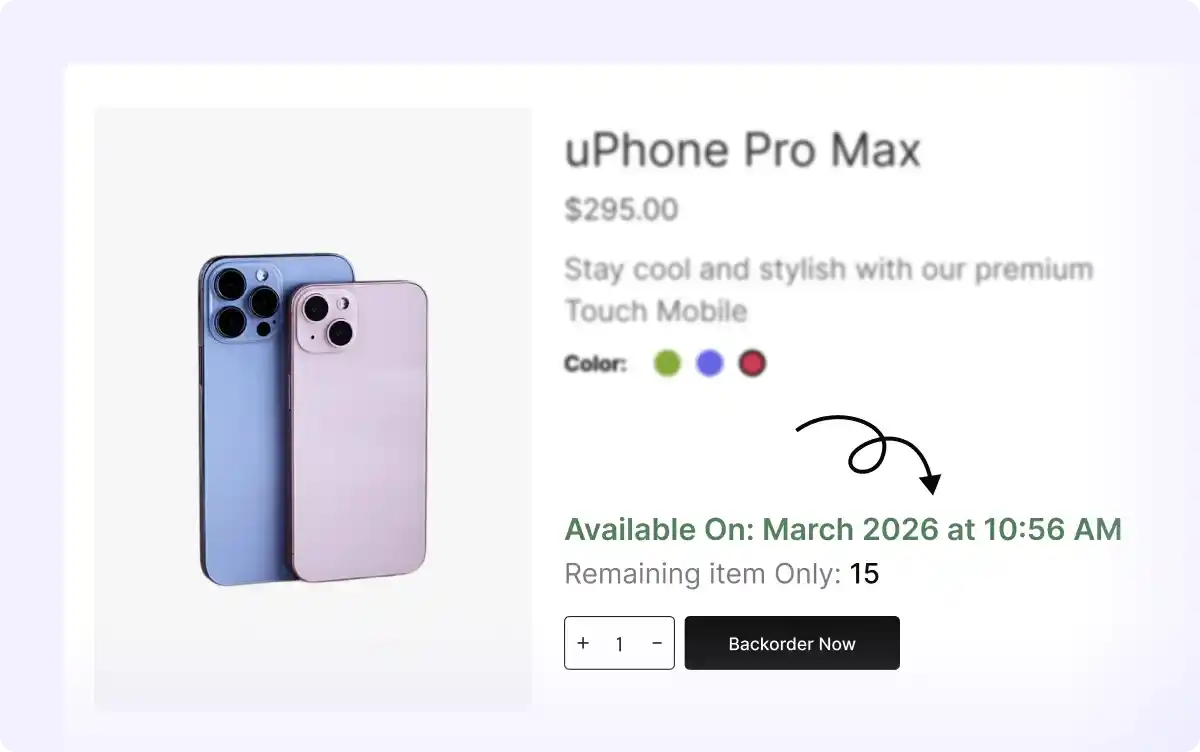
Product Availability Date
Set and display a specific availability date for products, so customers know exactly when out-of-stock items will be available.
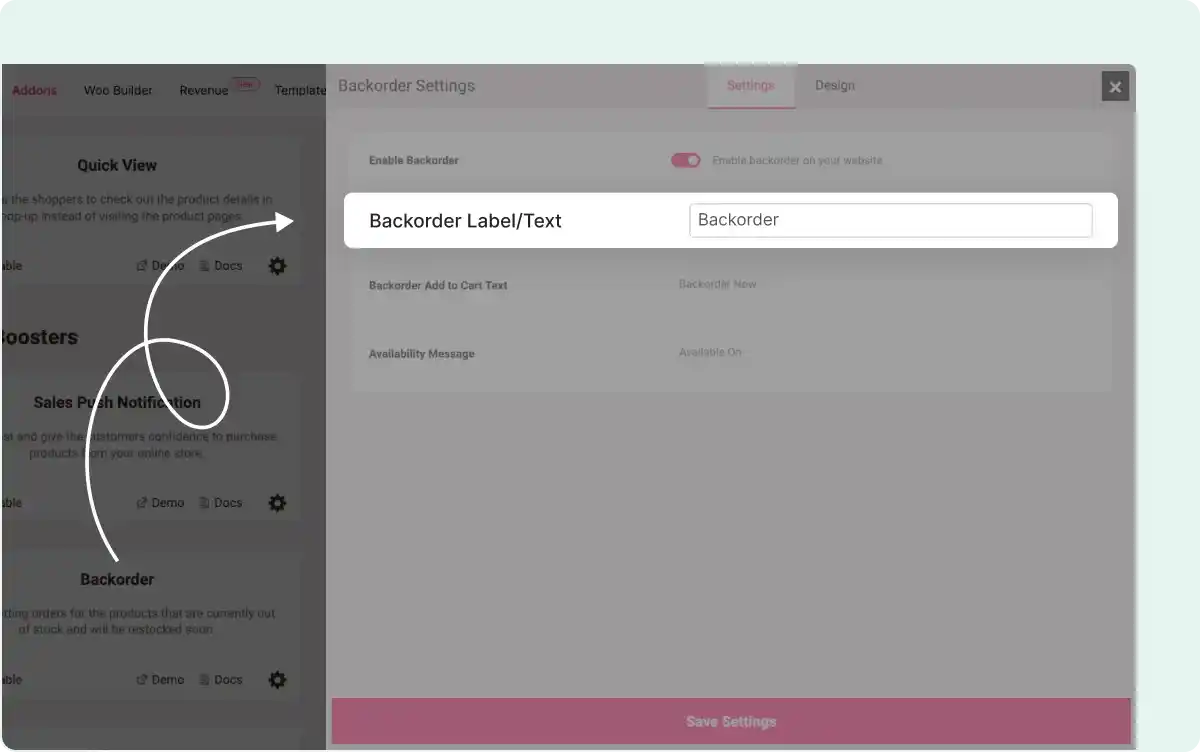
Backorder Button Label Text
Customize the default ‘Add to Cart’ button text with a custom backorder label that matches your store’s branding.
All-In-One WooCommerce Page Builder for Gutenberg to Scale Your Business
Get started with the most feature-packed WooCommerce Page builder to create, manage, and increase sales of your online store.
Frequently Asked Questions
Explore these frequently asked questions about the Backorder that you might be curious about. So, you can make a quick decision about whether you want to buy it.
Feel free to contact our support team in case you have more questions.
Build & Manage Your Stores with Our WooCommerce Builder