
Introduction
The PostX Gutenberg blocks came with only a handful of ready-made blocks and starter packs in the beginning.
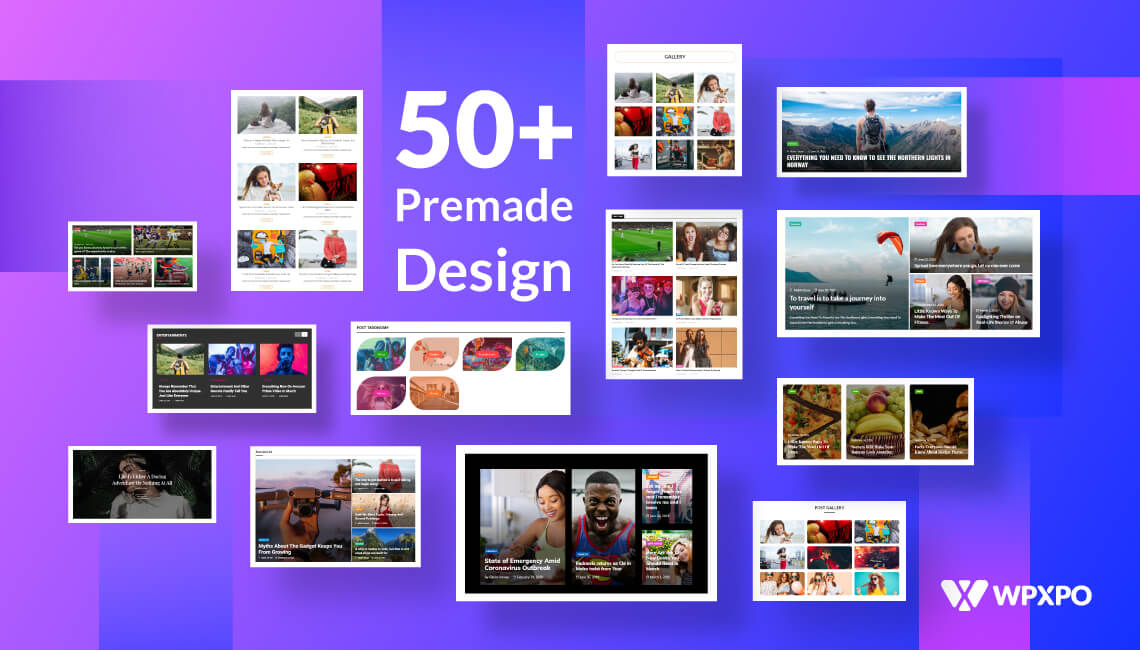
And now, we’re proud to bring 50+ ready-made blocks designs, which are available right now with the Pro version of PostX.
Our goal today is to enlighten you about the different design categories so that you can easily work with the ready-made blocks and starter packs. We’ll be talking about the settings you can access with different post blocks categories.
This will give you a better idea of how to take advantage of the 50+ designs that are about to be available for use.
By the end of this post, you’ll find out the ways to design a site quickly and effectively.
So, without further ado, let’s get started!
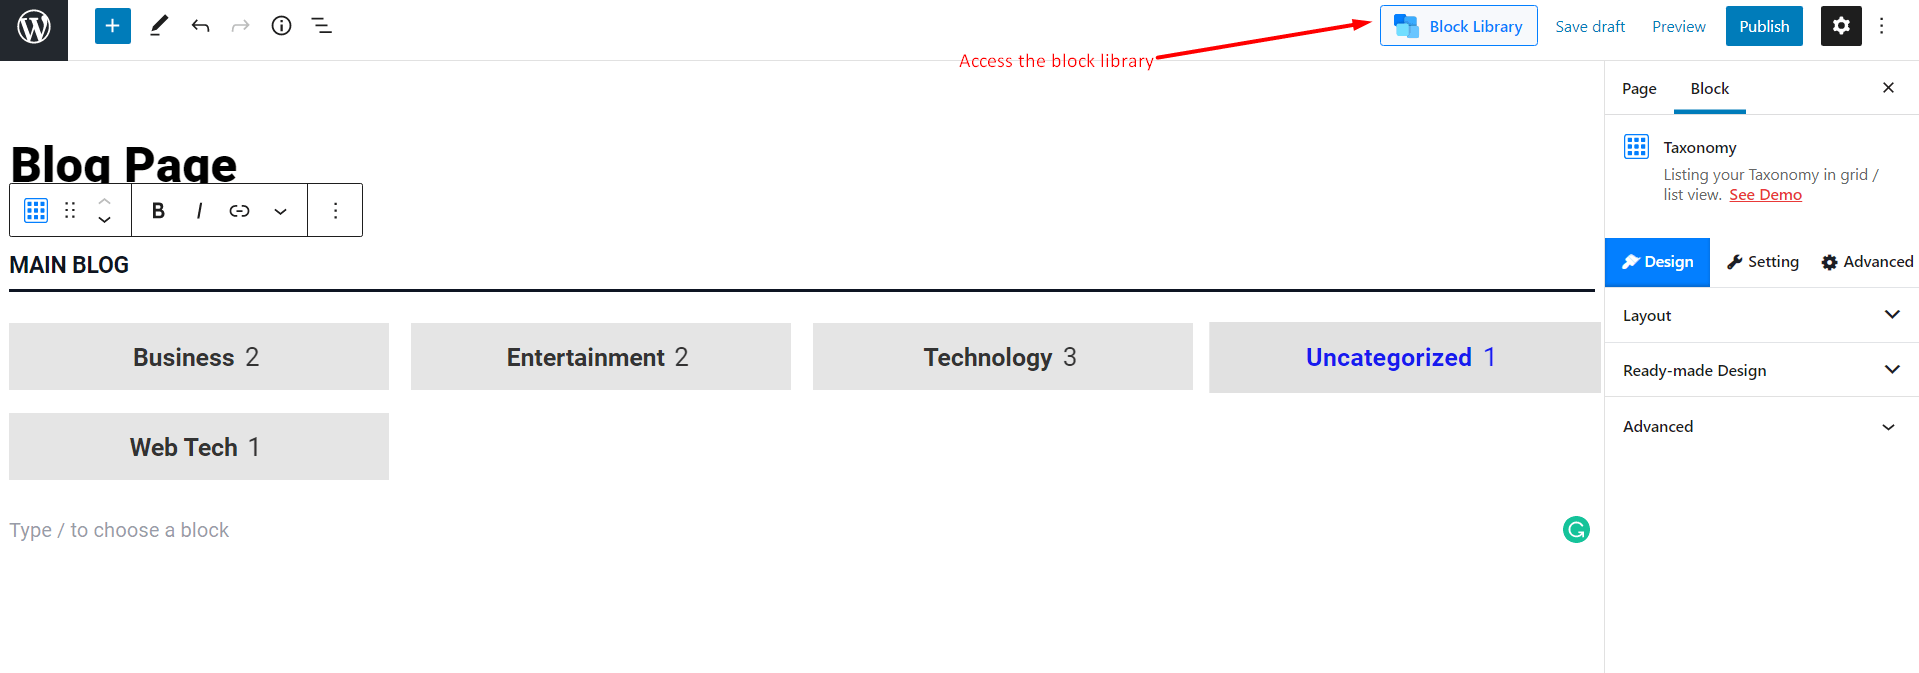
Quick Note on Accessing the PostX Ready Blocks Library
In order to access the PostX Ready-made Gutenberg blocks, you need to:
- Choose Block Library on the top left.
- In the Block Library Window, you’ll see options to choose Layout Packs/Starter Packs or Ready-made Block Designs.
- You can choose the Pro or Free Layout Packs or Design Blocks as per your preference. But do note that the Pro version of PostX comes with a lot of accessible choices.
- When you want to bring a design to a page, just hit Import.
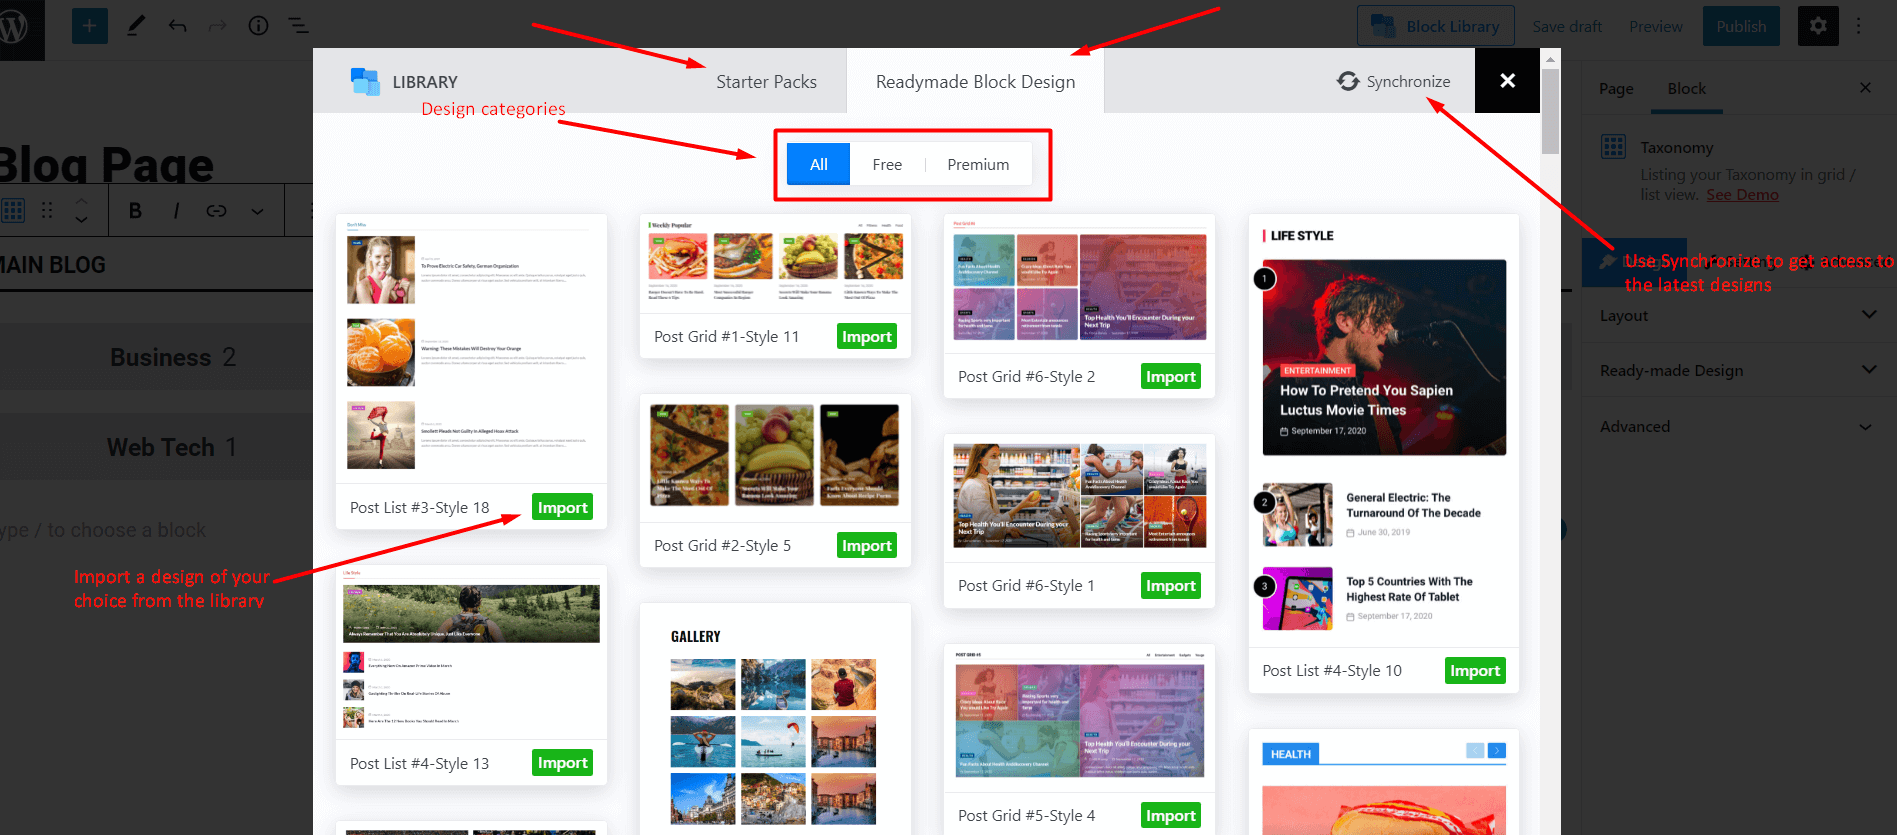
- The Design block/Starter Pack will be imported to the page.
That’s all there is to it. You will now be able to work with the design using the customization features of PostX.
Working with the Taxonomy Gutenberg Post Blocks
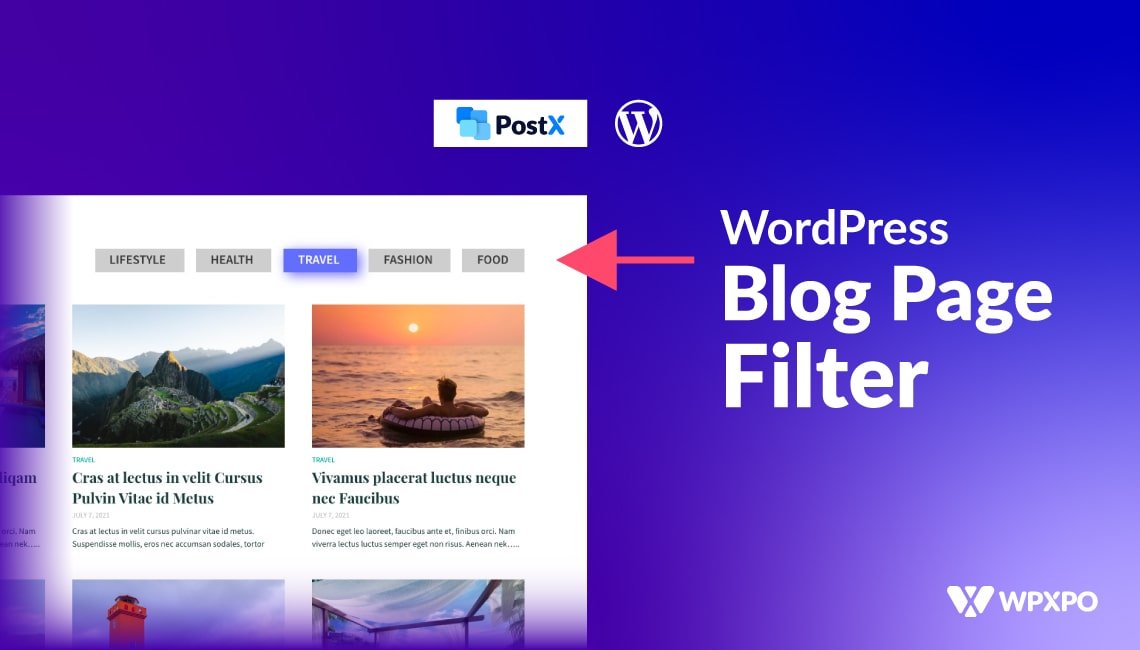
The Taxonomy blocks are the simplest way to showcase your posts according to the post taxonomy. In general, you can use them to let users choose specific taxonomical posts from a pool of content from your site.
***Important Note: When you’re working with any ready-made block or layout pack, you’ll have the option to choose from a set of predefined layouts or other ready-made block designs. Also, there is the option to add additional CSS and responsive design properties to these PostX Gutenberg blocks.
You can access the design suggestions from the “Design” tab. Here, you can find the layout and post blocks suggestions. You can Import Gutenberg post blocks straight from the menu. Also, there is an option to add Additional CSS Classes at the very bottom.
The Advanced tab lets you add specific design properties for your WordPress site. Here, you can change the background, padding, and other design properties for the whole ready-made block design. You can also add custom CSS and responsive design aspects as you please.
The above-mentioned properties are pretty much the same for all layout packs and ready-made blocks.
Now, let’s get back to working with the taxonomy design block.
You’ll find all the important settings for ready-made blocks under the Settings tab. Again, this is true for all ready-made blocks and layout packs.
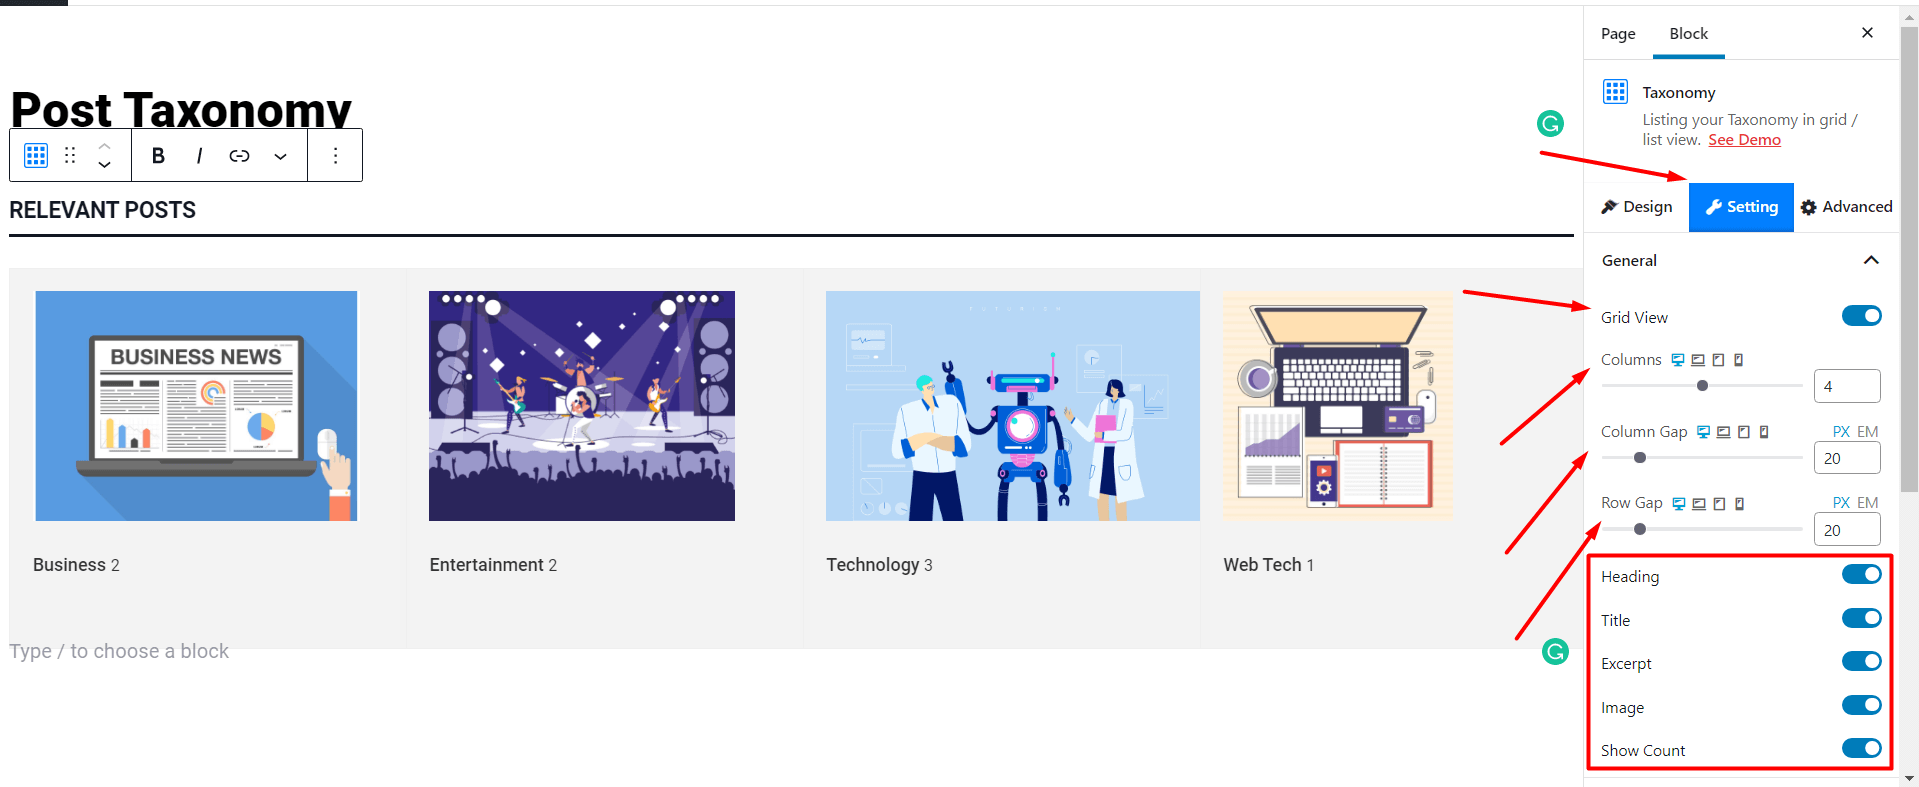
For the Taxonomy Gutenberg blocks design:
- Under the General tab, you’ll find the option to change the number of columns. Also, there is the option to enable or disable different settings, which we’ll talk about in a bit.
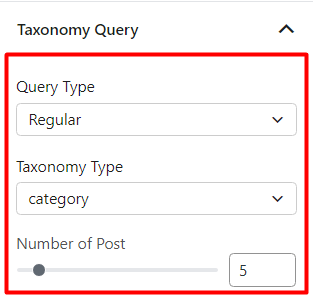
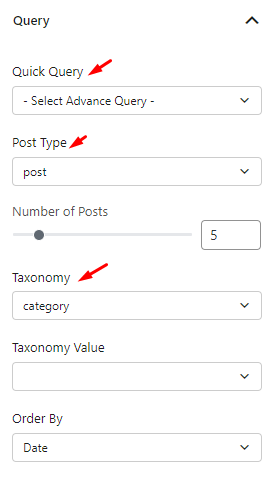
- The Taxonomy Query is one of the prime features of the PostX Gutenberg post-blocks plugin. It lets you choose a specific Query Type and Taxonomy Type to show specific taxonomical posts to your audience. Also, there is a Post Number Slider that lets you choose the number of posts you want to show.
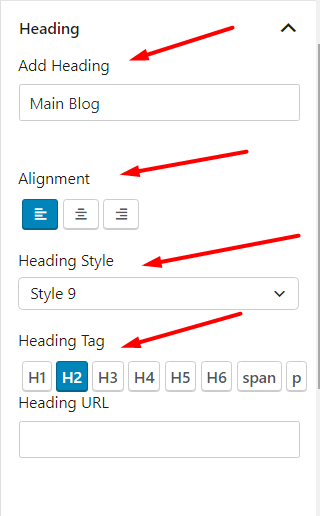
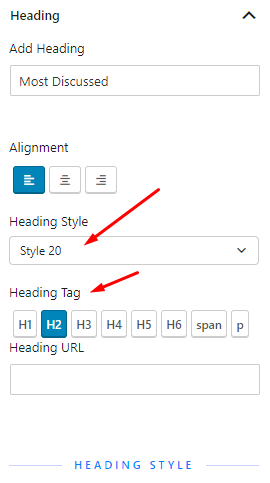
- Under the Heading Settings, you’ll find the option to add your own Heading Text with different pre-built Heading Styles. Also, there is the option to set the alignment and add a URL as well.
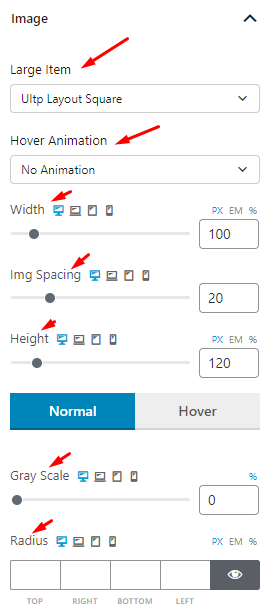
- Then there’s the Image Setting. Here, you can change the width, height, and spacing of the images. Also, you can change the Image Alignment as well.

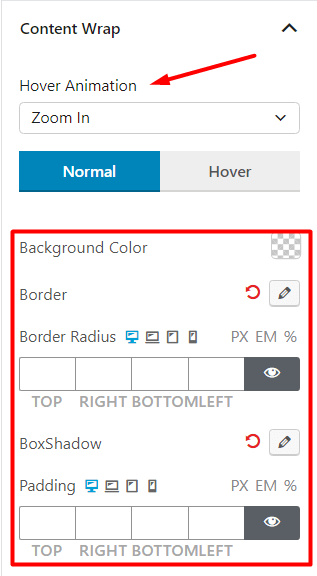
- Under the Content Wrap Options, you’ll find specific settings to change the Hover animation, background color, box, and padding settings.
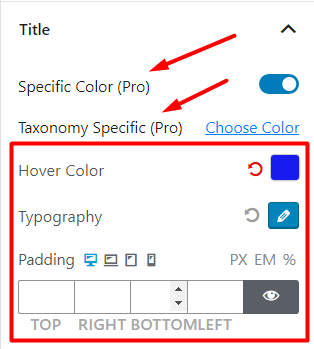
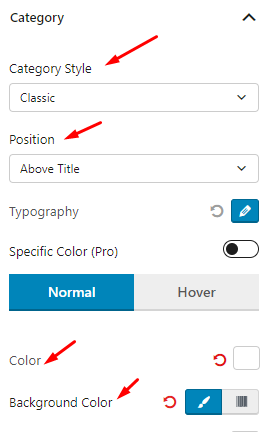
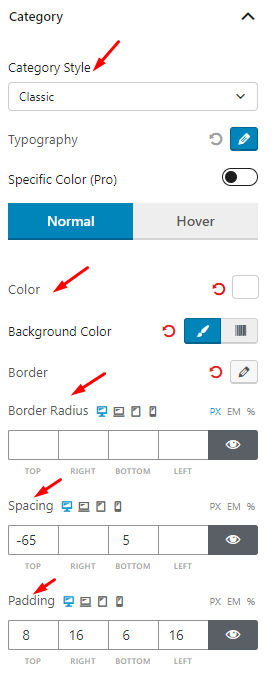
- For the Title Settings, you can change the color, typography, and other settings. Also, there is an important feature of PostX that’s called Specific Color Pro, an amazing addition. With this setting, your taxonomy posts can take the coloring of your posts.
- Then there’s the Count Style Setting, where you can change the typography, border, and other properties to show the post count to your users in a specific way.
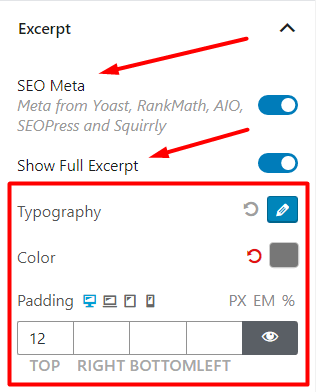
- Last but not the least, there’s the Excerpt Setting. Here, you can play around with the color, typography, and padding settings.
![50+ PostX Gutenberg Blocks [Ways to Design a Site Quickly]](https://www.wpxpo.com/wp-content/uploads/2021/07/9.png)
These are some of the basic settings of the ready-made taxonomy blocks. And we have more than 50+ design blocks in store, among which there are different variations of taxonomy post blocks (11+) as well.
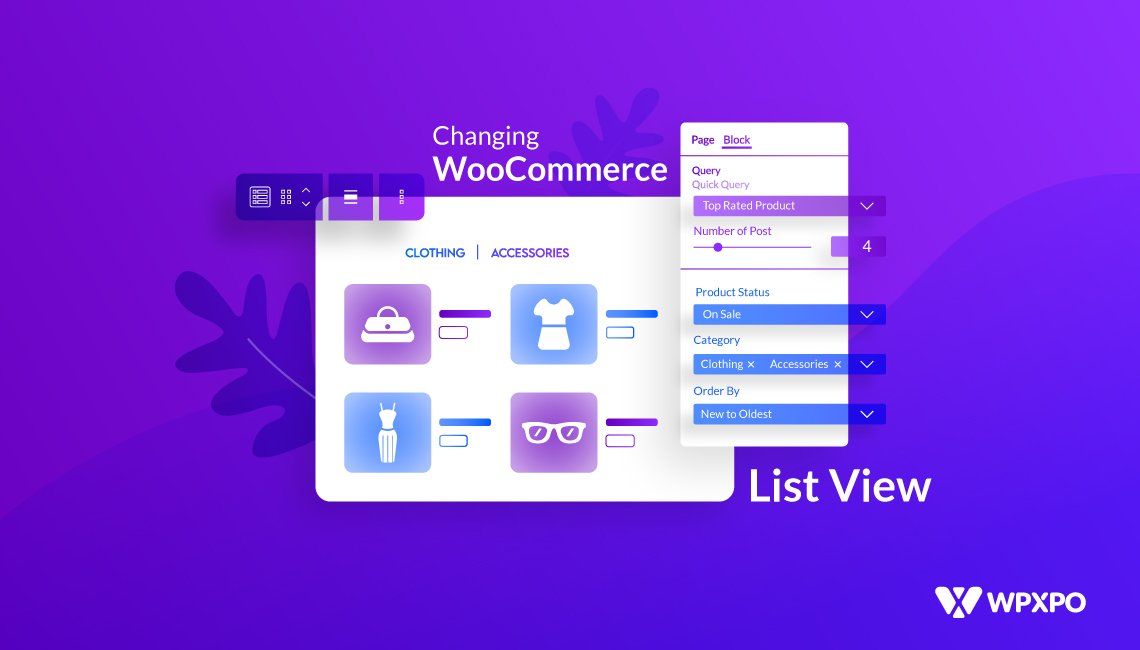
Working with the Post Grid Blocks
Post grid blocks are the main attraction of the PostX plugins. The posts grid refers to showcase WordPress posts in a grid layout. So, the users of your site can see a lot of posts at a glance without scrolling a lot.
There are a total of 19 Gutenberg post grid block readymade sections (more incoming) available for you to choose from. You can choose any of them and customize them according to your personal preference.
To add a post grid block while creating a customized home page or archive page template you need to follow the below steps.
Click on block library while editing the home page or archive page template. Click on Readymade Block Design and you can see numerous block designs you can choose from. Select any of the available post grid blocks and click on import. The desired post grid block will be added to the page. Now you can customize it according to your need.
You can customize everything in the ready-made post grid section by using the setting section. But before going into the settings you can play with the premade designs. You can select any of the available premade designs.
If you are not satisfied with the readymade designs for the post grid blocks you can customize them using the setting section. For that, you need to select the block and click on settings. Then you can access all the available settings. You can customize any blocks using the settings and make your home page or archive page template.
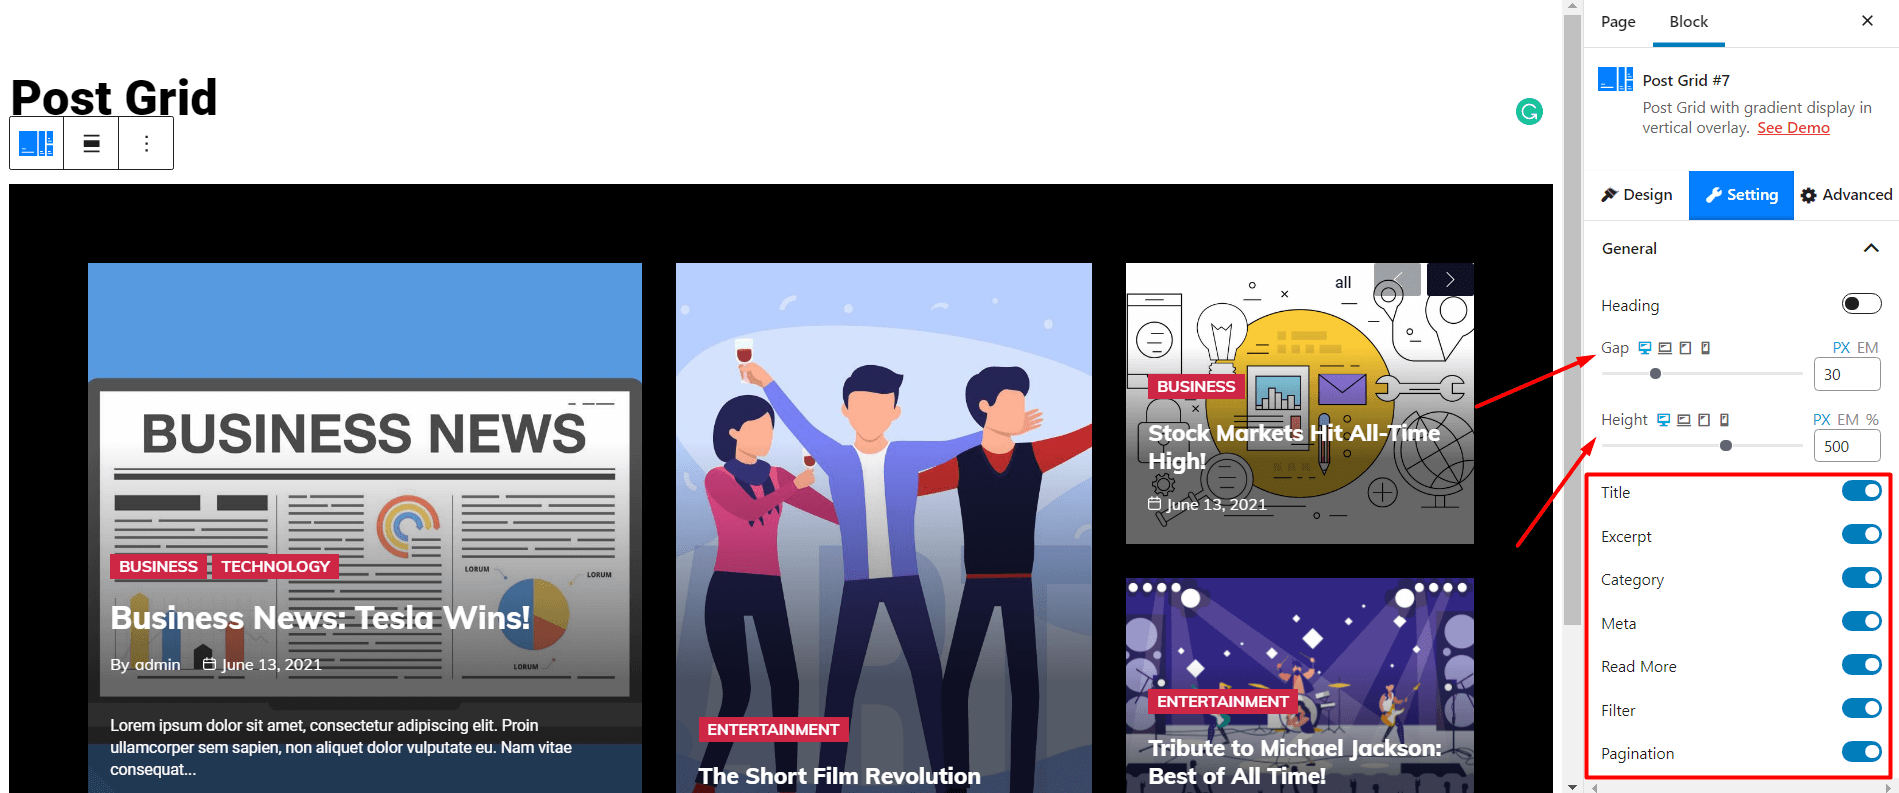
Now, let’s take a look at the settings for the post grid blocks.
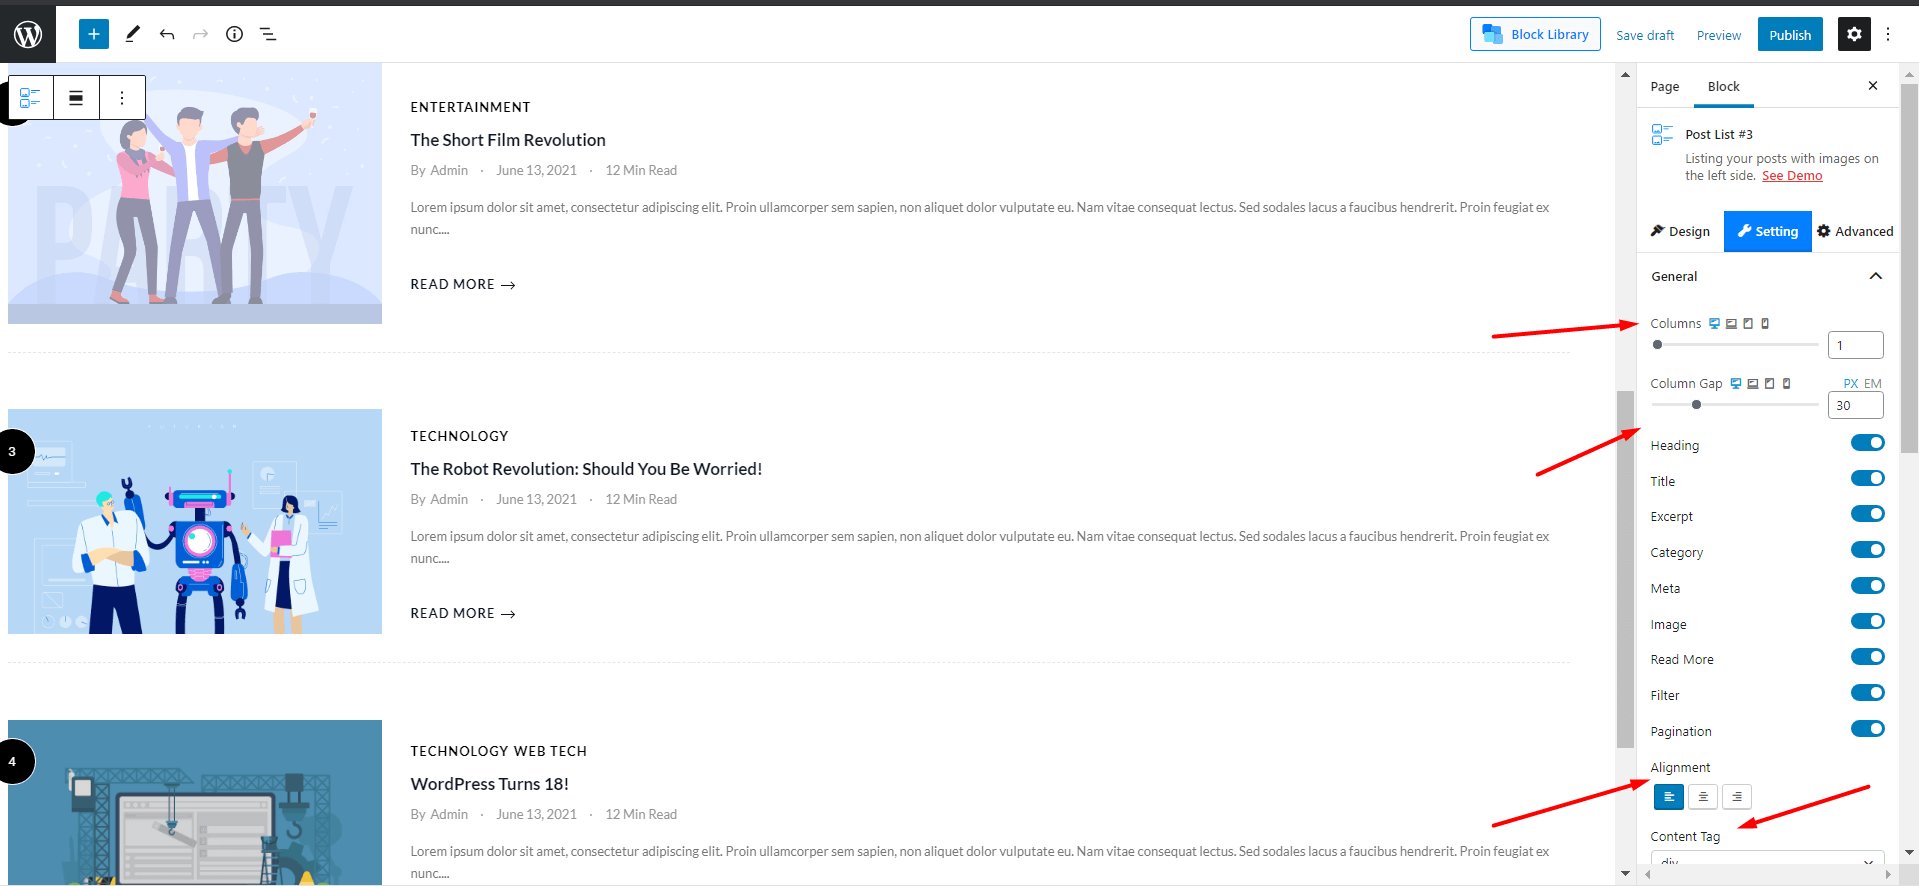
- The first one is the general settings where you can increase or decrease the number of posts in the grid. Then you can adjust the height and gap between blocks.
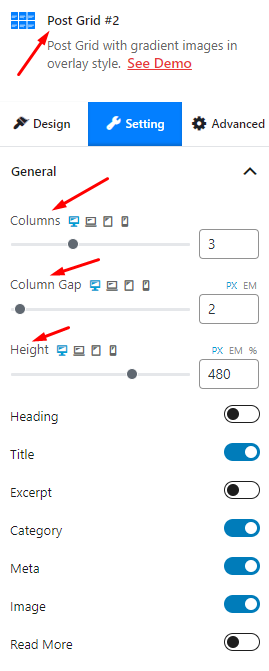
- Under general settings, you can also show or hide other options like excerpt, title, image, and read more.
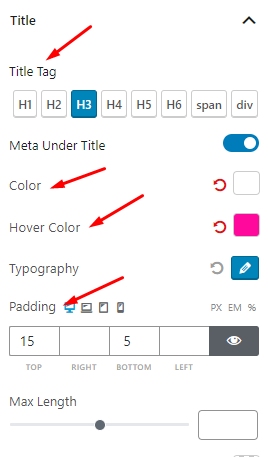
- Under the title settings, you can choose the size of the title text. Then you can change the hover and text color as well. The padding of the title can also be adjusted using the title setting section.
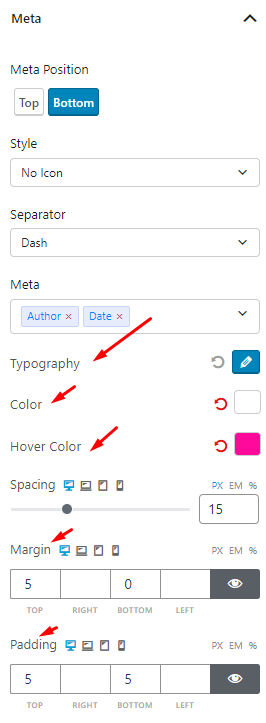
- You can choose from available styles for meta description and change color, typography, spacing, margin, and padding.
- You can customize the category of the post of grid blocks by choosing a style, position, text color, background color, etc.
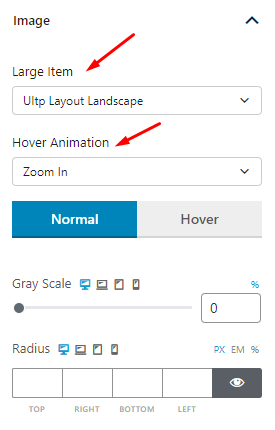
- You can choose the size of the images and add some animation by using the image settings.
Working with the Post List Blocks
Post list blocks are used to showcase a list of posts to the home page or archive pages. PostX offers 13 post list blocks to choose from and customize. These blocks are suitable for archive pages especially the category pages. However, you can also add this to the home page as well.
To add the post list blocks to the home page or archive page you need to follow some simple steps.
Click on block library and go to the Readymade Block Design section. Now you can choose from numerous available blocks. Choose any of the available post list blicks and click on import. The selected block will be added to the page.
Now you can change the appearance of the selected block by importing it from the design section. Then you can customize each and every section of this post list block by using the settings section.
Now, let’s take a look at the settings for the post list blocks.
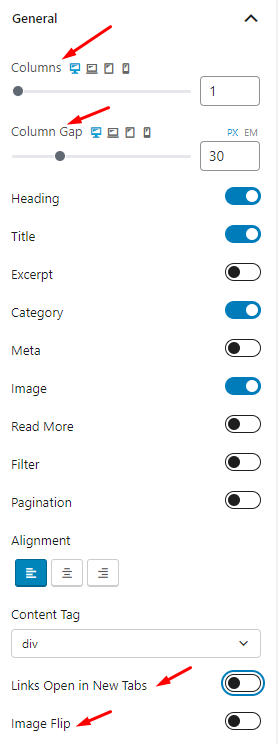
- In general settings, you can get the option to adjust the number of columns and column gaps. You can also use other features like image flip and links open in a new tab.
- You can choose from 20 styles and various text sizes of the heading of the post list blocks using the heading setting.
- While using the image settings you can choose your desired size for the images. There are also some options to add animation and adjusting the height, width, and spacing.
- You can choose meta style, position, separator, color, margin. Padding etc. If you want to show meta descriptions for the post list blocks.
- You can decide whether you want to show read more or not for the post list blocks. If you choose to show it, you can customize it like all other blocks.
Working with the Post Slider Blocks
Post slider blocks are the best way to showcase featured posts at the top of the home page. PostX allows choosing from five different Gutenberg post slider blocks, that are full width and dynamic.

To add a post slider go to block library and click on readymade designs. Now select any of the available post slider blocks. Click on the import button and the block will be added to the page. Now you can change the appearance by importing from the design section. Then you can also customize the slider using the setting sections.
Let’s take a look at the settings for the post slider blocks.
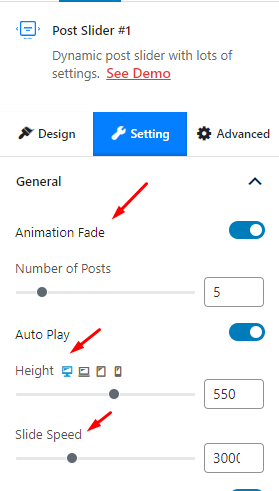
- Under the general settings, you can add animation fade, choose the number of posts, adjust the height and slide speed of the slider blocks.
- Then you can turn off or turn on other features like Dots, Arrows, Heading, Title, excerpt, category, meta, image, etc.
- You can show specific posts or posts from specific categories and tags using the query builder.
- If you wish to add dots and arrows to slider blocks you also get the option to customize them.
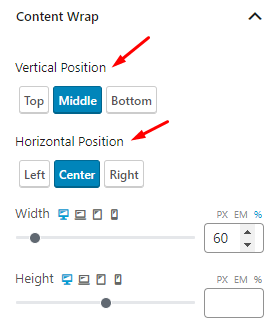
- Under the content wrap setting, you can control the vertical and horizontal positioning of the content. Then you can also adjust the height and width as well.
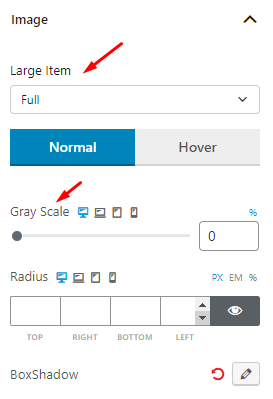
- Use the image settings to change the size of the images of the slider. You can also add grayscale and radius to the images of the post slider blocks.
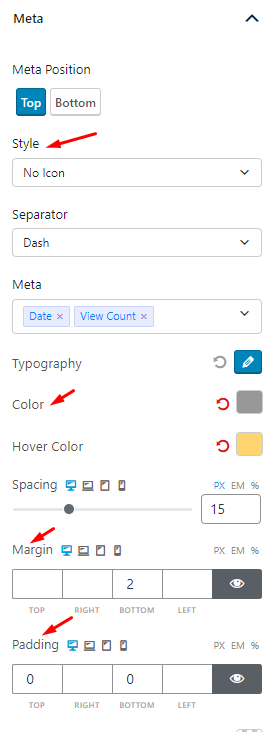
- You can use the meta settings to add text color, hover color, spacing, margin, padding, etc.
- Customize the positioning and appearance of the category text shown in the posts using the category settings.
Working with the Post Module Block
Among our latest 50+ post blocks, the Post Module blocks are one of the more desirable options. These blocks take advantage of some of the more advanced features of PostX, which we’ll talk about in a bit.
Before that, we want to remind you that the Post Module blocks (6+) have different variations, all of which are accessible from the Design Tab. Also, if you want to add additional CSS, then you can do so from the Advanced Tab as well.
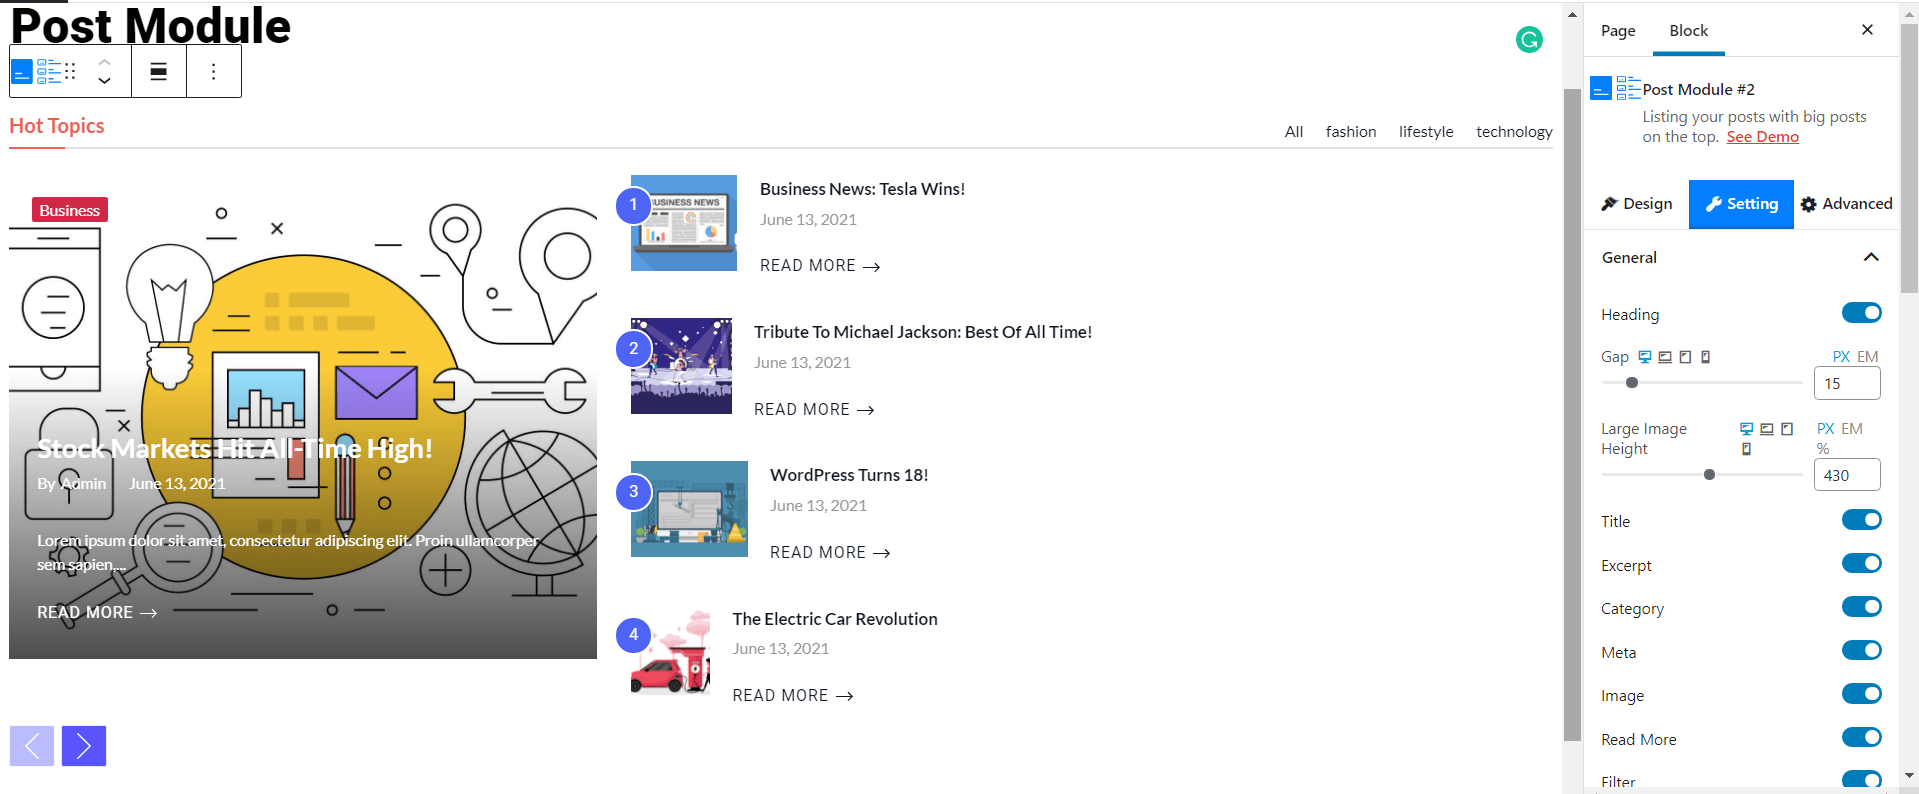
Now, let’s take a look at the general settings for the Module blocks.
- Under the General Tab, you’ll find the option to Enable/Disable specific settings. Here, you can also change the Post Gap and the Large Image Height. Also, you can change the Alignment and Content Tag as well.
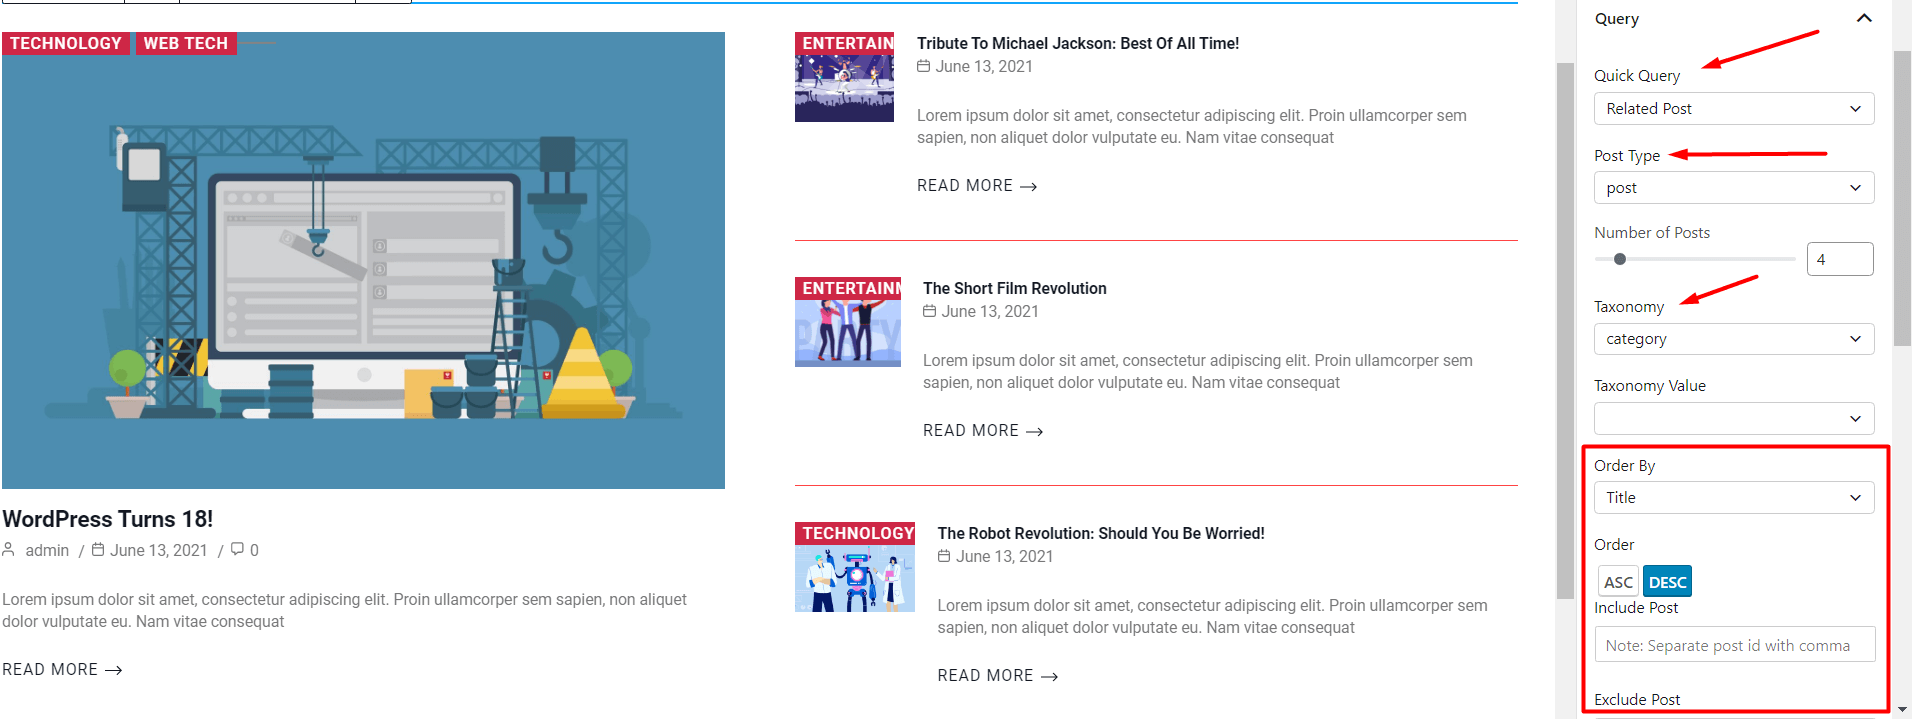
- The Advanced Query Builder for the Post Module Blocks lets you choose specific posts based on preference. You can use the Quick Query, Post, and Taxonomy Dropdowns to create specific post blocks for your readers. Also, there is the option to order your posts using the “Order By” Dropdown and “ASC/DESC” (ascending/descending order). Also, there’s the option for showing Offset posts as well.
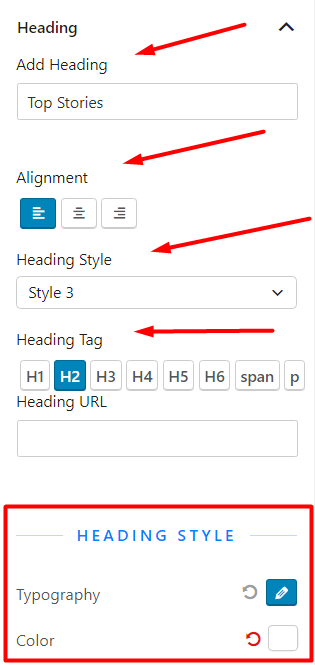
- The Heading and Title Settings are pretty much the same. You have the choice to play with the text design settings using the typography, alignment, box, and padding settings. You also have the option to show Sub-headings as well.
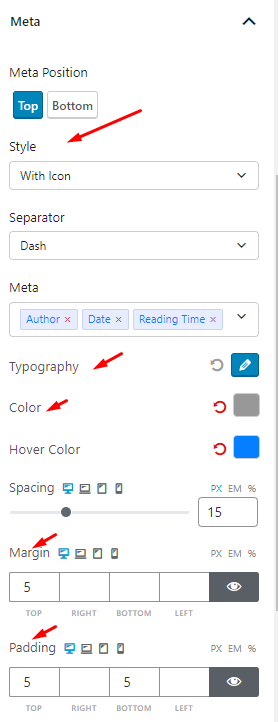
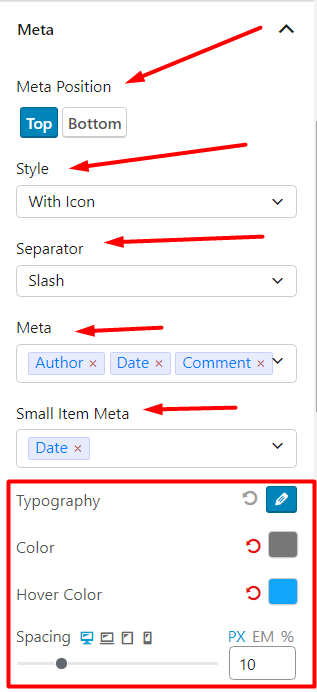
- Then there’s the Meta Setting which allows you to show the meta options with your posts. You can choose the Meta Position as well as select which Meta options you want to show with your posts. And there’s the usual typography, background, and other design settings you can play with as well.
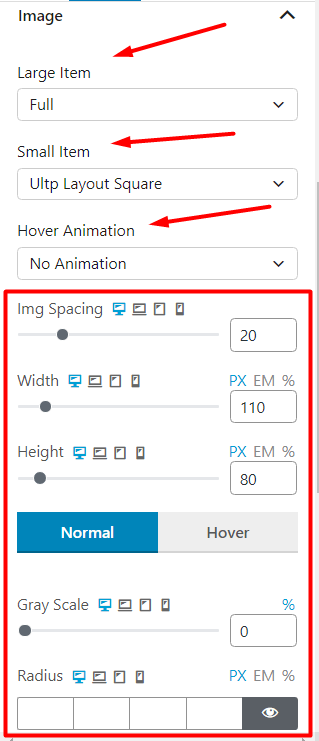
- With the Image and Content Wrap settings, you have the choice to showcase images and posts just the way you like them. You can show images by choosing the width, height, and other image properties baked into PostX. You can set the animations for hovering as well.
The same goes for the Content wrap settings, where you can play with different typography and controls to showcase content just the way you want them.
- Furthermore, the Category Settings lets you be more specific to your users. You can change the Style and Positioning of the categories. Also, you can change the built-in style properties like the padding, background color, line spacing, and typography to make it look better.

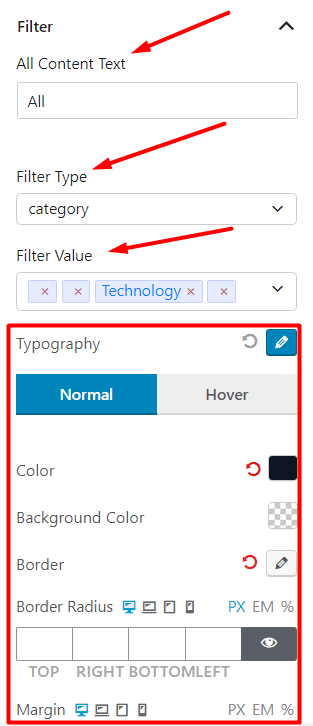
- The AJAX Filtering and Pagination are two of the main features of the PostX Gutenberg blocks plugin. And it’s baked into the 50+ ready-made design blocks that are super easy to use.
With the Filter Settings, you can change the Filter type and Category to show post-filtering for your audience.
On the other hand, with the Pagination Settings, you can add navigation to your WordPress site using the pre-built designs and alignment positioning.
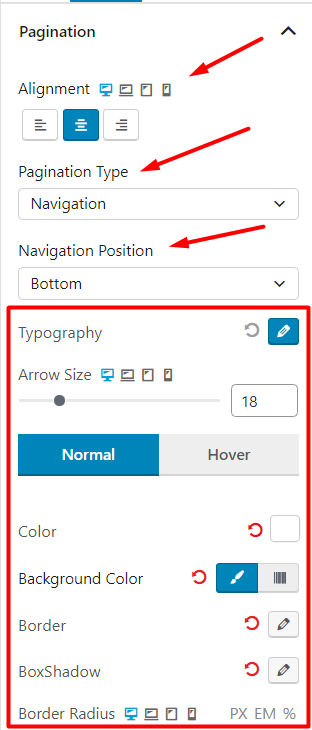
For both settings, you can change the typography, box, border settings, and more.
- From the Excerpt Settings, you can enable SEO Excerpt that enables you to work with popular SEO plugins. On top of that, you get the regular design settings.
PostX Layout/Starter Packs
Other than the ready-made Gutenberg post blocks, PostX Pro comes with a lot of pre-made layout packs. These are pretty much a combination of different post blocks. For this reason, all of the different blocks are customizable.
PostX is constantly bringing out new layout packs for you. You can either use the pre-made starter packs or use 50+ blocks to create news layouts and save them to the PostX design library (using shortcode support).
All in all, you have total control over how you want to show content on your WordPress site. So, make sure to check out PostX and all its features (we have an offer for you somewhere in this post!).
Oh yes, did we forget to mention the archive builder, a key feature of the PostX post blocks plugin? With little effort, you can use the ready-made blocks to
Final Thoughts
All 50+ PostX Gutenberg blocks by PostX are ready for you to try out. If you’re a free user of PostX, then we do appreciate your support.
However, if you’re someone who wants to explore different post blocks designs to give your visitors the best possible experience, then you should probably think about moving to the PostX Pro plan.
If you wish to do so, then there’s a surprise for your somewhere in the post. Find it to avail a special GIFT!