

ProductX is now WowStore! We’re very excited to bring you this experience, packed with exciting features. Please note that the features, blocks, starter packs, etc. all work the same. If you have used ProductX, you’ll feel right at home with WowStore.
WooCommerce has limitless features to set up and handle fully functional eCommerce businesses. But having just a store with multiple products with competitive prices cannot always guarantee good revenue.
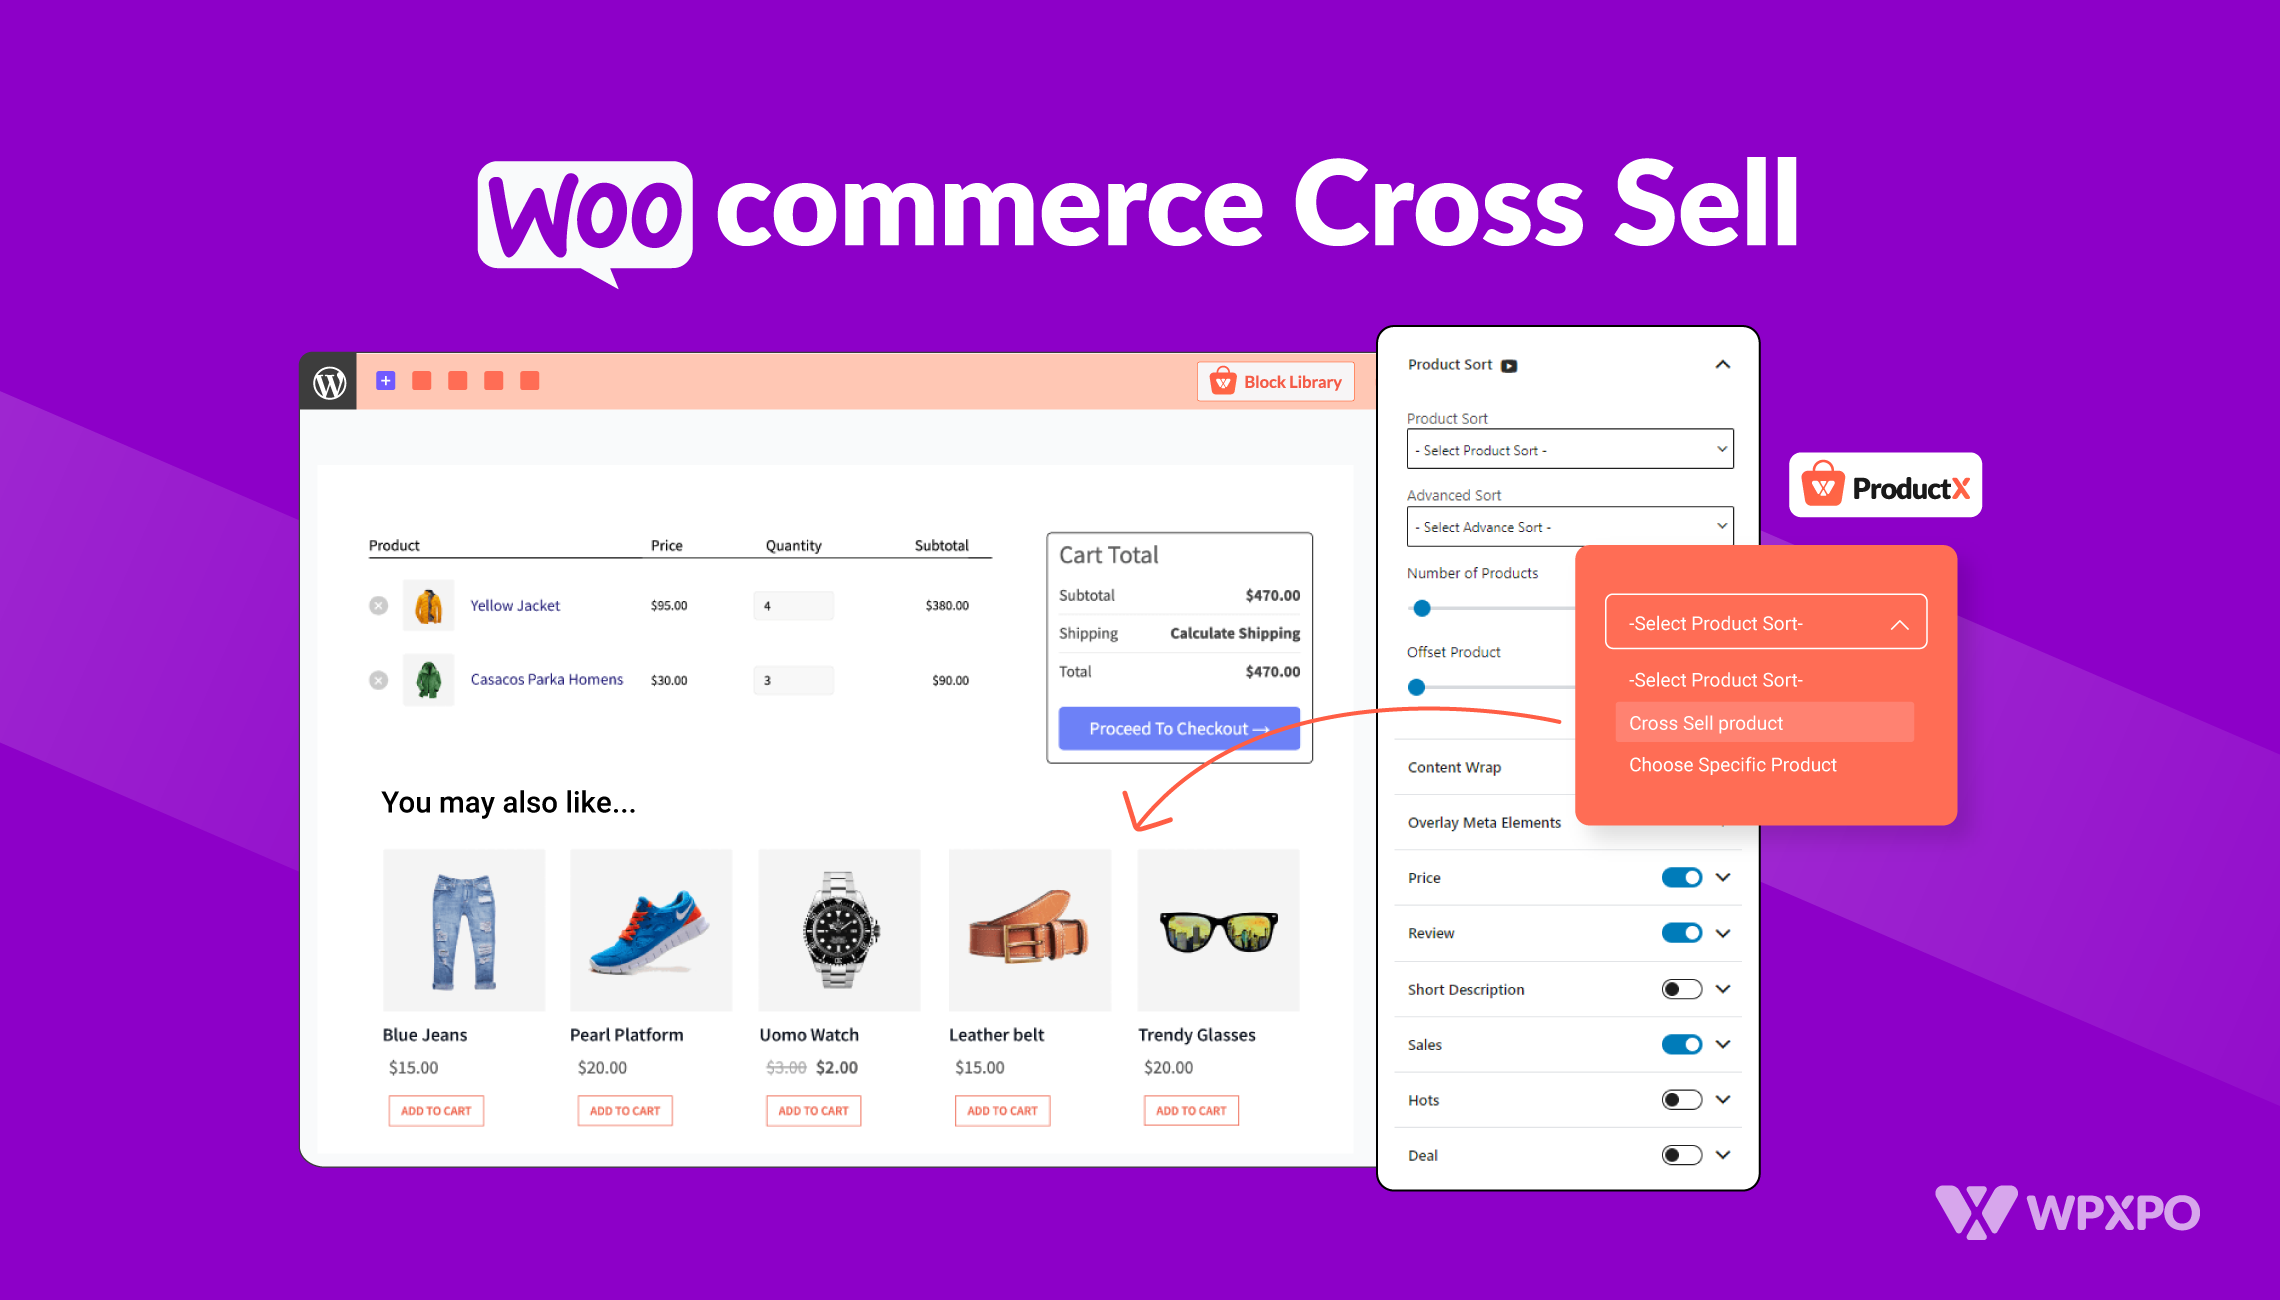
You also need effective marketing strategies to invite new customers and convince existing ones to keep purchasing simultaneously. That’s where WooCommerce cross sell comes in, which is how you can nudge shoppers to add more items to their carts.
If you didn’t already know, retail giants like Amazon and Walmart generate significant revenue through upselling and cross-selling items shown on the products page. Apart from them, most global and local WooCommerce stores nowadays use the best WooCommerce cross sell techniques to showcase related products and push sales.
So, if you want to try the eCommerce cross-selling method for your WooCommerce store but don’t know where to start, this blog has you covered.
Read on to learn how cross sell works in WooCommerce, and how to add relevant items and design them convincingly to intrigue shoppers to buy complementary products with the items in the cart.
How Does Cross Sell Work In WooCommerce?
Cross-selling is a marketing approach focused on encouraging a shopper to add complementary items to their cart, adding value to the primary product. Cross-selling items are usually displayed in the cart or checkout section of a WooCommerce store as related products.
Whenever a shopper buys a product that can be supported or backed up by some complementary items, you can bring those products up front so they feel the need to buy those too. In other words, shoppers are urged to buy those extra products, like they will add more value to their primary items.
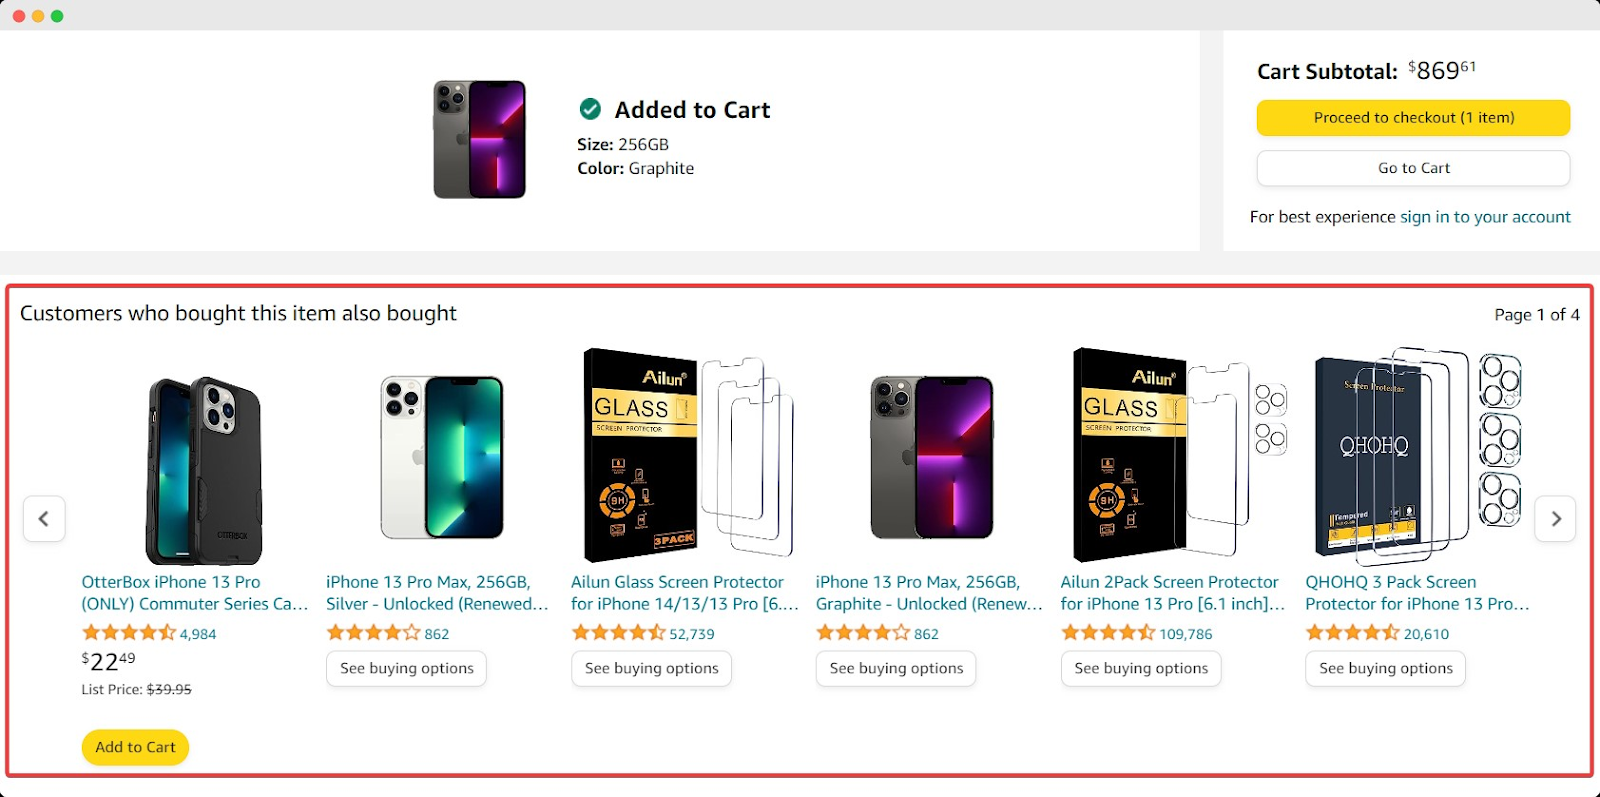
For instance, a customer about to buy a new iPhone has added it to the cart. Before he pays at the checkout, you can display iPhone cases, back covers, display protectors, and even earphones (AirBuds or any other kind) as complementary items. Since these complementary products can add value to his primary purchase, he will likely buy one or more of these.
Nowadays, you will hardly find any eCommerce store that doesn’t display related or complementary products such as ‘Frequently Bought Items’ or ‘People Also Buy’ on the single product page or at the checkout. That’s how eCommerce cross-sell works, and they are generating more revenue without doing anything extra for marketing.
However, you’ll always want to display these cross-sell items on such pages that catch the maximum attention of the shoppers. This is why most stores choose a single product page or the checkout page, so shoppers easily see and think twice to add supplementary items before checking out.
Benefits Of Adding WooCommerce Cross-Sell Products To Your Store
WooCommerce cross-selling techniques promote the sales of other products, often known as complementary products, alongside your primary products.
It’s an influential approach to leveraging the sales of less purchased items or the products shoppers tend to buy with other products. Thus, it can boost the average order value of your store and generate more revenue.
Let’s focus on some key benefits of adding WooCommerce cross-sell products to your store:
👉 Adding cross-sell products to your WooCommerce store will increase the average order value of your eCommerce business. According to a sales strategy report by HubSpot, around 80% of sales professionals cross-sell, while 42% of companies see 11-30% of their revenue come from cross-selling.
👉 You can showcase different and variety of products to your existing shoppers through cross-selling in your WooCommerce store. For example, you can display a phone cover on the phone’s single product page and sell some of those, while people would hardly look for that cover while searching and exploring your store. This way, your product visibility, and exposure is increased.
👉 eCommerce cross-selling often paves the way to generate more upsells for your WooCommerce store. For example, someone buying an iPhone might look for an earphone in the related products section. While exploring an earphone, he may look for a better alternative and buy a more expensive one. This way, you earn more revenue through both cross-selling and upselling simultaneously.
👉 WooCommerce cross sell is a way to build loyalty and engagement with your customers. Shoppers who find complementary items in your store won’t go elsewhere to buy something else. They keep coming back and recommend others to purchase from your online store.
👉 This marketing strategy is a win-win game for you. You don’t need extra efforts to promote other products to generate sales. With the least marketing approaches, WooCommerce cross-sell techniques let you sell fewer purchased items frequently.
How Can You Add Cross-Sell Products To Your WooCommerce Store?
Adding cross-sell products to your WooCommerce store might seem challenging if you have never done it before. But we’re here to make that easy for you because it is an easy job. But first, you need to choose specific products you’ll want to add cross-sell items for. If your store has too many products to count quickly, you’ll initially want to identify the main items. Those could be your recently added items or most popular products.
Now, it’s time to select cross-selling items for your significant products. However, you might not want to add cross-sell items for all of your main products.
That’s fine; you can start with a few.
For example, you can start selecting cross-selling items for smartphones and laptops. Those could be phone cases, earphones, and more for smartphones, while you can enlist a cooler, table, external hard drives, and more for laptops.
Once done listing down your products, it’s time to link the complementary products to the specific products as cross-selling items in your WooCommerce store.
Adding Cross-Sell Products In WooCommerce By Default
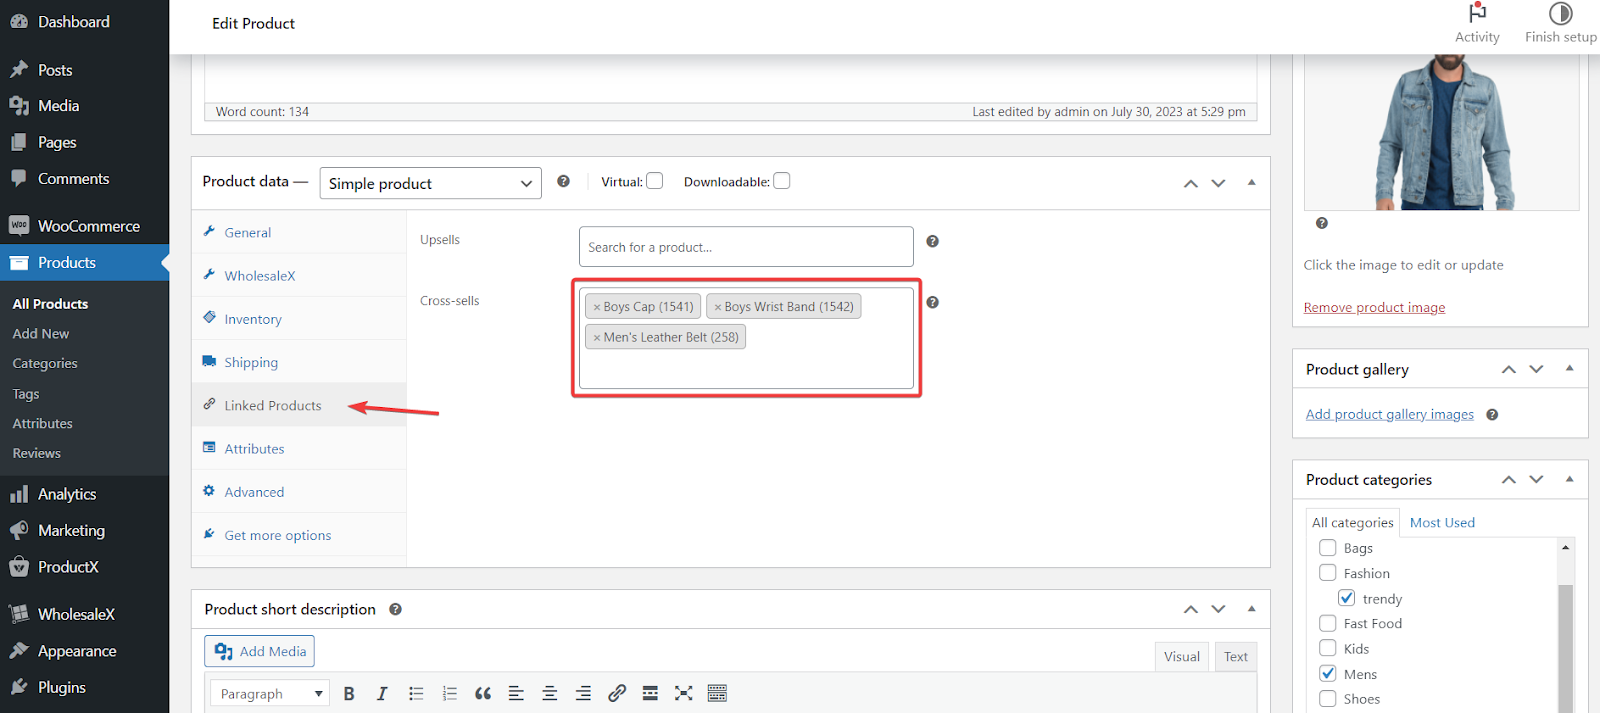
Once you know the process, adding cross-sell items to your specific products is relatively easy in WooCommerce stores. To get started, navigate to Products→ All Products from your WordPress dashboard. Now, you can add cross-sell items to your existing products or add a new item.

From the All Products page, click on your preferred product or select ‘edit’ for which you want to add cross-sell items. You will find the ‘Linked Products‘ tab once you drop down a little on the ‘Product Data’ page.
On the Cross-Sells field, start typing the products’ names or IDs and select a few items from the list as the cross-sell items. We suggest adding a maximum of five or six items not to make the page look congested and confuse shoppers. Once you are done adding cross-selling products, hit the ‘Update’ button from the page.
After adding cross-sell items for your product, you can check how WooCommerce cross sells appear on the cart page. To view your cross selll items, browse your product and add that to a cart.
Since WooCommerce cross-sell only works on the ‘Cart’ page by default, you will find your cross-sell items on the Cart page under the ‘You May Be Interested In’ section.

Use A WooCommerce Cross-Sell Plugin
WooCommerce makes adding cross-selling items for your dedicated products easy by default. This way, you can link multiple items and showcase complementary items on the cart page, so shoppers get urged to add more items to their carts.
However, these features are limited to some functionalities. Plus, you can display products on a single page only, specifically the cart page. On top of that, you can’t enhance the appearance, headings, and layouts of how your products will be displayed. But a perfect plugin can unlock more potential for cross-selling techniques on your WooCommerce store.
The best WooCommerce cross sell plugins will give you full control over your cross-sell methods, layouts, and appearance to engage more customers and boost cross-sells. Such a plugin is ProductX by WPXPO, a dedicated WooCommerce Blocks plugin to unlock the potential of WooCommerce cross-selling with limitless design and customization options.
Customize Your WooCommerce Cross-Sells & Boost Sales With ProductX
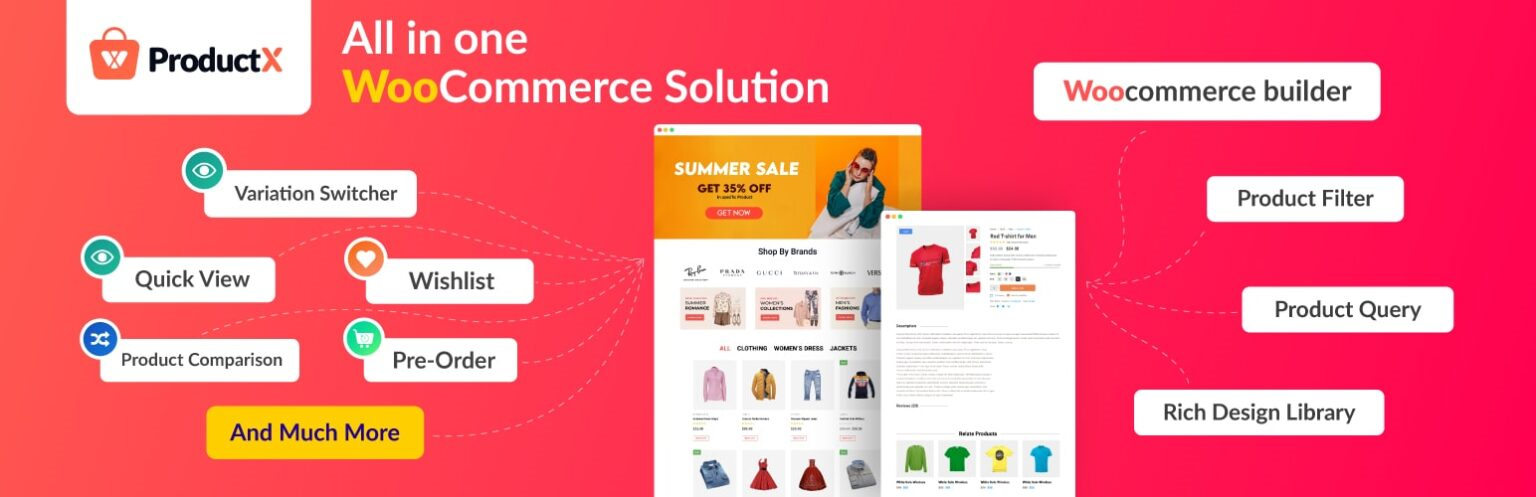
ProductX is an all-in-one platform to build an engaging and well-organized WooCommerce store that brings in more customers.
ProductX was developed using the robust but lightweight Gutenberg block editor, and it has a wide range of cutting-edge capabilities like product comparison, quick view, wishlist, image flipping, sliders, an Ajax-powered product filter, and more.
In addition, you will have various unique page templates inside ProductX for use on multiple store pages, such as the product archive, shop, cart checkout, and individual product pages.
You can import these pages to your store and make slight changes to avoid starting from zero when launching your eCommerce business on the WooCommerce platform.
A ProductX-designed shop stands out from the standard WooCommerce store regarding interactivity and aesthetics, encouraging more visitors to keep visiting and make more purchases.
To jumpstart your WooCommerce business and increase sales, this is the best WooCommerce cross-sell plugin available out there.
Setting Up WooCommerce Cross-Sells With ProductX: A Step-By-Step Guide
ProductX’s extensive capabilities and endless customization options allow you to make any adjustments necessary after adding cross-sell items for a WooCommerce product using the product data tab.
Cross-selling with WooCommerce only appears on the shopping cart page. But you can make the cart page more engaging for your customers by reflecting your brand through the design choices and WooCommerce blocks of ProductX.
Step 1: Navigate To Your Cart Page Template Section
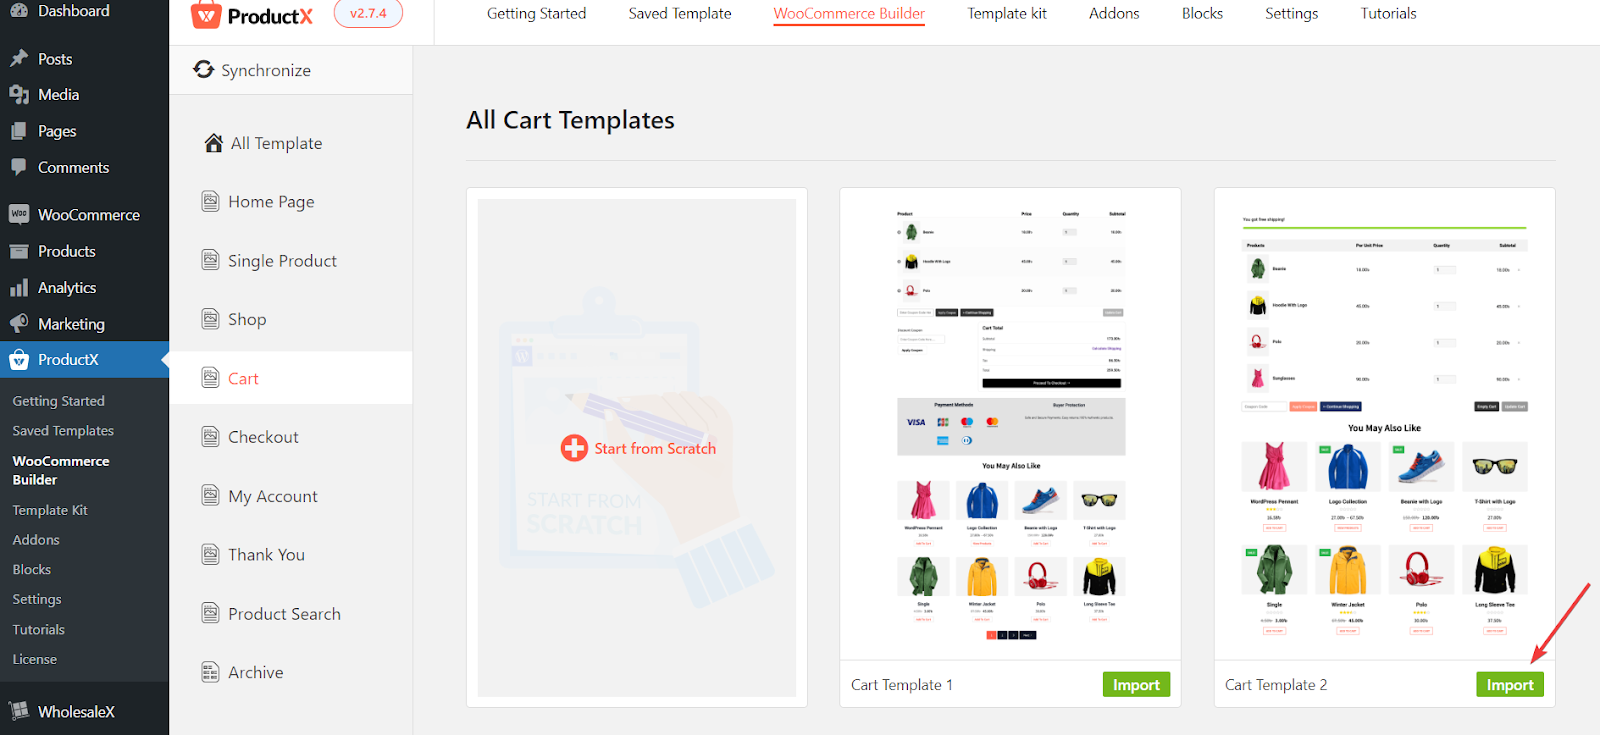
ProductX features a variety of page templates for your WooCommerce shop, so you don’t have to start from scratch and waste time. After installing and activating ProductX, browse the ProductX WooCommerce Builder and click on the Cart option.

Step 2: Import A Cart Page Template
You can find ready-to-import page templates on the cart page. However, you need to upgrade to ProductX PRO to get access to the premium templates and begin customizing them to design a stunning page that entices shoppers to add additional/complementary items to their cart.
Now, choose a template and press the import button. Your cart page comes up immediately and can be customized with WooCommerce blocks. In addition, you can edit each section using advanced options.
Step 3: Customize The Sample Cart Limitlessly
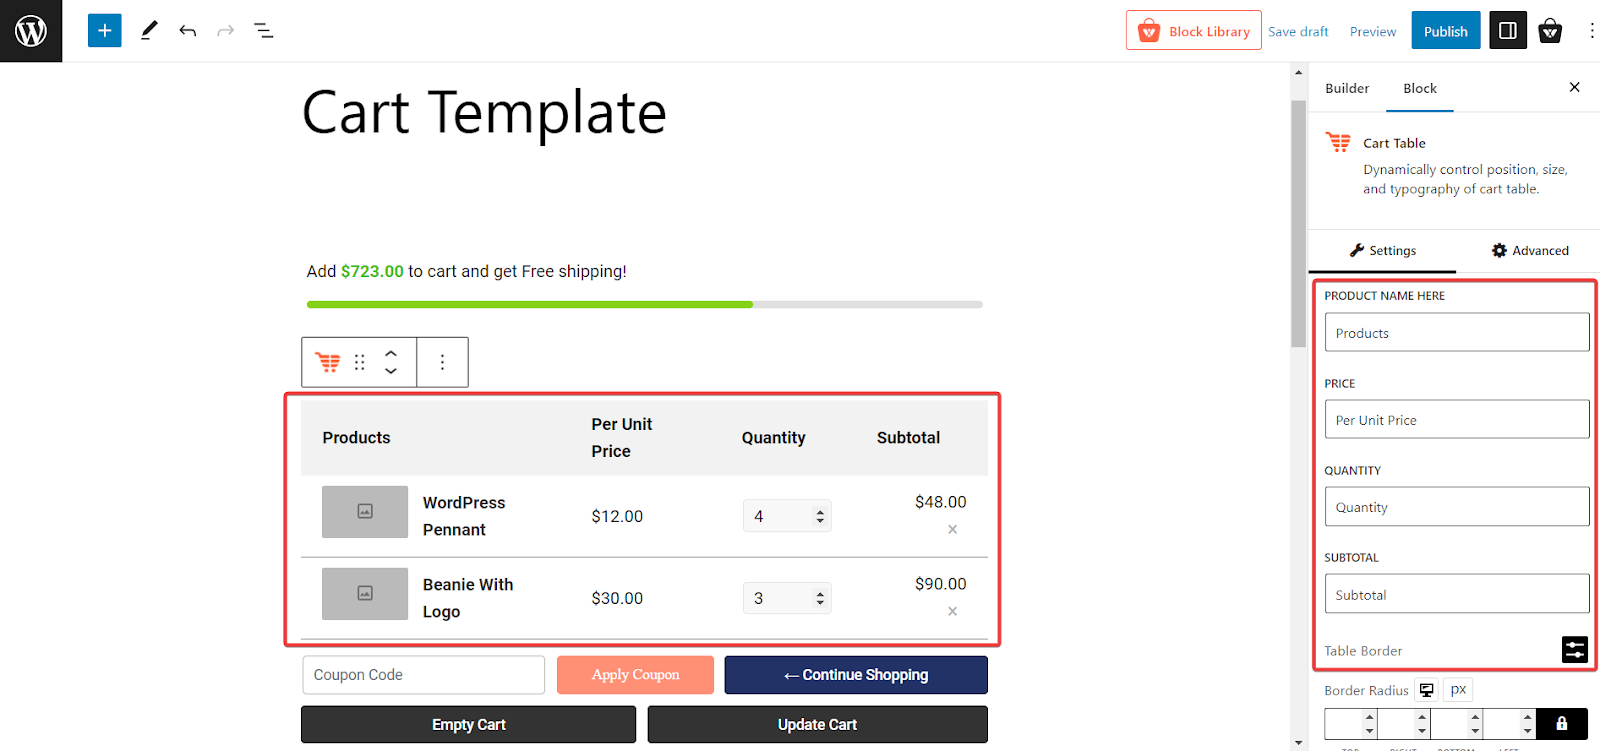
The templates already include sample products, so you don’t need to switch every single product to customize. Once you customize this section, it will apply to each of the products you want to add cross-sell for.
Once you select the products block, you will find options to customize the product name, price, quantity, subtotal, and more. This brings great flexibility to set names for these terms as you want to represent your store’s brand vision.
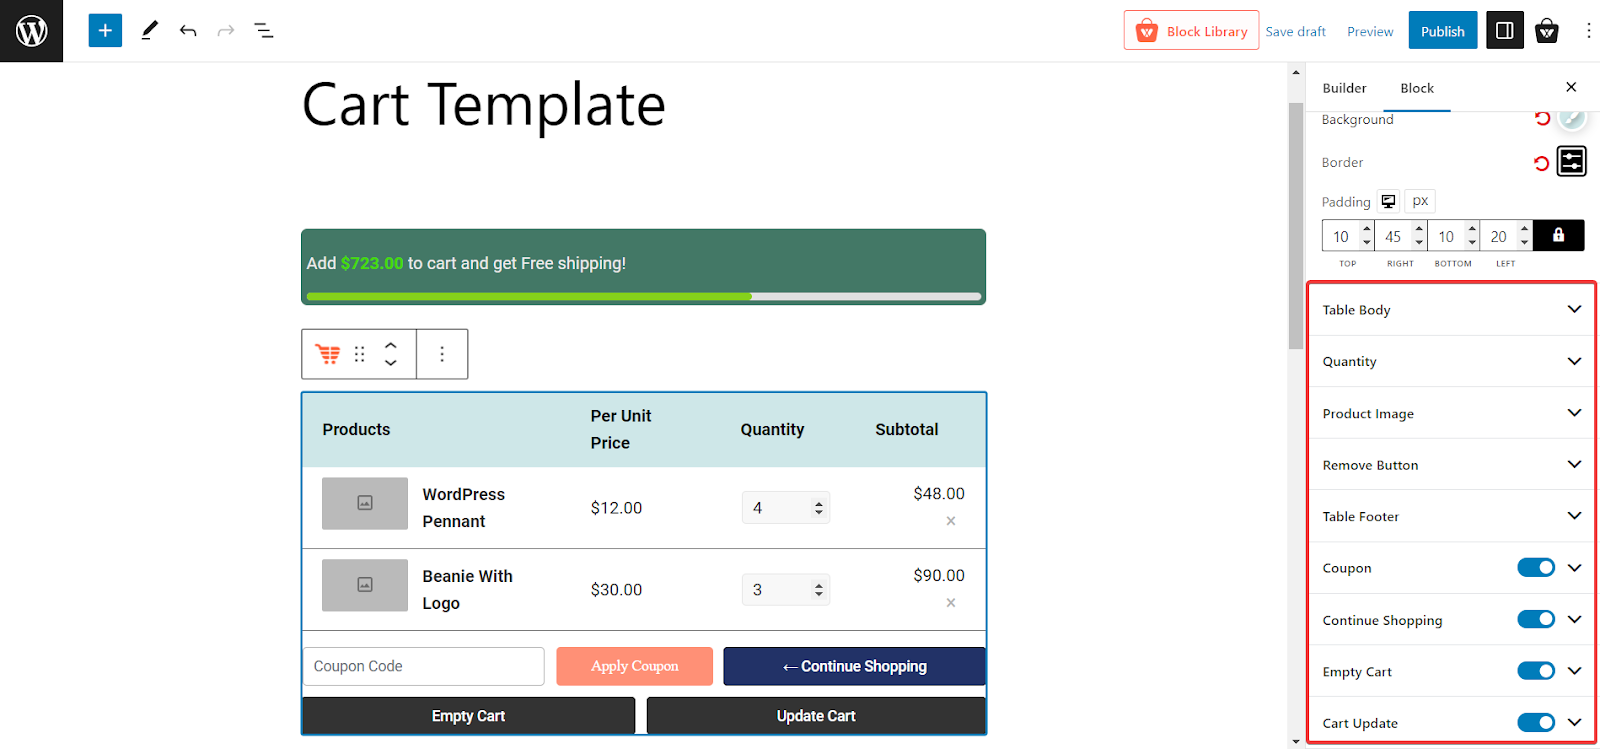
On top of that, there are options to customize how your table body looks, how many products you display, product images, Remove Buttons with different colors, and typography options. Furthermore, you can choose if you want to display the Coupon, Continue Shopping, Empty Cart, Cart Update with a simple button.
Step 4: Customize Free Shipping Bar
One of the most stunning features of ProductX is that it comes with a ‘Free Shipping Bar’ on the cart page. It is a great way to boost cross sell as it displays the progress of adding the amount to get a free shipping benefit from your WooCommerce store.
It surely encourages customers to add more items to the cart and fill the progress bar to get a free shipping advantage.
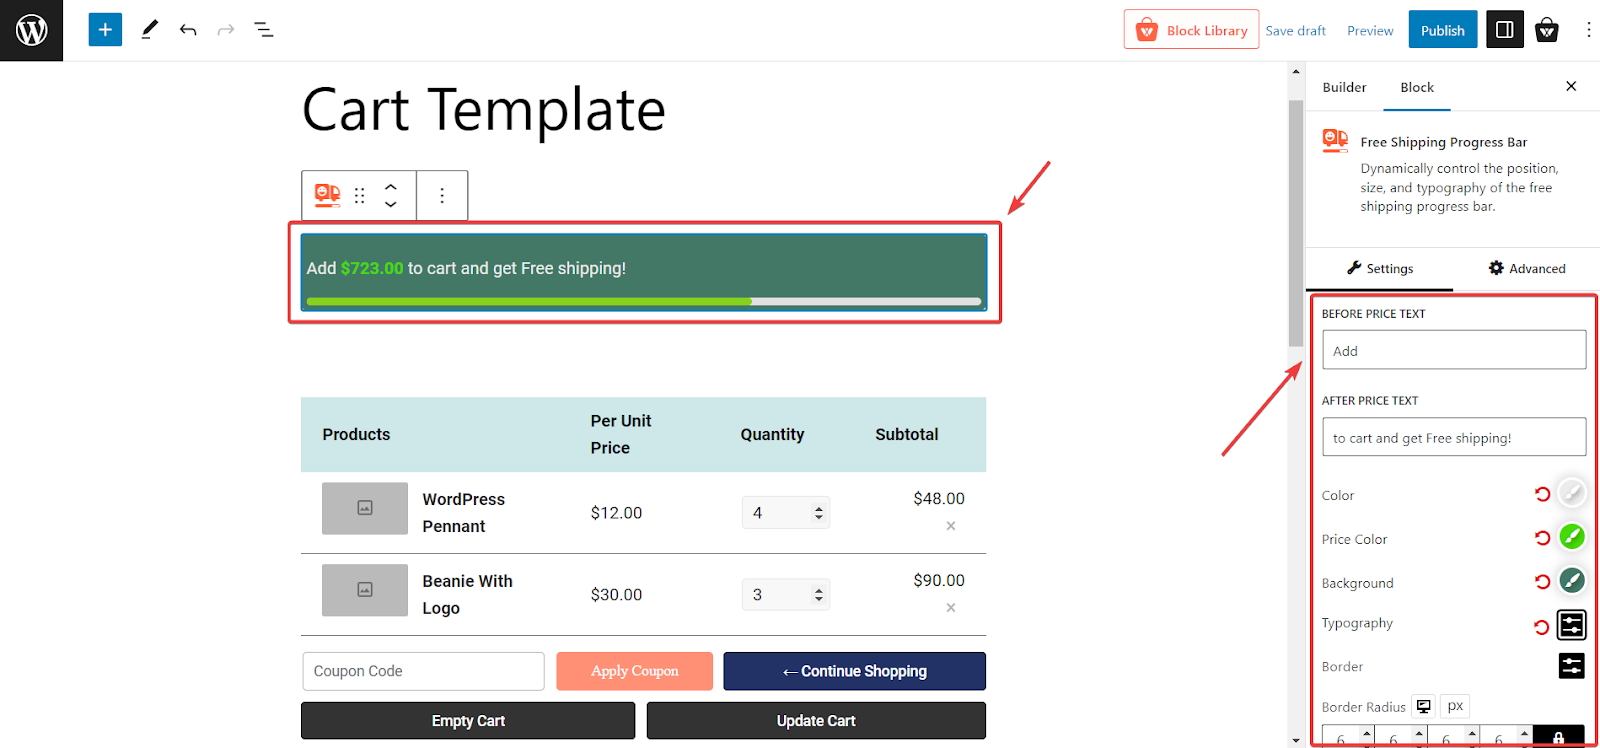
Fortunately, you can customize the ‘Free Shipping Progress Bar’ with ProductX. Using the options on the block tab, you get to change Before Price Text, After Price Text, Color, Typography, and more to design it amazingly to reflect your brand tone.
Step 5: Customize Cross-Sell Product Section
Scroll down a little and you will find the related items. Select ‘Cross Sell Products’ from the Product Sort tab. This is a sample section you will be editing, which will take effect on the cart page for any product.
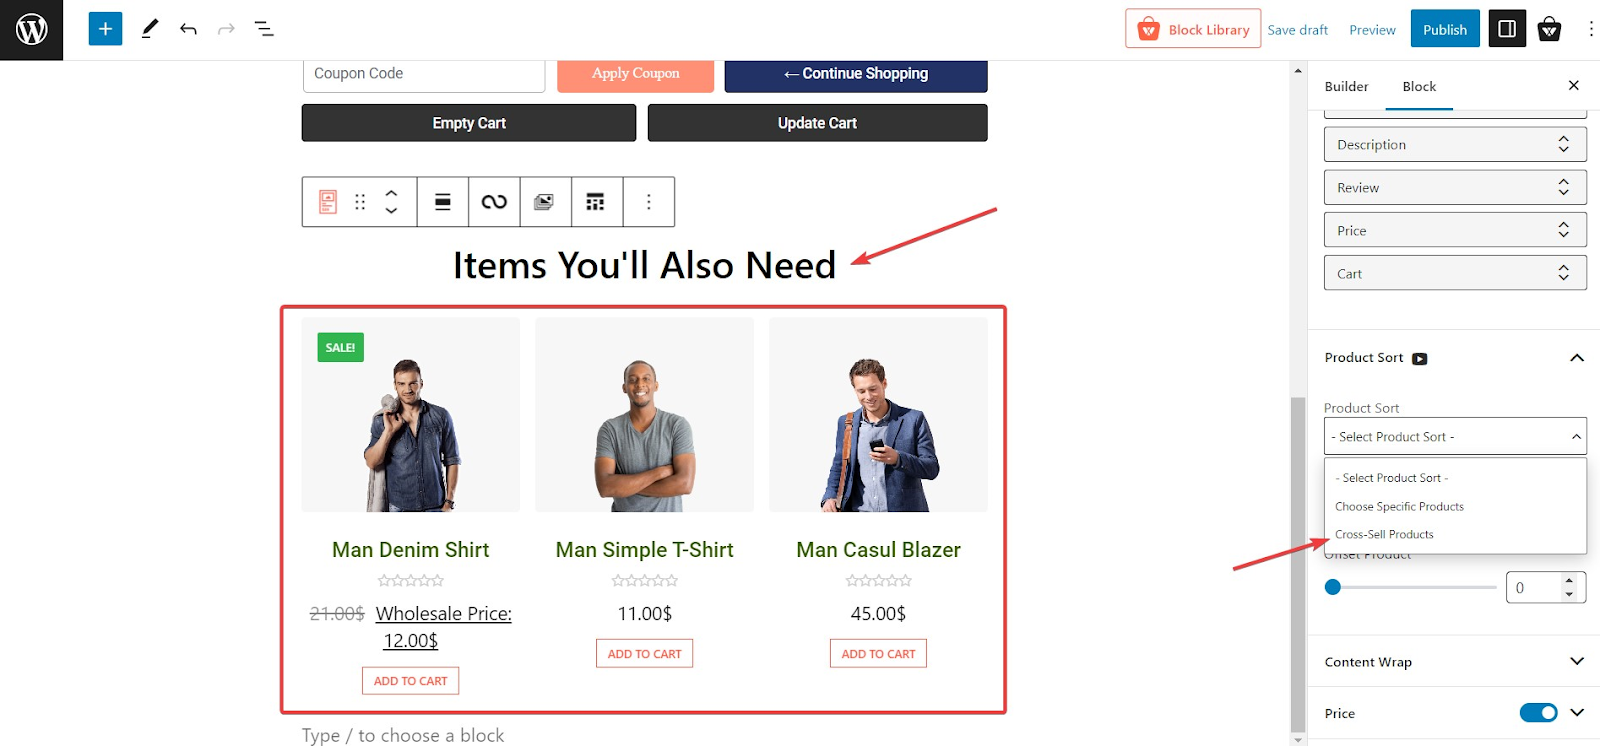
Once selecting the Cross Sell Products from the product sort tab, you can choose how many products you want to display here.
You can also choose the change the title of this related product page to intrigue customers even more. For example, we have changed the tile to ‘Items You’ll Also Need’ from ‘You May Also Like’.
Step 6: Change The Layout
ProductX features a variety of layout choices for displaying your cross-sell items with some buttons and alternatives, ensuring your consumers have a pleasant purchasing experience. On the More Products block’s General tab, you’ll see six layouts with compare, wishlist, and quick view buttons arranged in different placements.
Additionally, you can easily alter your product display using the ‘List View’ and ‘Grid View’ switchers, and Column and Row gap settings to adjust the right spacing.

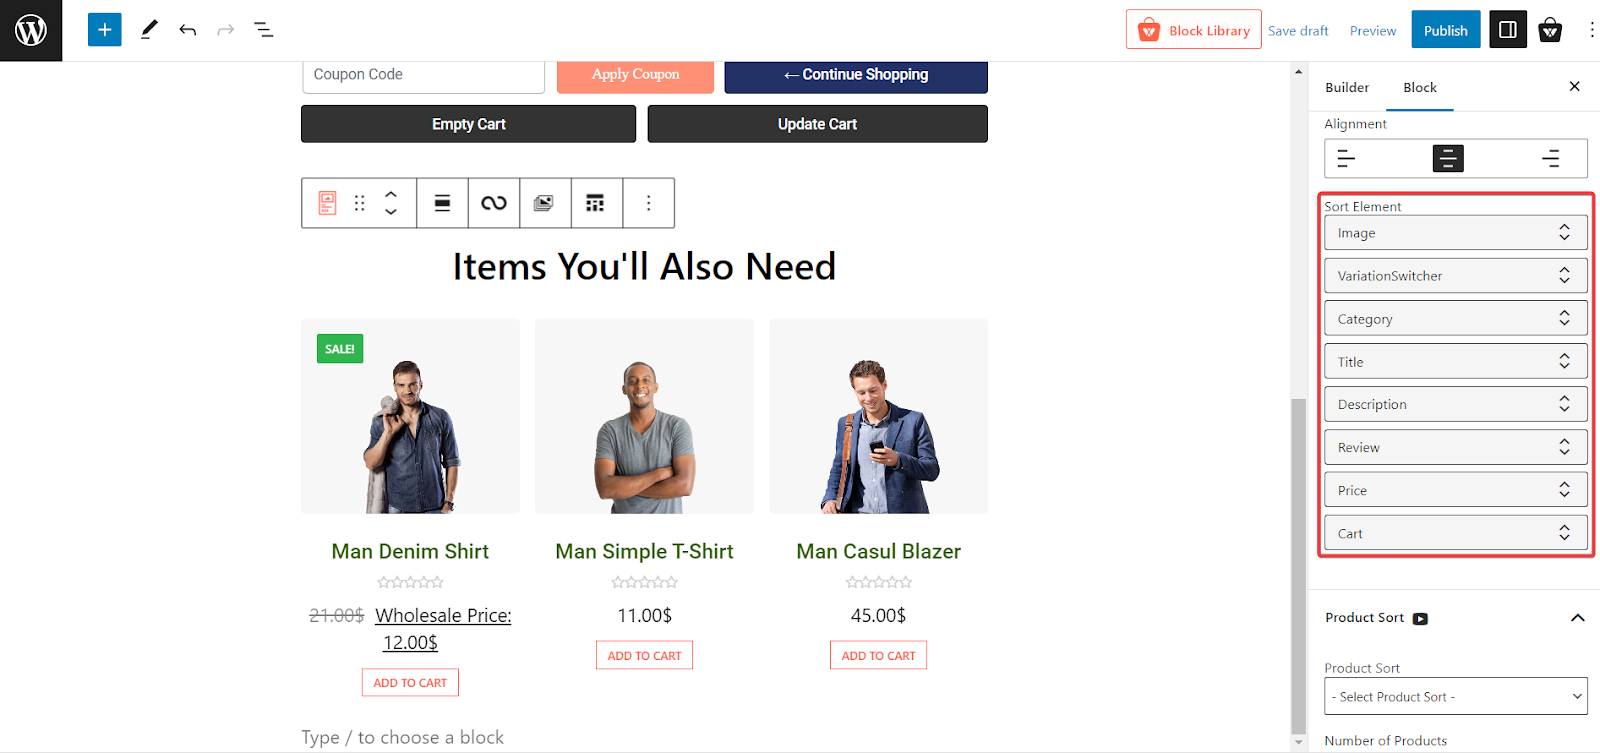
Step 7: Adjust Product Sort Elements
ProductX allows you to organize the image, variation switcher, category, title, description, review, and price as you see fit for each product at once. With the arrow up/down buttons, choose your sort sequence from the Sort Element tab.
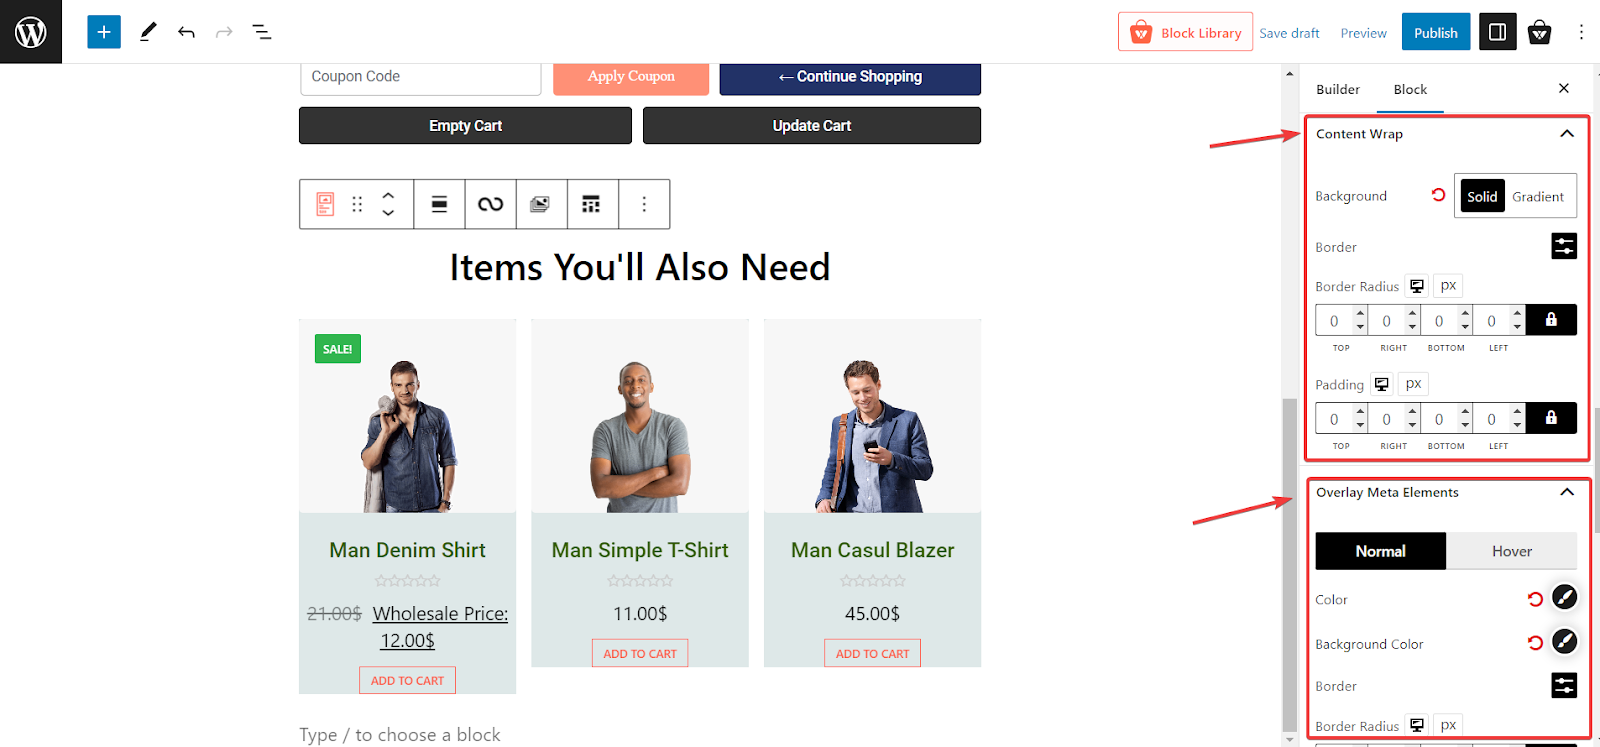
Step 8: Customize Content Wrap & Meta Elements
On the ‘Content Wrap’ tab, you will find options to change the background color, border radius, and padding to make your cross-sell items more interactive.
On top of that, the ‘Overlay Meta Elements’ has options to choose the color and spacing between overlayed elements. To make it more engaging for customers, you can choose between a normal and a hover effect.
Step 9: Choose To Display Elements With A Single Button
After the ‘Overlay Meta Elements’ tab, you will find buttons to turn on/off displaying Price, Review, Short Description, Sales, Cart, Image, Heading, and more for the cross-sell products. This single-tap button makes it easy to manage these elements without a hassle.

Step 10: Publish Your Cart Page
Once you are done with the customization on the cart page template, hit the ‘Publish’ button. Now add your product to the cart for which you have added cross-sell items.
On the cart page, you will find the newly designed section of cross sell items. With single clicks, customers can add items to their shopping carts, create wish lists, do side-by-side product comparisons, read customer reviews, and much more.
Plus, the ‘Free Shipping Progress Bar’ on the top will motivate them to achieve the benefit by adding complementary items.

Boost Cross Sell For WooCommerce With ProductX
Customers typically search for related things that suit their primary purchase and add value to them. ProductX gives you a wide variety of control over how your cross-sell products are displayed to shoppers, boosting your chances that they will buy those items.
With ProductX, you can showcase WooCommerce cross-sell products using a variety of button styles, layouts, and color schemes. Therefore, ProductX is your best option as a cross-selling solution for your shop. Get started with ProductX today to increase sales in your WooCommerce store.