
Shipping management is the most important but confusing part of creating and managing a WooCommerce store. For a niche online store, setting up shipping is easy, as it requires only a basic flat rate and free shipping options.
However, things become challenging for the store that sells products that differ in size or weight. Don’t worry; we have got your back.
WooCommerce shipping classes enable you to create separate shipping charges for different groups of products. For example, you can set a rate for lightweight products and charge more for bulky products.
In this blog post, I will guide you through how to create and assign multiple shipping classes for a group of products. So, without further ado, let’s get started.
Why Use Multiple Shipping Classes in WooCommerce?
Before going into the detailed guide, you should know the reason behind creating multiple shipping classes in WooCommerce. Shipping classes allow us to set shipping rates for different types of products smartly. Here’s why they are important for your online store:
Charge Accurate Shipping Rates
All products don’t have the same cost. So, a lightweight T-shirt and heavy furniture shouldn’t have the same shipping charge. Shipping classes help you solve exactly this problem by allowing you to charge based on product size or weight.
Automate Shipping Rate
You need to configure the shipping classes once. And, WooCommerce will automatically apply the correct shipping rate as per your configurations.
Better Customer Experience
If you are still dependent on flat-rate shipping, chances are you are facing abandoned cart issues. But with accurate shipping rates based on products, you can satisfy your customers and increase the number of sales.
Create FOMO with Free Shipping
With shipping classes, you can also offer free shipping for your desired products. As a result, you can create urgency and clear your flopped inventory.
Compatible with Shipping Plugins
Another remarkable advantage of shipping classes is that it is compatible with all popular shipping plugins. As a result, you can easily create custom shipping rules using the classes. So you don’t need to go to all the product pages again and do repetitive work.
How to Create Multiple Shipping Classes in WooCommerce
Now comes the most interesting part of this blog post. In this section, we are going to see how to create multiple shipping classes in WooCommerce.
For this tutorial, I have set up a demo of a furniture shop. In this shop, I have two product types: Chairs and Dining Tables. So I can organize them into two separate categories and create two classes, Small and Medium. Let’s see how:
First, go to the Shipping section of WooCommerce >> Settings and click on Classes. Then click on the “Add shipping Classes” option to create a new one.

Now, we need to configure the class with a name, slug, and description. The information will help you to identify it effortlessly. Once configured, click on the “Create” button. Similarly, let’s create another class.

How to Create Shipping Methods and Set Rates for the Shipping Classes
Now that we have properly created shipping classes, we need to create shipping methods and charge differently for classes. Here’s how:
Step -1: Create Shipping Zone
First, we need to create a shipping zone or start editing an existing one if you have already created one beforehand.
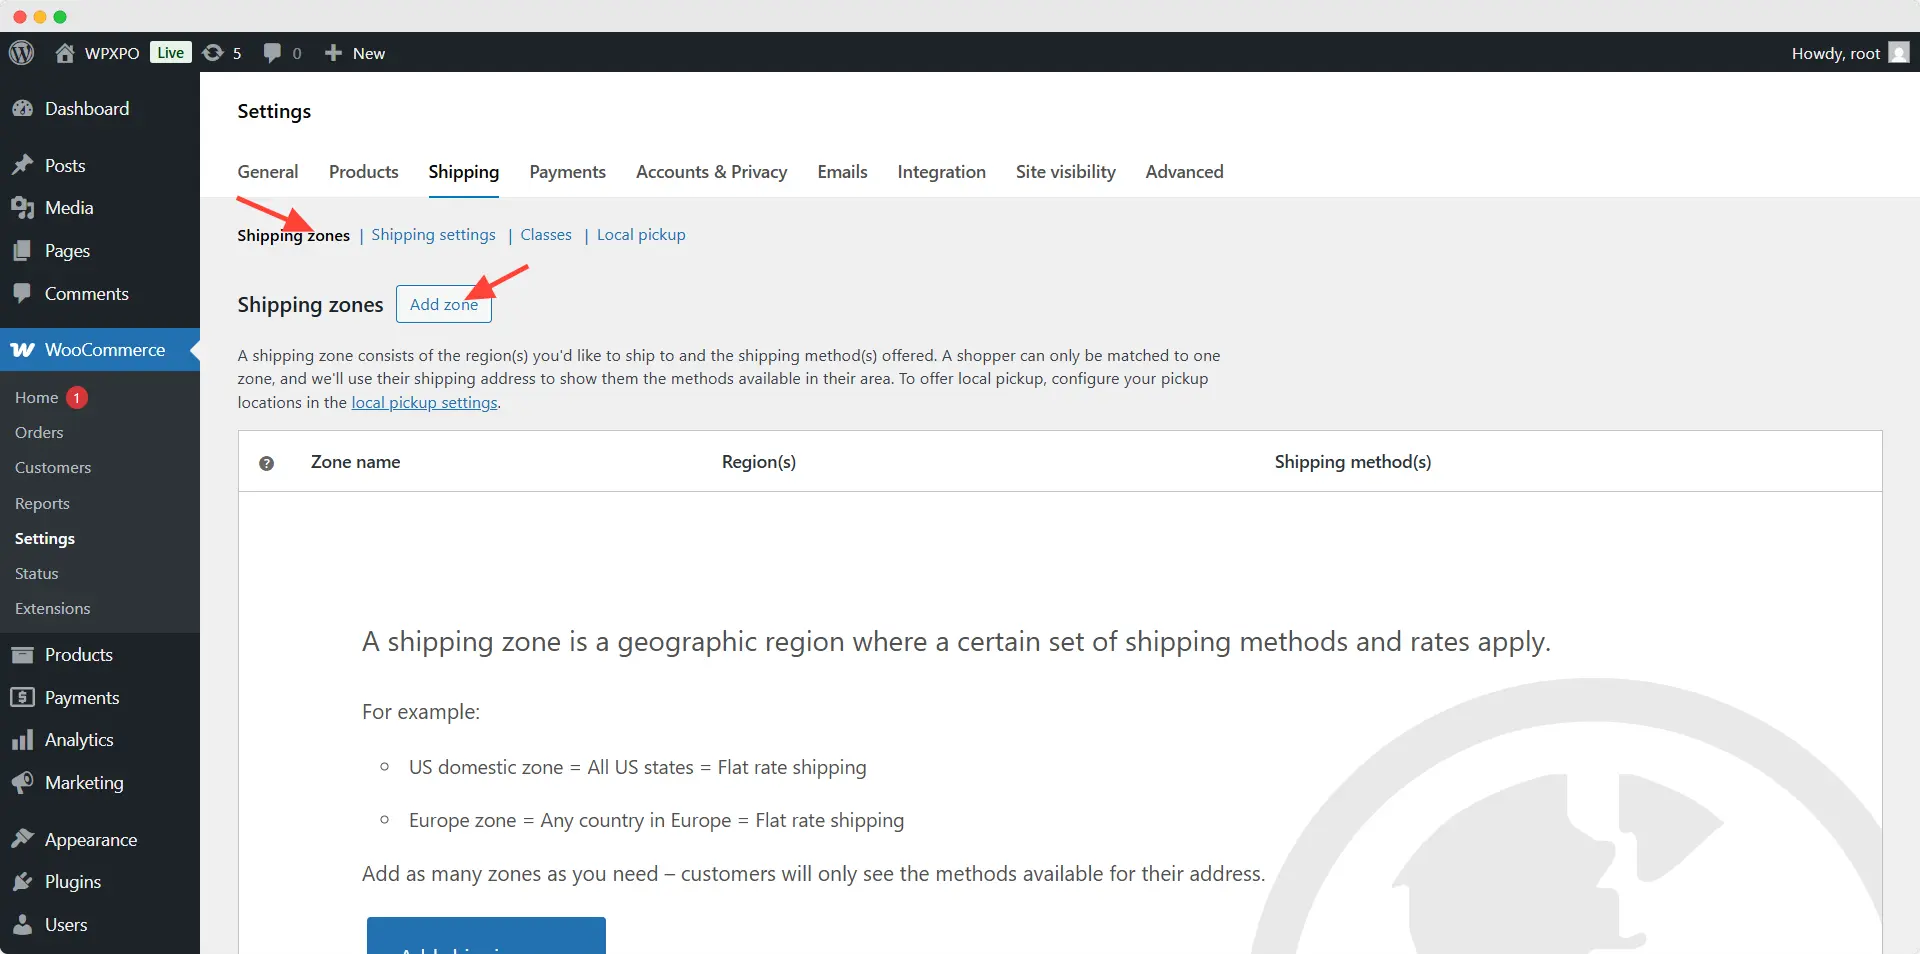
To create a new zone, we need to go to the “Shipping Zone” section and click on the “Add Zone” option. Then, we need to configure the Zone by adding a name and selecting the region(s).
Step -2: Create a Shipping Method and Set Rates for Classes
Now, we need to create a Shipping Method by clicking on the “Add shipping method” button. Here, you can see two options: Free shipping and a Flat rate. For now, we need to select Flat Rate and click on the “Create” button. Then, we must configure the method.

At first, we can change the method name. For now, let’s keep it as it is. Then, we need to select whether it is taxable or not. After that, we need to go to the “Shipping class costs” section. From here, we must add shipping charges based on the classes.

We can also add a charge for “No shipping cost.” In this way, we can charge a flat rate when someone adds a product to the cart that doesn’t have any classes. At last, we need to select a calculation type that specifies how the shipping charge will be calculated. It can be either based on “Per class” or “Per order”. That’s all; now we can click on the “Create and save” button.
Want to turn more visitors into customers?
Use WowShipping to simplify shipping rates and checkout in WooCommerce, so buyers complete their orders without hesitation.
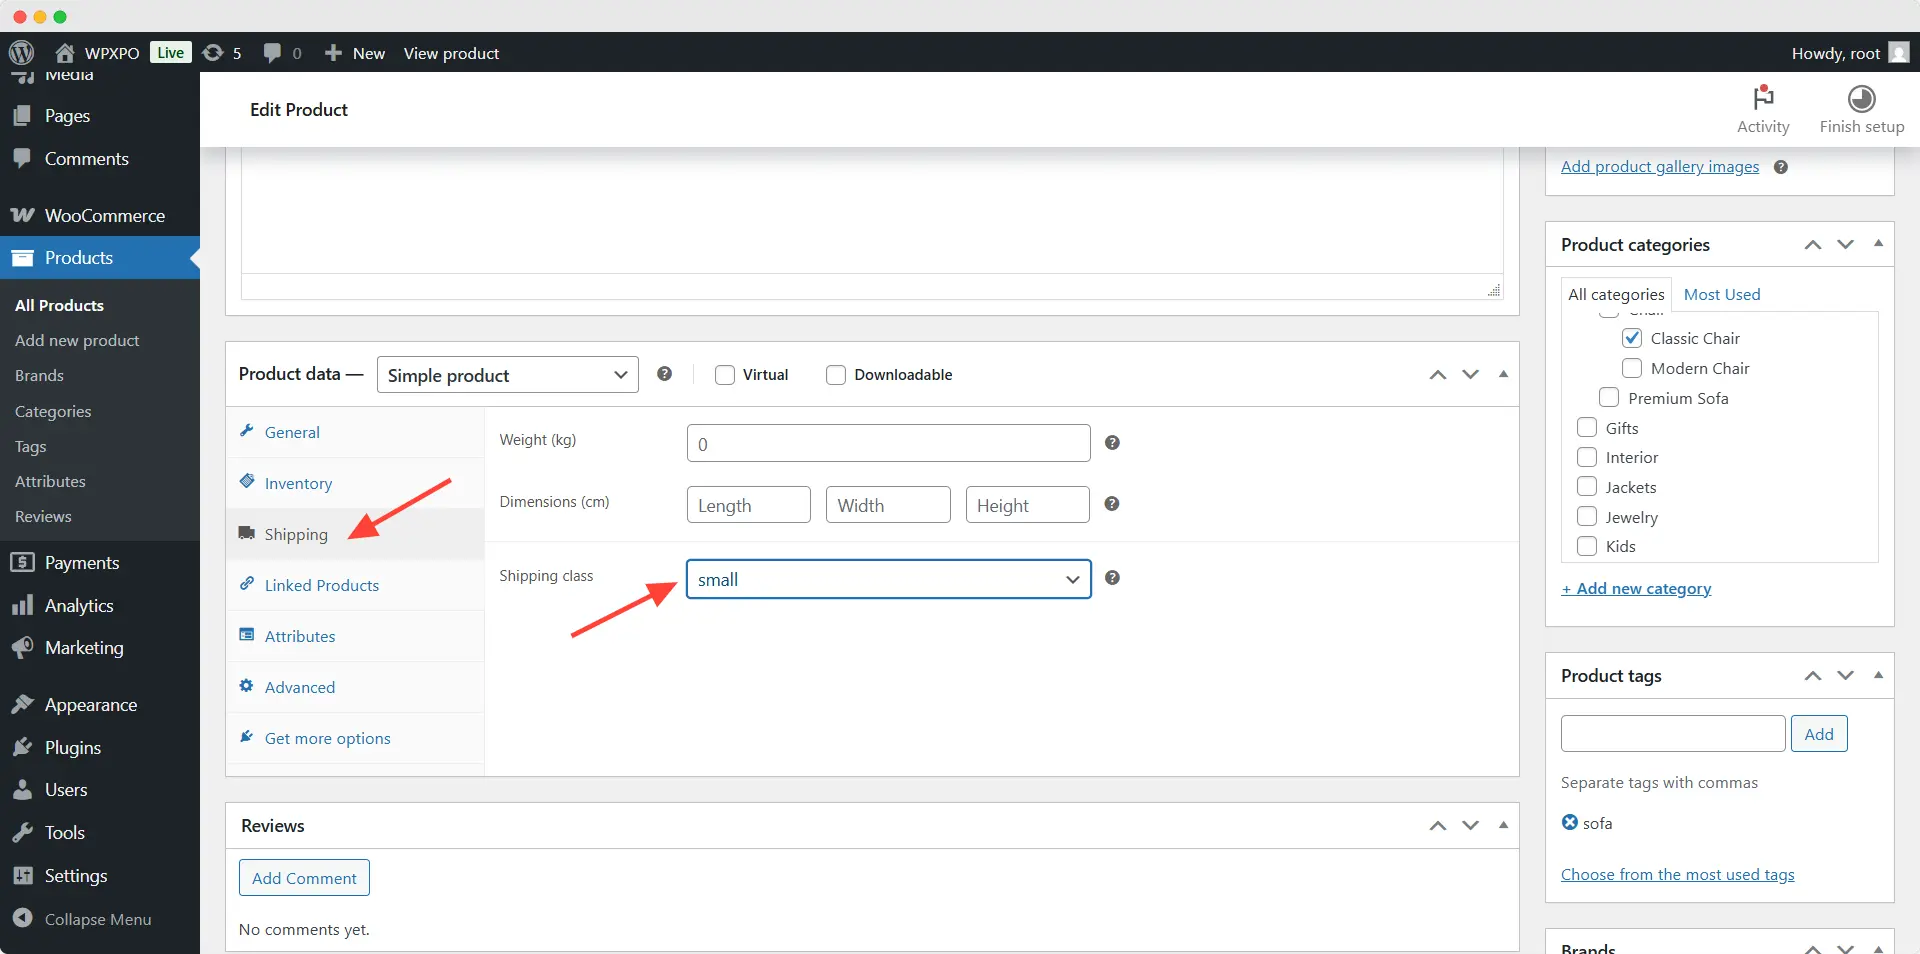
How to Assign Multiple Shipping Classes to Products
Now, we need to add the classes to the products. For that, we need to start editing a product. Then click on the “Shipping” options located under the product data section. Here, you can see that all our created classes are listed, and we can select our desired ones. As it is a chair, I am selecting the small class. At last, we need to update the product.
Similarly, we need to add the classes to all of the products of our store. Not only for the existing ones, but we also need to select classes for all new products that we will be adding to the store.
After assigning classes to all products, we can go to the front end and see whether it’s working or not.
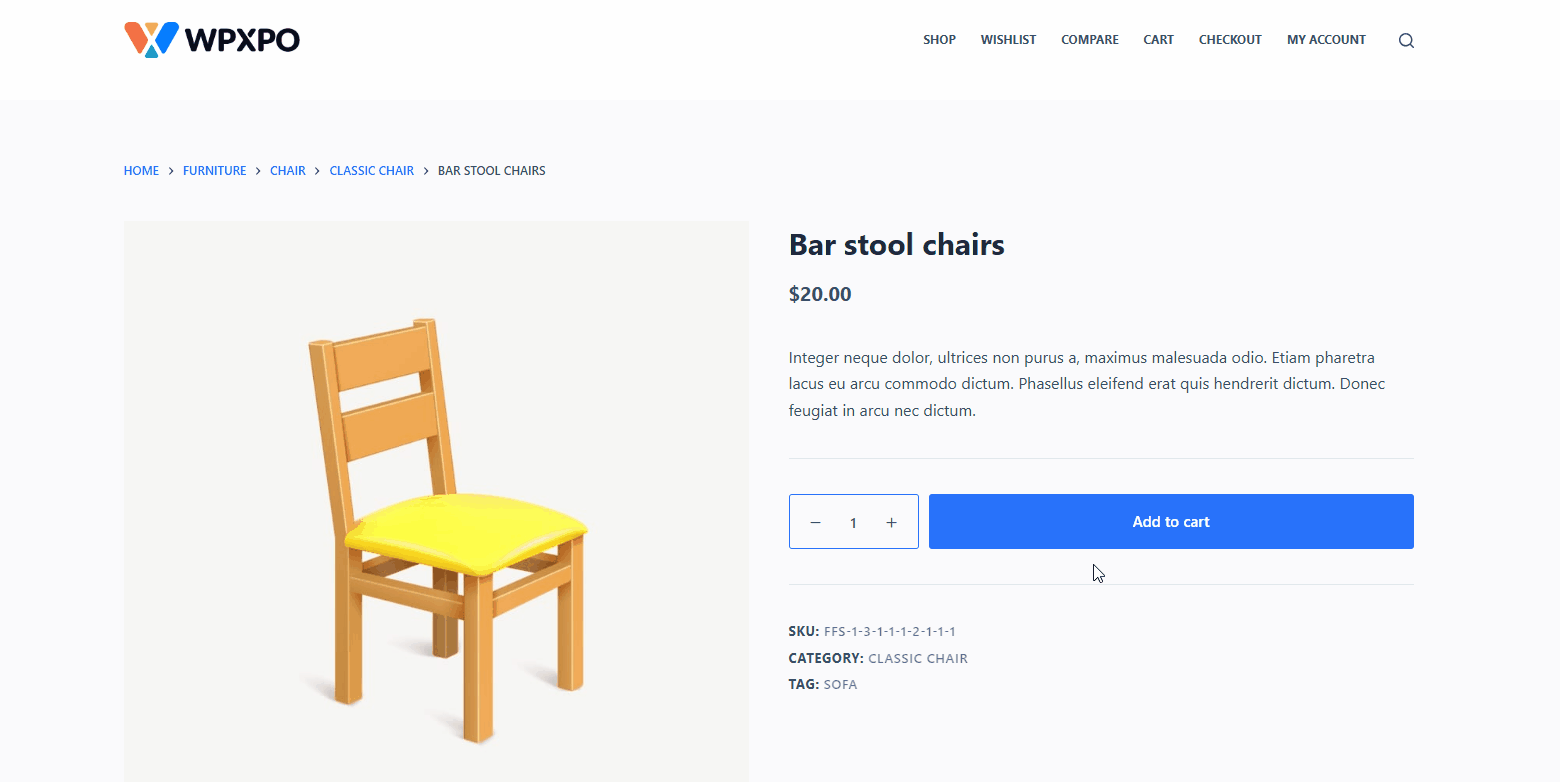
Now you can see that if you add a chair to the cart, the shipping charge is added as we have set for the small class. On the other hand, if we add a dining table, the shipping cost is different, as we have configured it for the medium class.

How to Assign Multiple Shipping Classes to Variable Products
Similarly to the simple products, you can also set single or multiple shipping classes to variable products. For that, start editing a variable product and configure it as per your requirements.
If you want to add the same class for all of your product variations, then the process is similar to simple products. You can go to the Shipping section and select your desired class.

However, things are different if you want to add different shipping classes to different product variations. For that, click on the variations option and open the product variations. Here, you can see that you have a class selection option for this variation. Select your desired one, and repeat the process for all of your product variations. Once the configuration is complete, make sure to click on the save changes button.
You may also like to read:
- How to Set Up Shipping in WooCommerce
- Best WooCommerce Shipping Plugins
- How to Set WooCommerce Role-based Shipping Methods
Conclusion
That’s all about the WooCommerce shipping classes. I hope you can now add multiple shipping classes to simple or variable products. However, if you face any kind of problems or difficulties, feel free to comment below. You can also share feedback & suggestions regarding this article or the WPXPO blog.
FAQs
Can I assign more than one shipping class to a single product?
No, WooCommerce allows only one class for a specific product or variation. However, you can do this using an advanced shipping plugin.
What’s the difference between ‘Per Class’ and ‘Per Order’ calculation types?
Selecting the Per Class option will charge all the products’ shipping based on their assigned classes. On the other hand, selecting the Per Order option will add the highest class cost as the shipping cost.
Can I offer free shipping for certain classes only?
Yes, you can offer free shipping for specific or multiple classes. For that, you need to add “0” as the cost of your desired class.
Will my shipping classes work with third-party shipping plugins?
Yes, most advanced & modern plugins allow you to configure complex rules with default WooCommerce shipping classes.
What happens if a product doesn’t have a shipping class?
If you forget to add a class to a product, WooCommerce will apply the costs set on the “No shipping class cost” option.


