Are you looking to enhance your WordPress blog posts’ visual appeal and readability? With the List Block of PostX, you can effortlessly create eye-catching bullet points and numbered lists that captivate your readers’ attention.
Gone are the days of plain and dull lists. PostX empowers you with various customization options, allowing you to unleash your creativity and design stunning lists that align perfectly with your brand and content style.
In this blog post, we will show you how to create WordPress bullet points with the help of PostX‘s list block. From customizing bullet styles to adding unique icons and choosing from various list layouts, you’ll learn how to make your lists visually engaging.
How to Create WordPress Bullet Points with PostX’s List Block
Don’t settle for ordinary bullet points and numbered lists. Elevate your content with PostX’s List Block and make a lasting impression on your readers. Get ready to transform your lists into visual masterpieces and take your WordPress blog to new heights.
Take your lists to the next level by adding unique icons or custom image bullets. With PostX, you have access to a diverse range of icon libraries and the option to upload custom images. So, you can easily create visually appealing and engaging lists that stand out.
Whether creating a step-by-step guide, sharing important points, or organizing information, the “List – PostX” block in PostX makes creating professional and visually striking lists for your WordPress content easy. So, without further ado, let’s dive in!
Video Guide
If you prefer to watch a tutorial, we have a helpful video on this topic. Feel free to check it out:
Watched the video? liked it? let’s get deeper and show you the process step-by-step.
Step 1: Add the PostX List Block
Firstly, if you want the advanced options for the list, you need to install and activate PostX. And doing so will let you add the List block, which has many customization options.
Now, navigate to the WordPress editor and create a new page or edit an existing one. To add the “List – PostX” block, click on the “Add Block” button or the “+” icon. In the block search bar, type “List – PostX” and select the block from the available options.
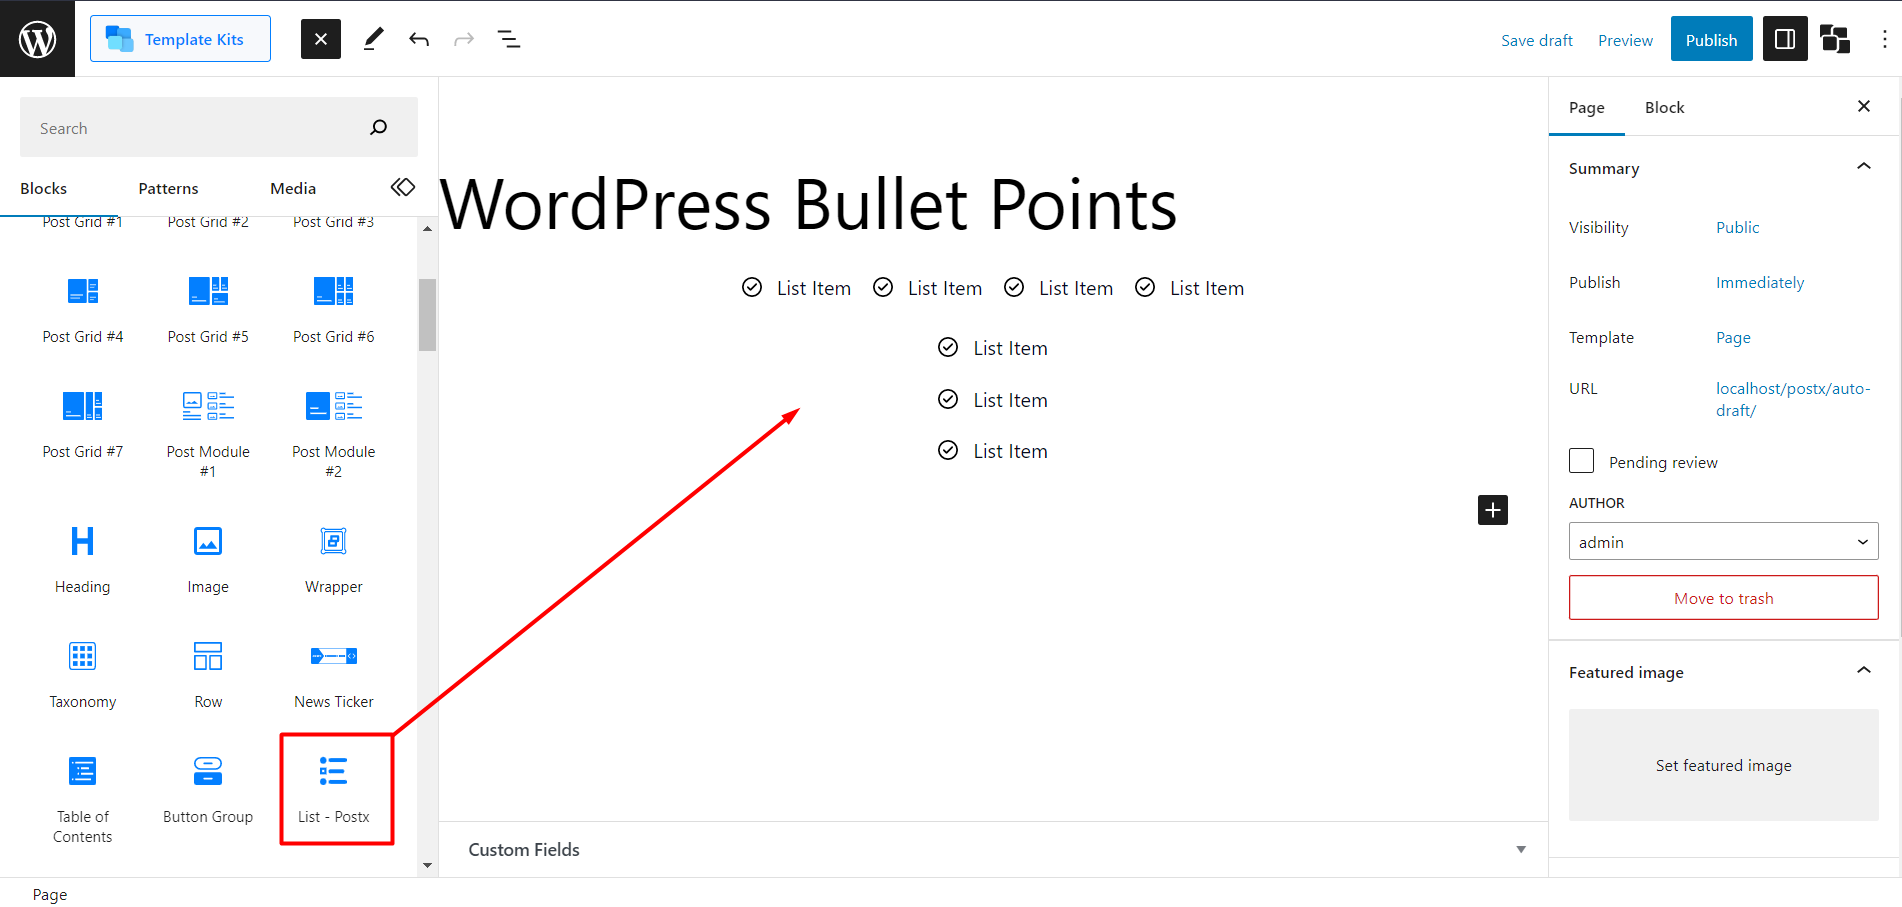
Once you’ve added the “List – PostX” block, you can customize it to suit your needs.
Step 2: Choose From Premade Patterns
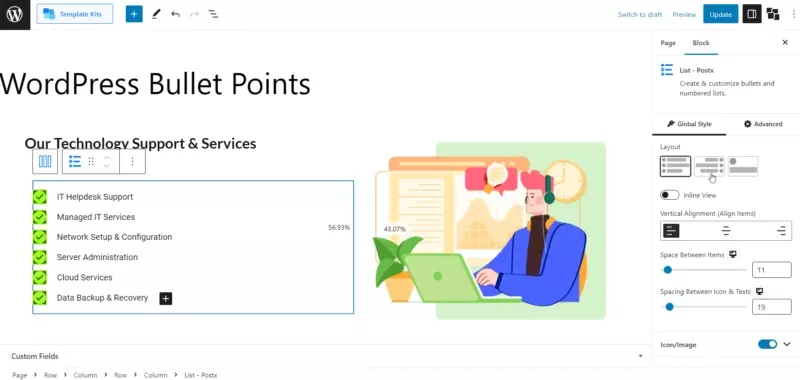
You have added the list block. Now, if you want to avoid customizing it, we have premade patterns to save your back. It’s a simple process. You have to click on the block, and in the settings, you’ll see “Predefined Patterns.” Click it and click on “Synchronize.” Once you do it, you’ll see the latest update of premade patterns for the List block. Now pick your pattern and click Import, and you’re done.
Note: Make sure to always click on “Synchronize” when you are importing a pattern. This ensures that you’re accessing the most up-to-date patterns for the best possible output.
You can further customize it if you want. We will show you the customization options in the next step. But before that, you can check out our demo first to understand how many advanced ways you can implement the list block on your site.
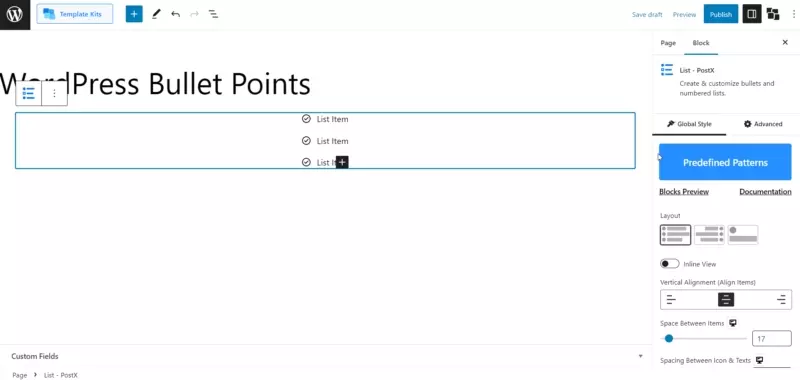
Step 3: Customize Settings for WordPress Bullet Points
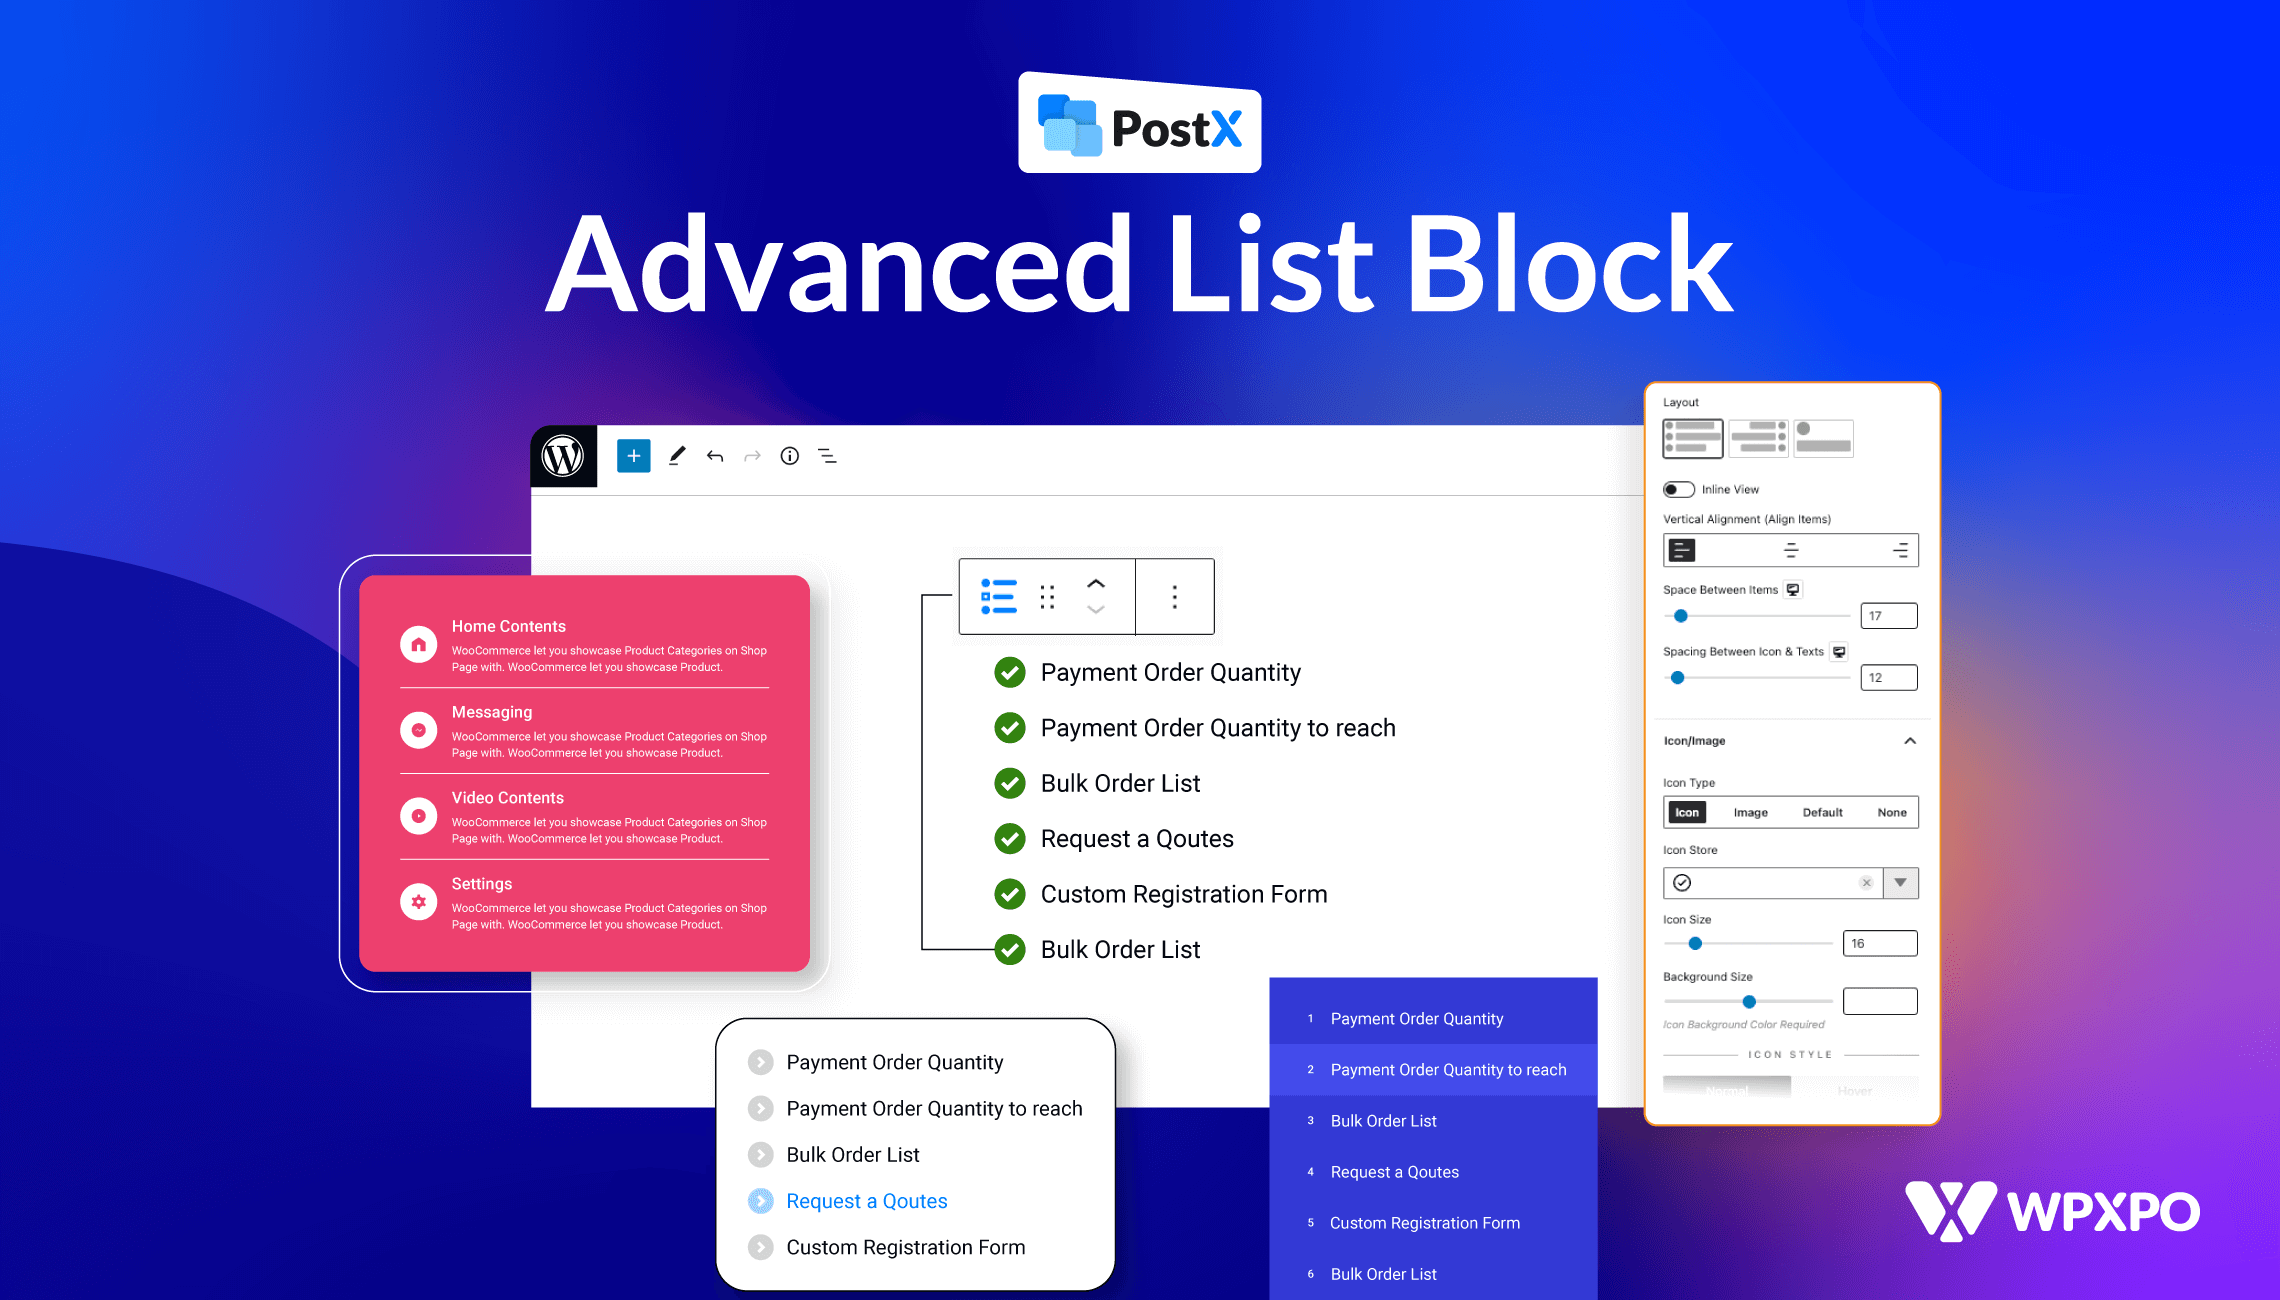
Now, let’s start with some amazing customization options. Simply click on the list block, and you’ll find the settings conveniently located in the right sidebar.

However, there are two ways you can customize the list block. You can customize the block as a whole globally, or you can particularly customize single bullets with single list settings. We will explore both of the settings, so don’t miss anything.
Global Customization Options
First, let’s check out the settings you will get to customize the list block globally.
Layouts
You can find three options for the Layout settings in the list block.
Additionally, you will get the following settings.
Inline View: If you enable the “Inline” setting, it changes the display of the list block from its default column format to a row format. This means the bullet points and text will be shown horizontally in a single line.
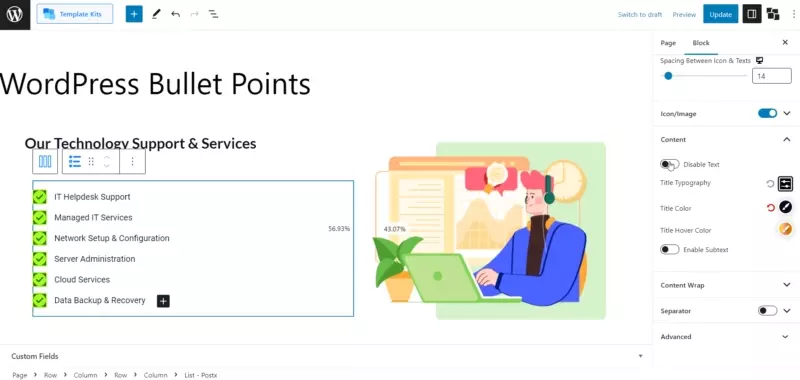
Also, advanced options such as Vertical Alignment, Space Between Items, Spacing Between Icons & Texts are available at your disposal.
Icon/Image
With the “Icon/Image” setting in the list block, you can use different options to fine-tune the look of the bullet points. Let’s explore each option.
Default
Selecting the “Default” option enables typical bullet points like ABC, Roman numerals, or regular numeric bullets. With this option, it is easy to choose the background size and typography. Similar to other options, you can adjust things such as hover icon background colors, icon background colors and so on. Also, it is possible to set different types of borders with specified widths and colors using border-radius.
Image
Selecting the “Image” option allows you to use images as bullet points. You can adjust their size and background size. You can also customize the regular and hover icon background colors. In addition, you can apply different types of borders with specific widths and colors.
Icon
By choosing the “Icon” option, you can add icons from a wide library. You can adjust their size and background size. For more customization, you can change the hover color, icon background color, hover icon background color, and so on. You can also apply different types of borders with specified widths and colors using border-radius.
None:
The “None” setting removes any visual markers like bullets or images, leaving only the text.
Content
The Content settings in the list block allow customization options for the layout and appearance of the lists. Here are the options you can take advantage of:
- Disable Text
- Title Typography
- Title Color
- Title Hover Color
- Enable Subtext
- Subtext Typography
- Space Between Text & Subtext
- Subtext Color
- Subtext Hover Color
- Midpoint Subtext
Content Wrap
With the help of the “Content Wrap” setting in the list, you can customize the styling and appearance of the content inside the list. You’ll get the following customization options:
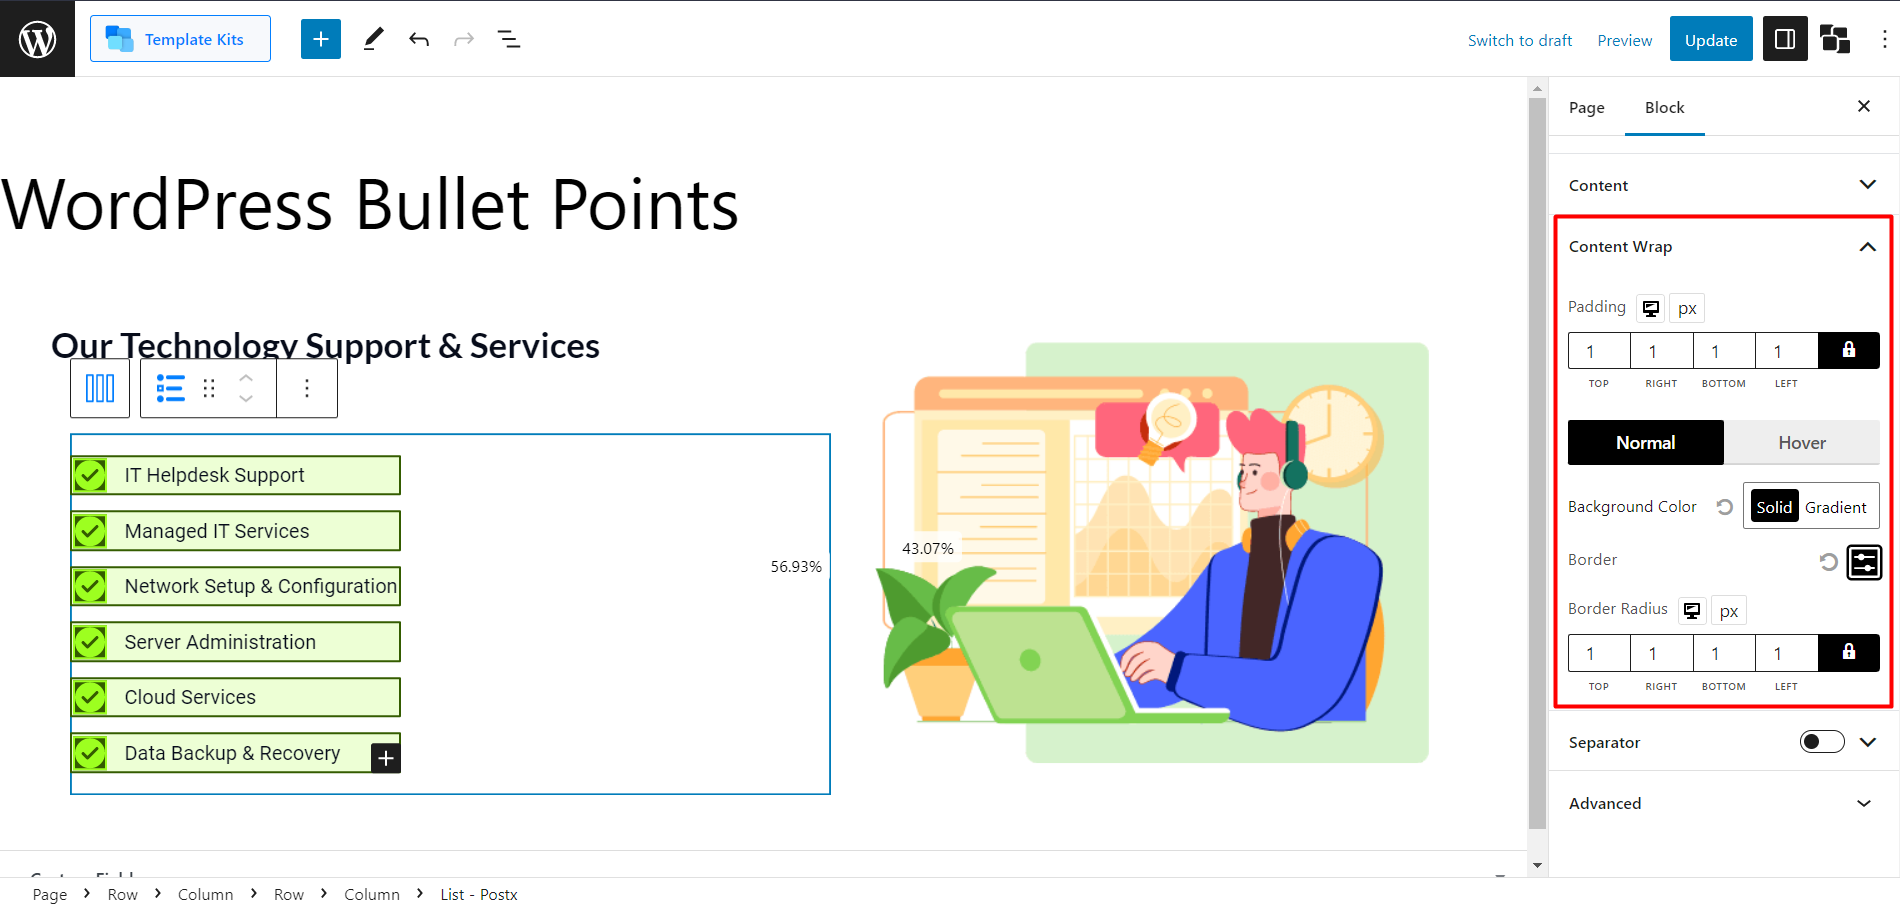
- Padding
- Background Color
- Hover Color
- Border
- Border Radius
Separator
Using the “Separator” setting you can easily show a visual separator in between list items. Also, you’ll get some advanced options like:
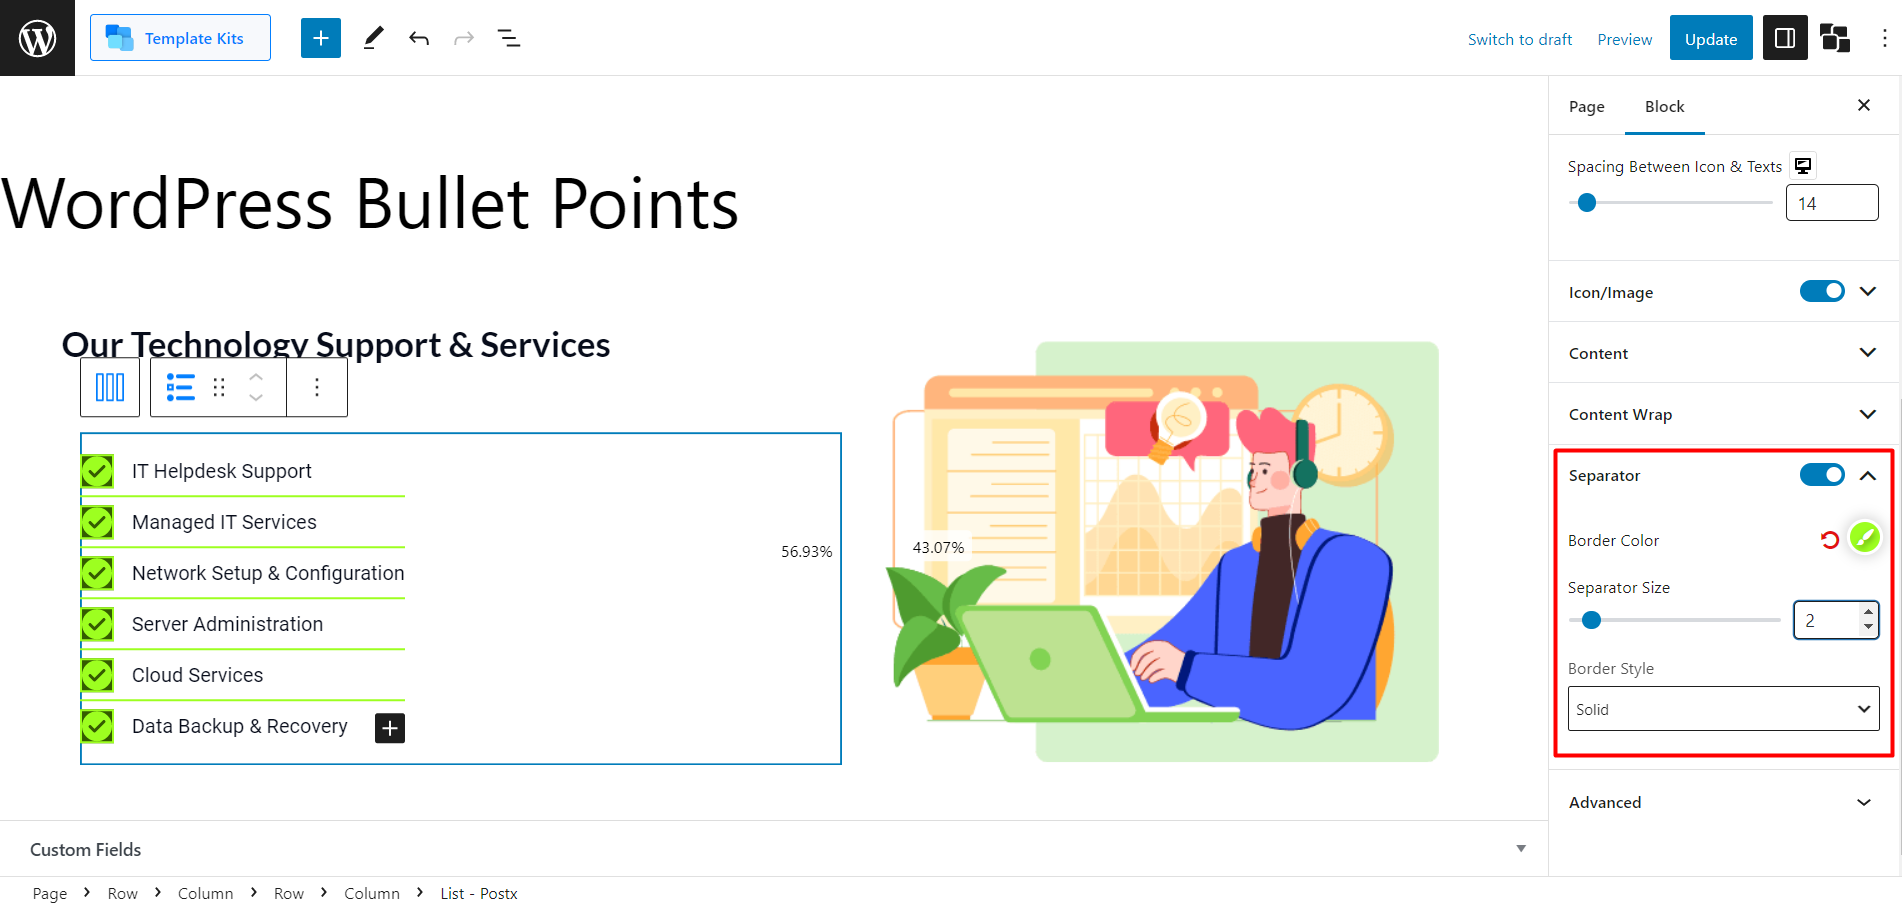
- Border Color
- Separator Size
- Border Style
Customization for Single Bullet
If you are customizing settings for a single bullet point, you can enjoy several options. Let’s find out what these are:
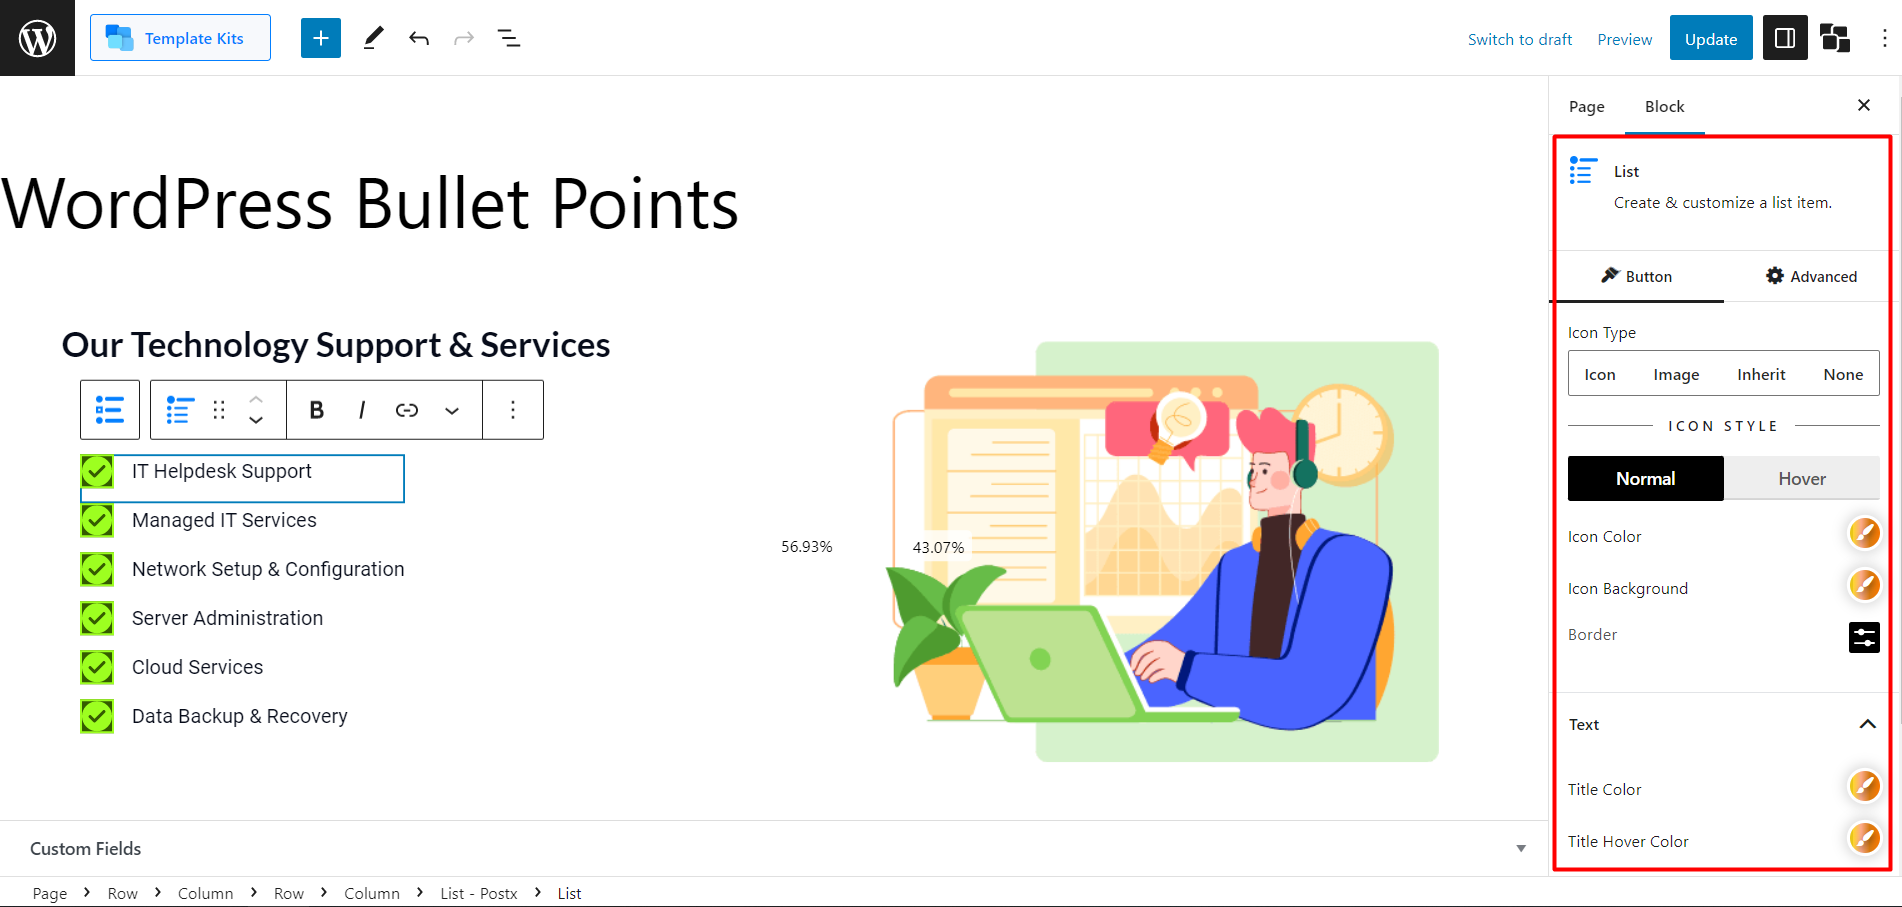
Icon Type
The “Icon Type” setting gives you various options for the bullet point style:
- Icon: Use an icon as the bullet point.
- Image: Utilize an image as the bullet point.
- Inherit: Inherit the bullet point style from the parent list.
- None: Remove the bullet point entirely.
Normal and Hover (Icon) Settings
You’ll get the following settings for the icon, for both normal and hover.
- Icon Color
- Icon Background
- Border
Text Settings and Subtext Settings
Text settings are very intuitive to understand, and you’ll see the following options to make your bullet points extraordinary:
- Title Color
- Title Hover Color
- Subtext Color
- Subtext Hover Color
- Space Between Text & Subtext
Conclusion
The List Block of PostX allows you to create visually appealing and customizable bullet points. With various customization options, including layouts, icons, images, colors, and spacing, you can enhance your lists’ visual appeal and readability.
With the ability to choose different layouts, add icons or images, adjust colors and spacing, and customize individual bullet points, you can create visually striking and engaging lists that captivate your readers’ attention.
Don’t settle for ordinary WordPress bullet points when you can transform them into visual masterpieces with the List Block of PostX. Upgrade your WordPress blog today and take your content to the next level.

