You’ve poured your heart and soul into creating valuable content for your WordPress site. But what about the faces behind the words? The default WordPress author page often feels like a forgotten corner and is bland.
By sticking with default author pages, you’re losing a valuable opportunity to build trust, showcase expertise, and grow your community. Readers crave a connection with the authors.
Plus, it doesn’t exactly scream “professional” or reflect the unique personalities that make you special.
This instant setup guide will walk you through the methods to set up a stunning WordPress custom author page. Let’s transform those generic profiles into engaging hubs for your audience.
What Is a Custom Author Page in WordPress?
A custom author page in WordPress is a personalized webpage on a site that shows information about a specific author. It highlights the author’s profile better and even includes extra details like social links, recent posts, or contact info.
WordPress automatically creates a basic author archive that only shows blog posts by that author. But a custom author page lets you go further. Here’s a clear and simple comparison:
| WordPress Default Author Archive Page | Custom Author Page |
|---|---|
| Created automatically by WordPress | Designed and customized by you |
| Lists all posts from the author | Shows posts plus extra details |
| Basic layout (same as archive pages) | Unique layout and professional design |
| Usually only author name (sometimes bio if theme allows) | Author bio, profile photo, social links, contact info |
| Limited control | Full control over look and content |
👉 In short, the default WordPress author archive page only lists posts, while a custom author page can tell readers more about the author and their work in a professional and better way.
Author Page vs. Author Box vs. Author Gallery
On WordPress sites, authors can be displayed in different ways. To avoid confusion, here are the key differences that explain how each option presents author information.
Author Page
- A full page dedicated to a single author.
- Has its own unique URL.
- Shows the author’s posts, bio, photo, and other details.
- Can be default (basic) or custom (personalized).
Author Box
- A small section displayed at the start or end of a blog post.
- Appears on the blog post URL, not a separate page.
- It shows the author’s name, photo, short bio, and sometimes social links.
- Let’s readers quickly see who wrote the post.
- May include a CTA linking to the author’s full profile page.
- Does not include a full list of the author’s posts.
Author Gallery
- A page showing multiple authors together.
- Common on multi-author sites.
- Displays author photos, short bios, and links to each author’s page.
Here’s a clear and simple comparison:
| Feature | Author Page | Author Box | Author Gallery |
|---|---|---|---|
| Type | Full page for one author | Section within a blog post | Page showing multiple authors |
| URL | Unique author URL | Blog post URL | Unique author gallery page URL |
| Purpose | Showcase full author profile | Quickly inform readers about the author | Showcase all authors in one place |
👉 In short: Author Page is about one writer, Author Gallery shows many writers in one place, and Author Box is a small author info block inside a blog post.
What Should Every Author Page Truly Include?
Beyond the basic name and a short bio, what elements truly make an author page effective and engaging? Let’s delve into the essential components that every author page should include.
Professional Headshot/Avatar
This might seem obvious, but a high-quality, professional headshot is non-negotiable. It puts a face to the name and helps build trust and recognition.
Compelling Author Bio
This is your opportunity to tell your story and connect with readers on a personal level. Go beyond just listing your credentials.
Social Media Links
Make it easy for readers to connect with you beyond your author page. This expands your reach and allows interested readers to follow your work, and engage with you on other platforms.
Links to Recent/Popular Posts
Make it simple for readers to discover more of your work directly from your author page. This encourages further engagement and keeps readers on your site longer.
Call to Action (Optional)
What do you want readers to do after visiting your author page? Guide them with a clear call to action. It directs readers toward a desired outcome,
Contact Information (Optional)
Depending on your goals and comfort level, providing a way for readers to contact you directly can be beneficial. It allows for direct communication, potential collaborations, and feedback.
How to Create a Custom WordPress Author Page?
So, here we are on creating a custom author page in WordPress. Let’s learn step by step with a few different approaches. You can use any of these three methods:
- Method #1: Using Theme Options (Easiest but Less Flexible)
- Method #2: Using Plugins (Most Recommended)
- Method #3: Customizing Theme Files (Complex and Technical)
Let’s learn each method one by one!
Method #1: Using Theme Options (Easiest but Less Flexible)
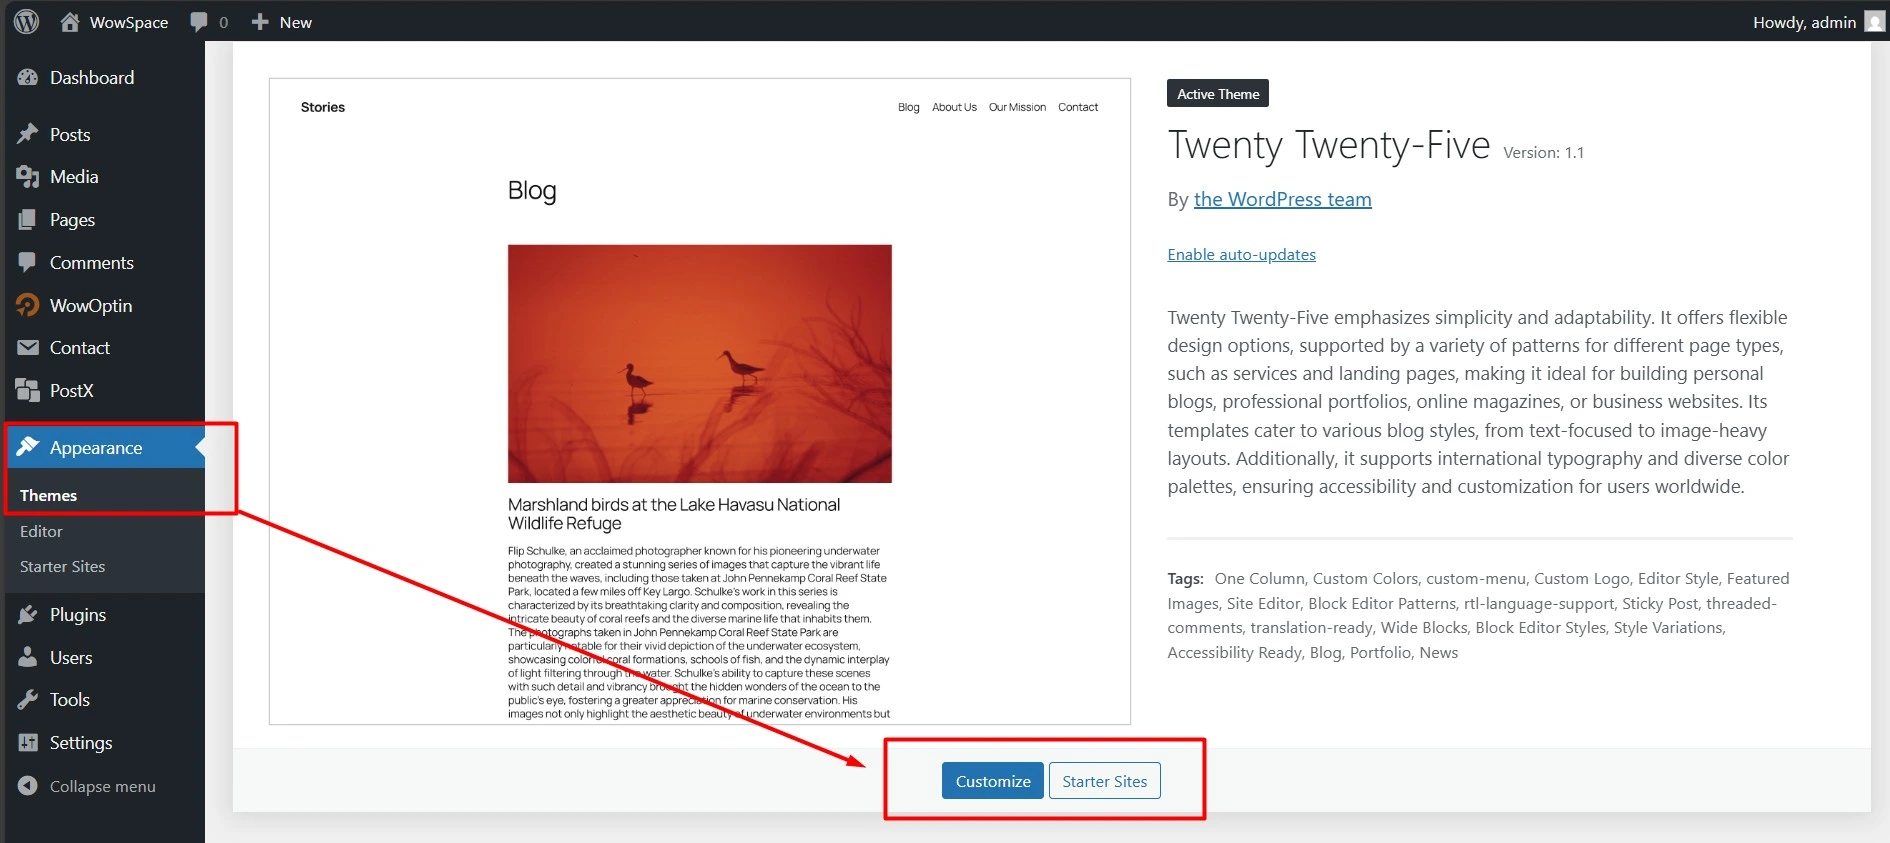
This method is straightforward and doesn’t require additional tools. You just need to head over to your WordPress dashboard, then look for “Appearance” and then “Customize” or your theme’s specific options panel (it might be called something like “Theme Options”).
Then, you have to look for the Author Page Setting (If Available). Many modern WordPress themes have built-in options to customize the author page. You might find settings to:
- Change the layout (e.g., sidebar on the left or right, full width).
- Display your social media links.
- Add a more detailed bio (sometimes with formatting options).
- Show your latest posts in different ways.
- Sometimes even customize the colors and fonts a bit.
You need to simply play around with the options available and use the preview to see how your changes look before you hit “Publish.”
Method #2: Using Plugins (Most Recommended)
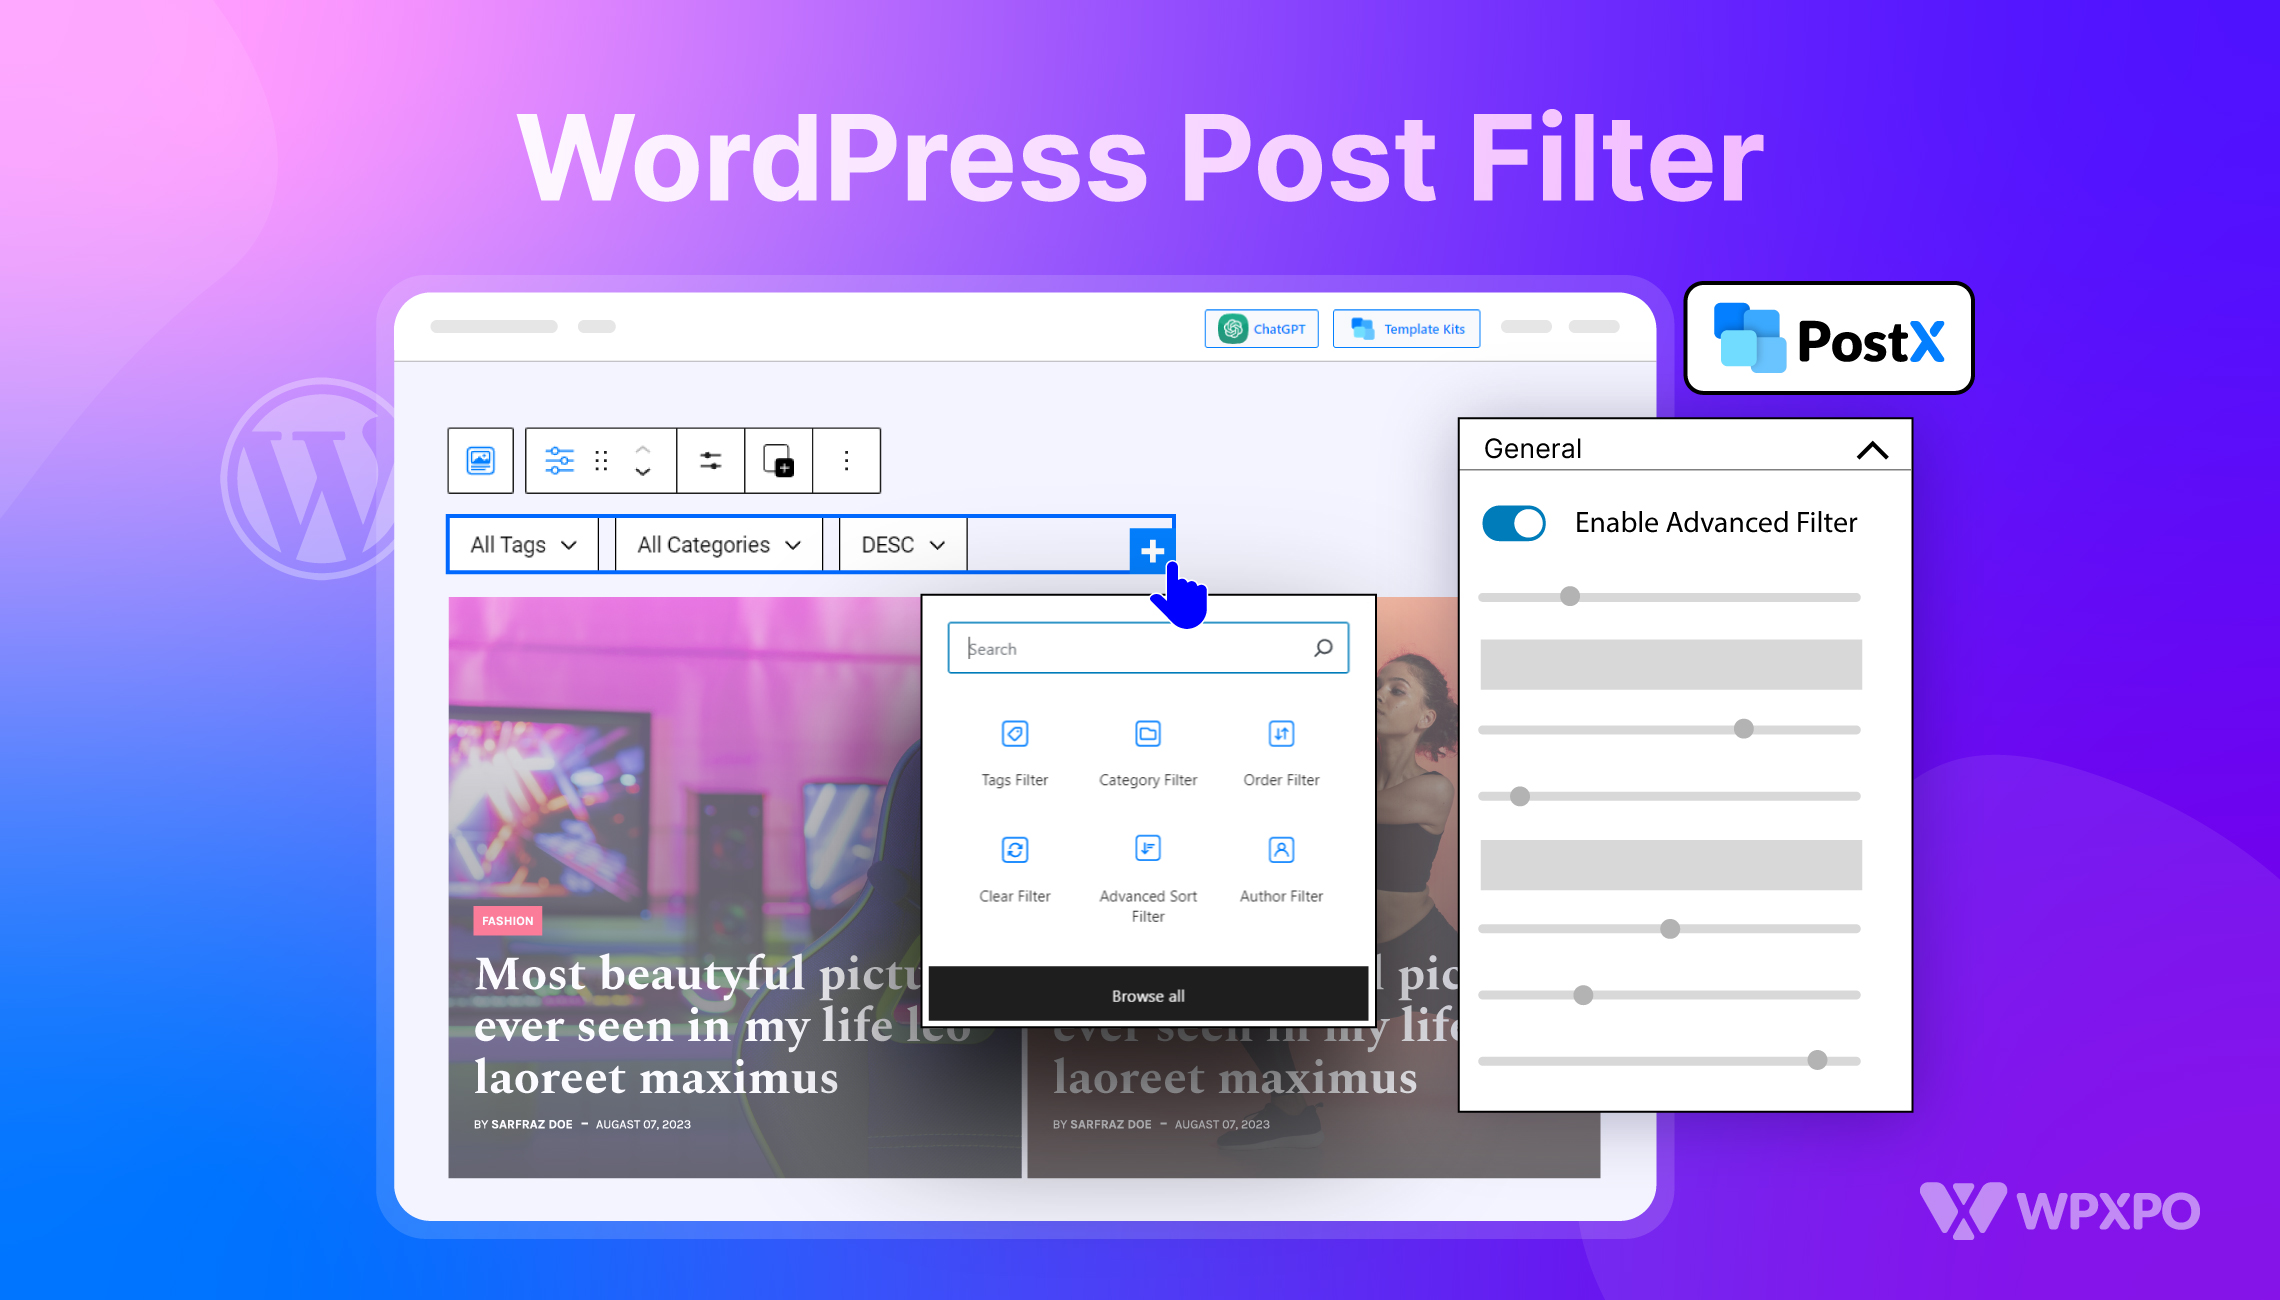
If your theme’s options are limited or you can’t find any author-related settings at all, the best solution is to use a page builder plugin like PostX. It will give you complete control of your entire author page from scratch! This gives you ultimate flexibility to:
- Create custom layouts with different sections.
- Add images, videos, and calls to action.
- Showcase your articles in unique ways.
- Integrate with other plugins (like those for your newsletter).
- A lot more…
But Why PostX?
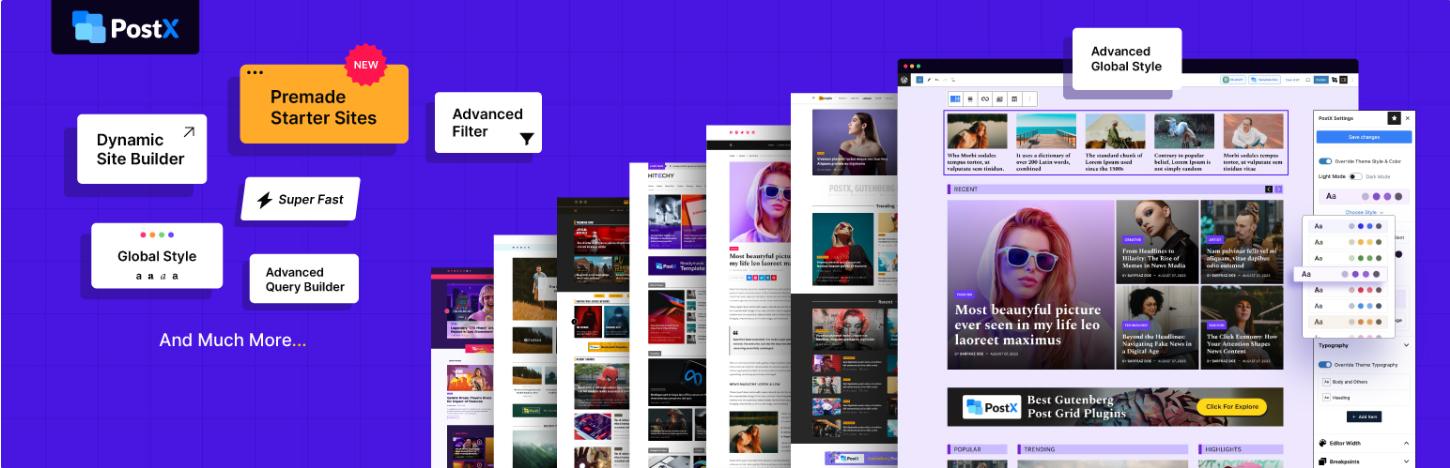
PostX, the leading Gutenberg Blocks Builder plugin, empowers you to transform static websites into dynamic online news platforms, magazine hubs, blogs, and portals. Its extensive library of pre-made blocks and templates allows you to breathe new life into outdated sites within minutes.
PostX offers intuitive customization for content and presentation, overcoming the inherent limitations of the standard WordPress template hierarchy and boosting your design capabilities.
To create a custom author Page in WordPress using PostX, all you need to do is follow the steps below
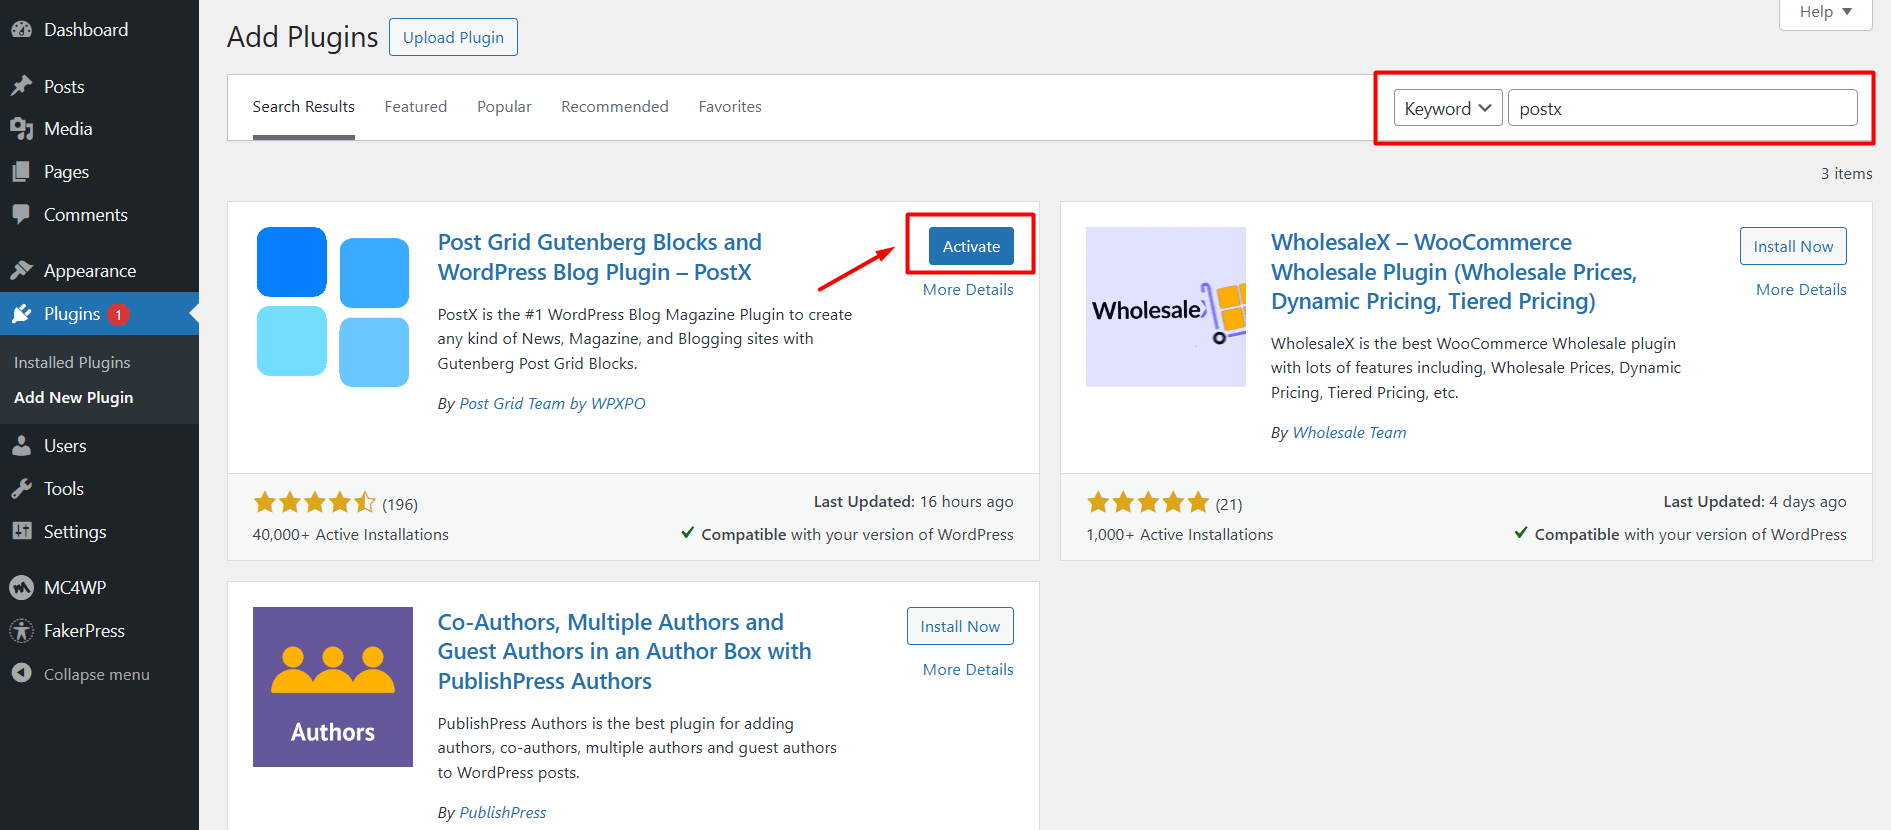
Step #1: First, install PostX. Seems obvious, duh.
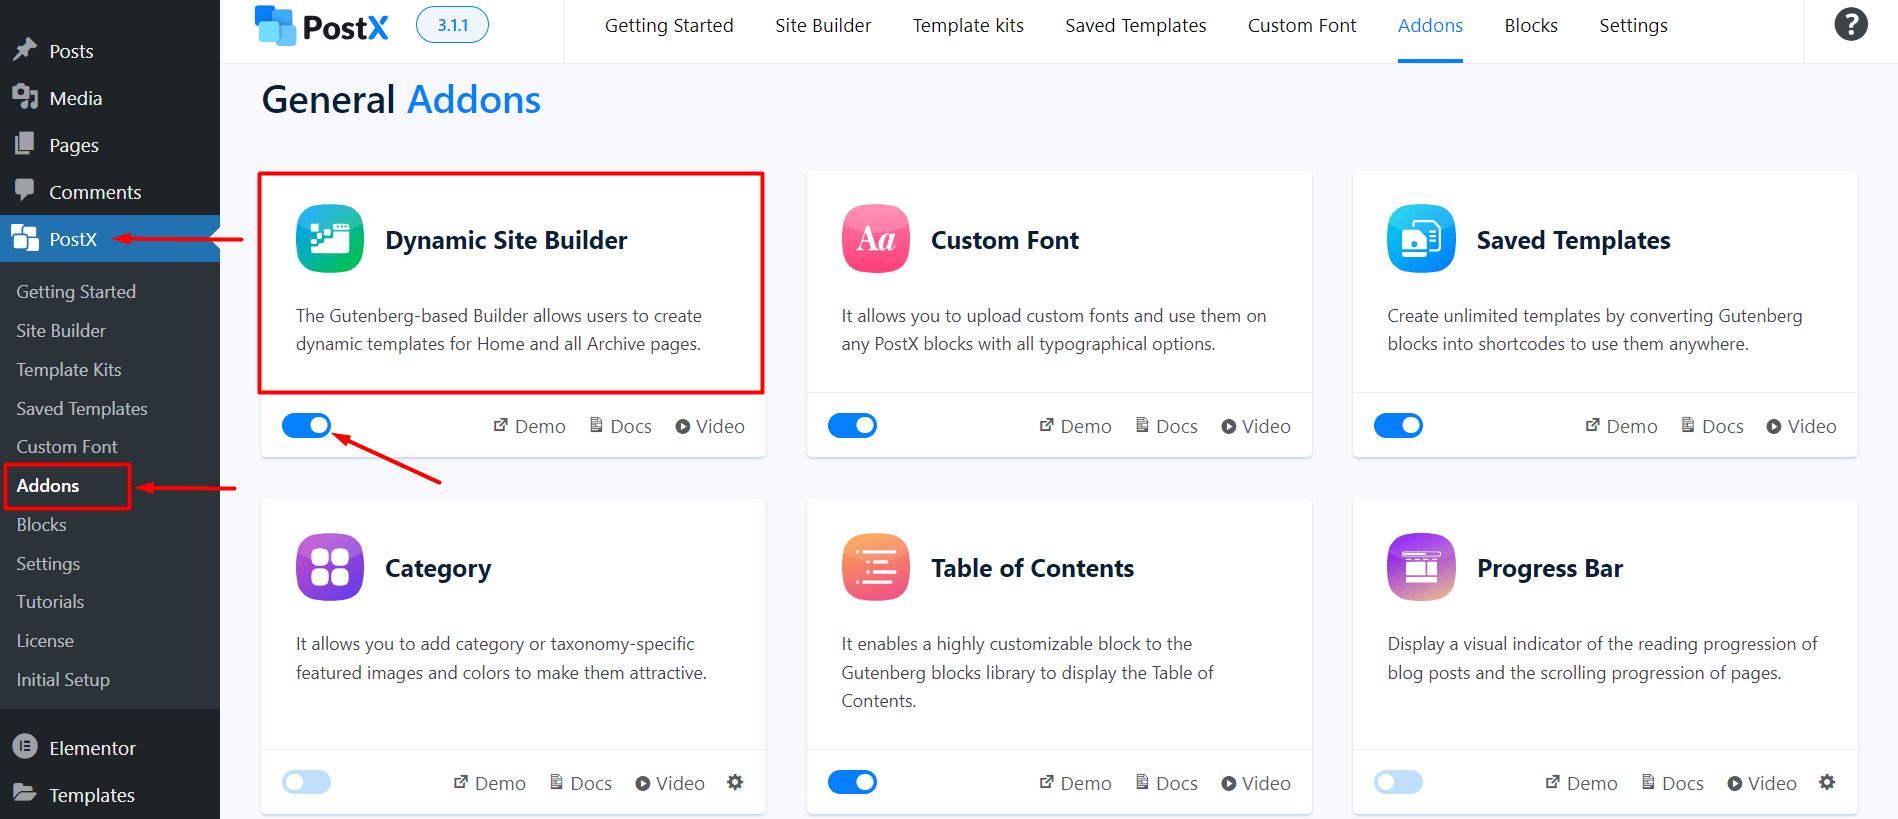
Step 2: Now go to PostX’s Addons Directory. Make sure the Dynamic Site Builder addon is activated.
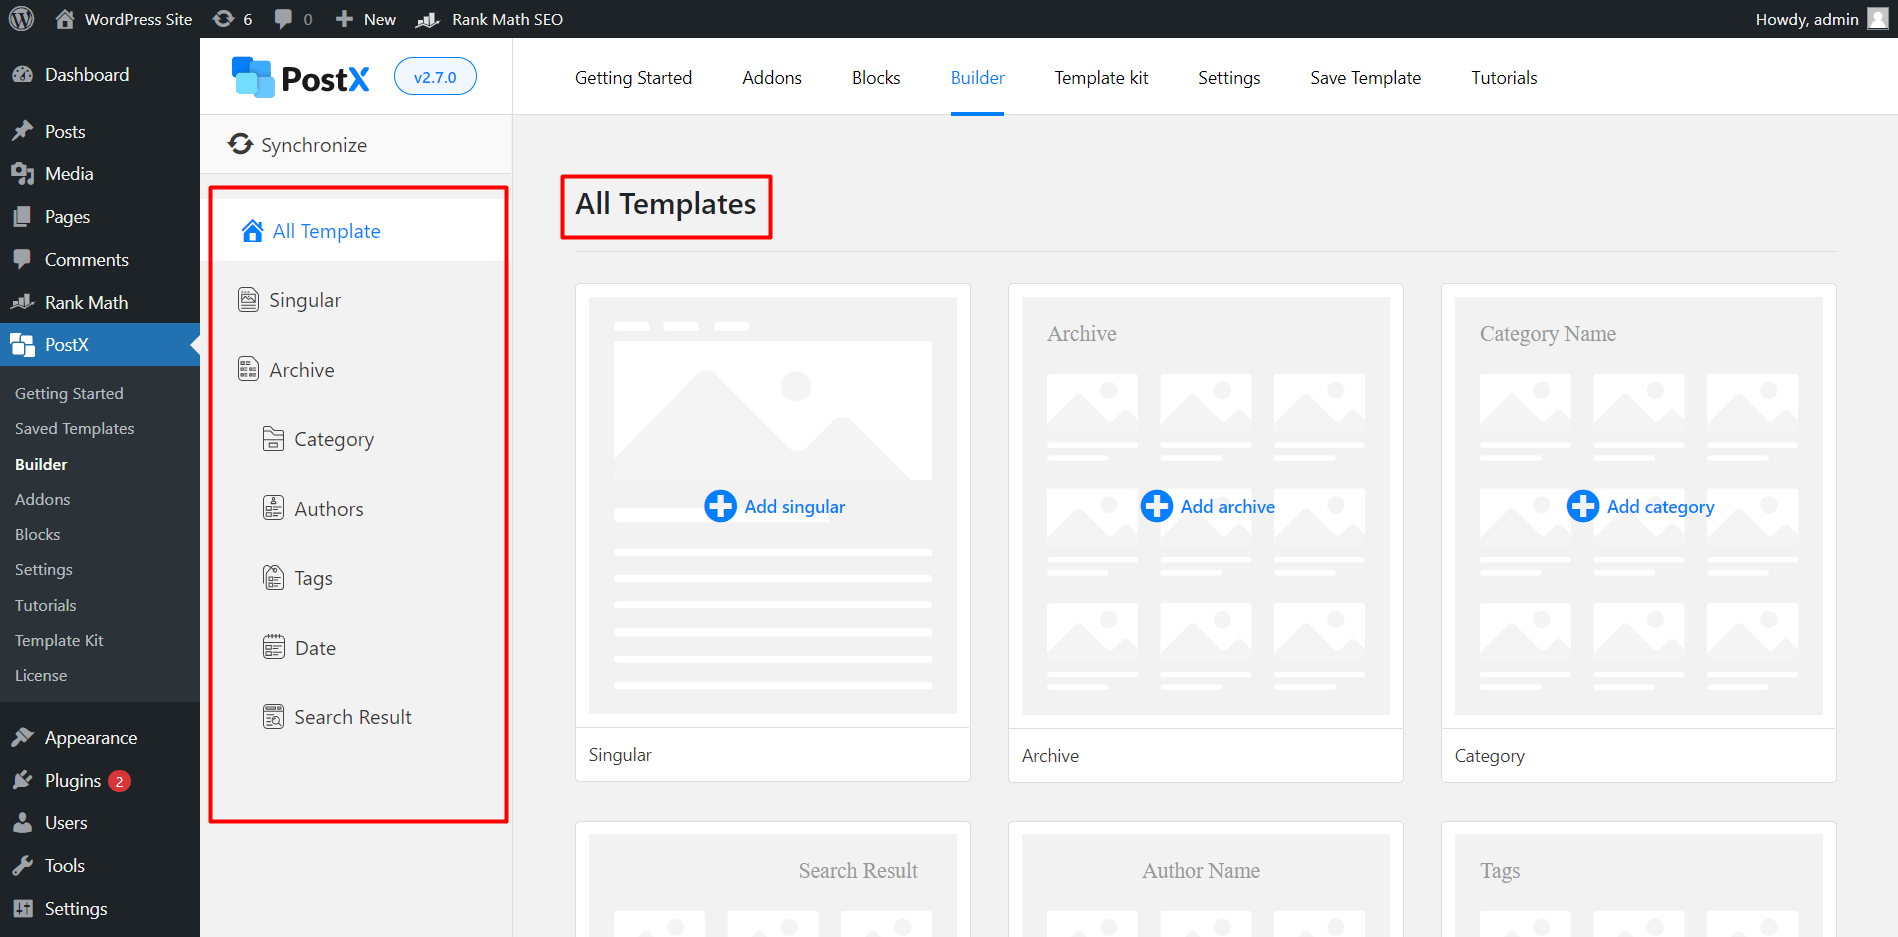
Step 3: Then from the WordPress Dashboard, go to PostX. Then go to the Builder Section. Locate the Authors Tab and be amazed by a bunch of pre-designed templates.
Step 4: You have two options: begin with a blank canvas by clicking “Start from Scratch” or use a pre-designed author template by importing one.
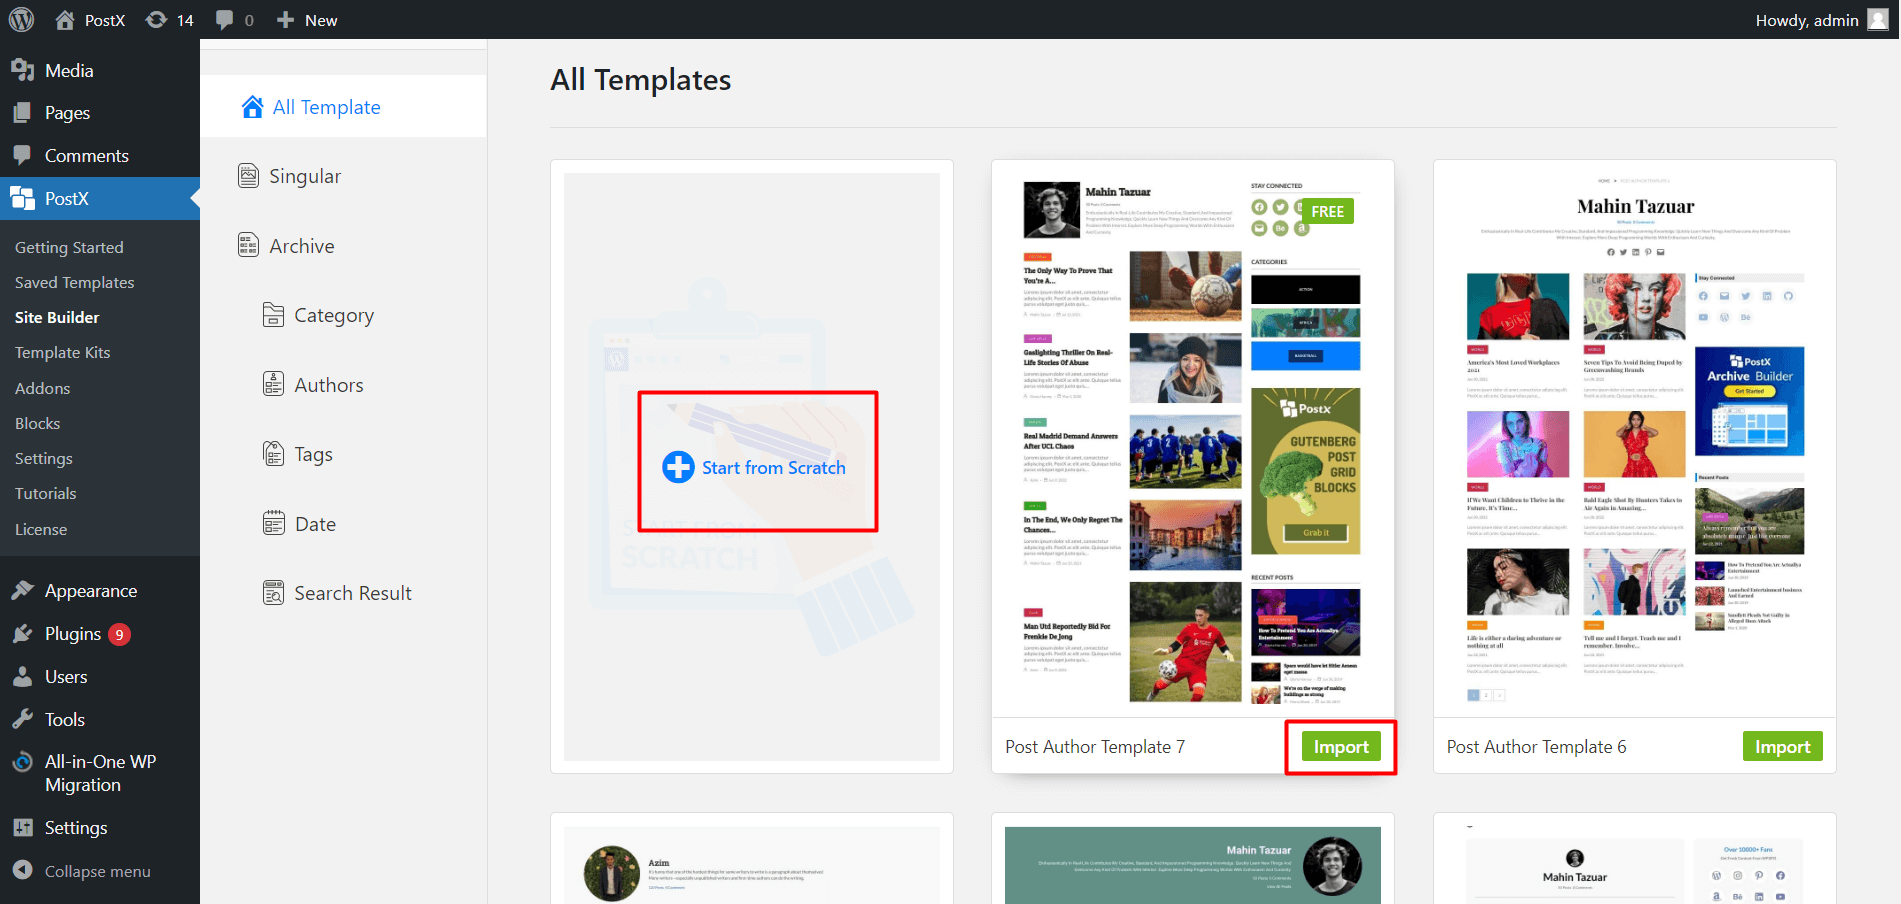
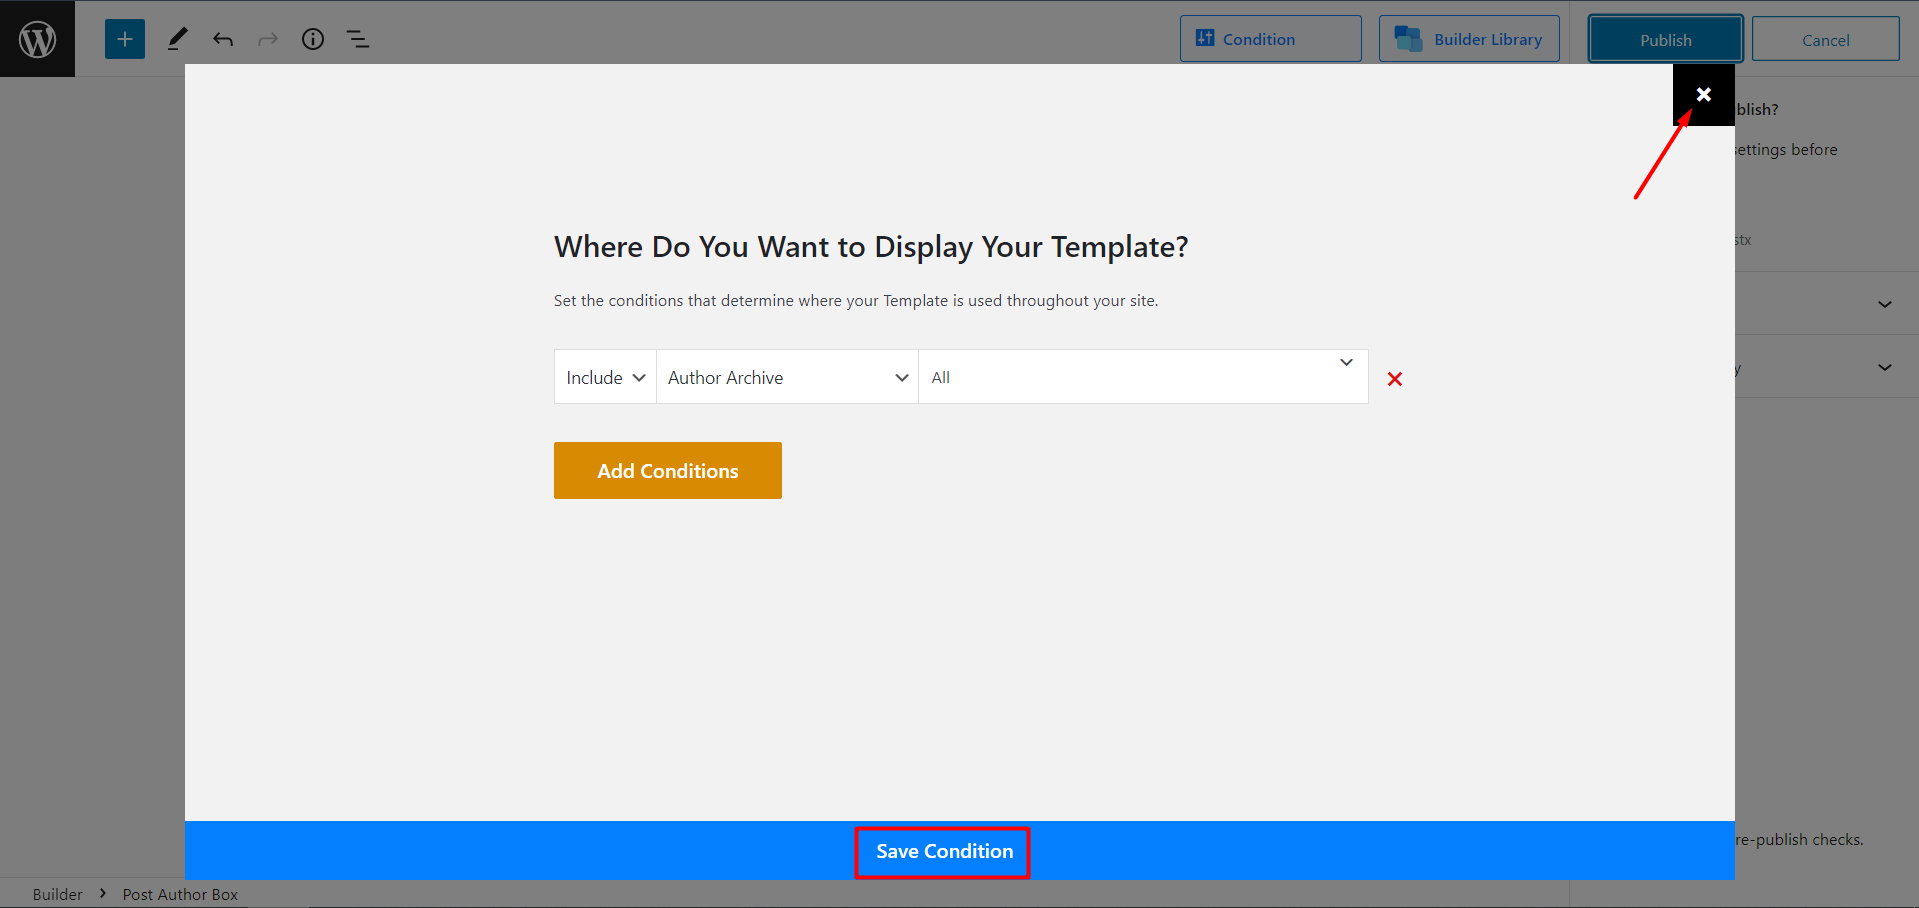
Step 5: Let’s create from scratch by clicking on the menu. Then, you’ll have a popup box to select your conditions.
Select Include → Author Archive → All for showing the same template on all the author pages. Otherwise, you can type an author name and select it to give that specified author a selected template. Hit “Save Condition“.
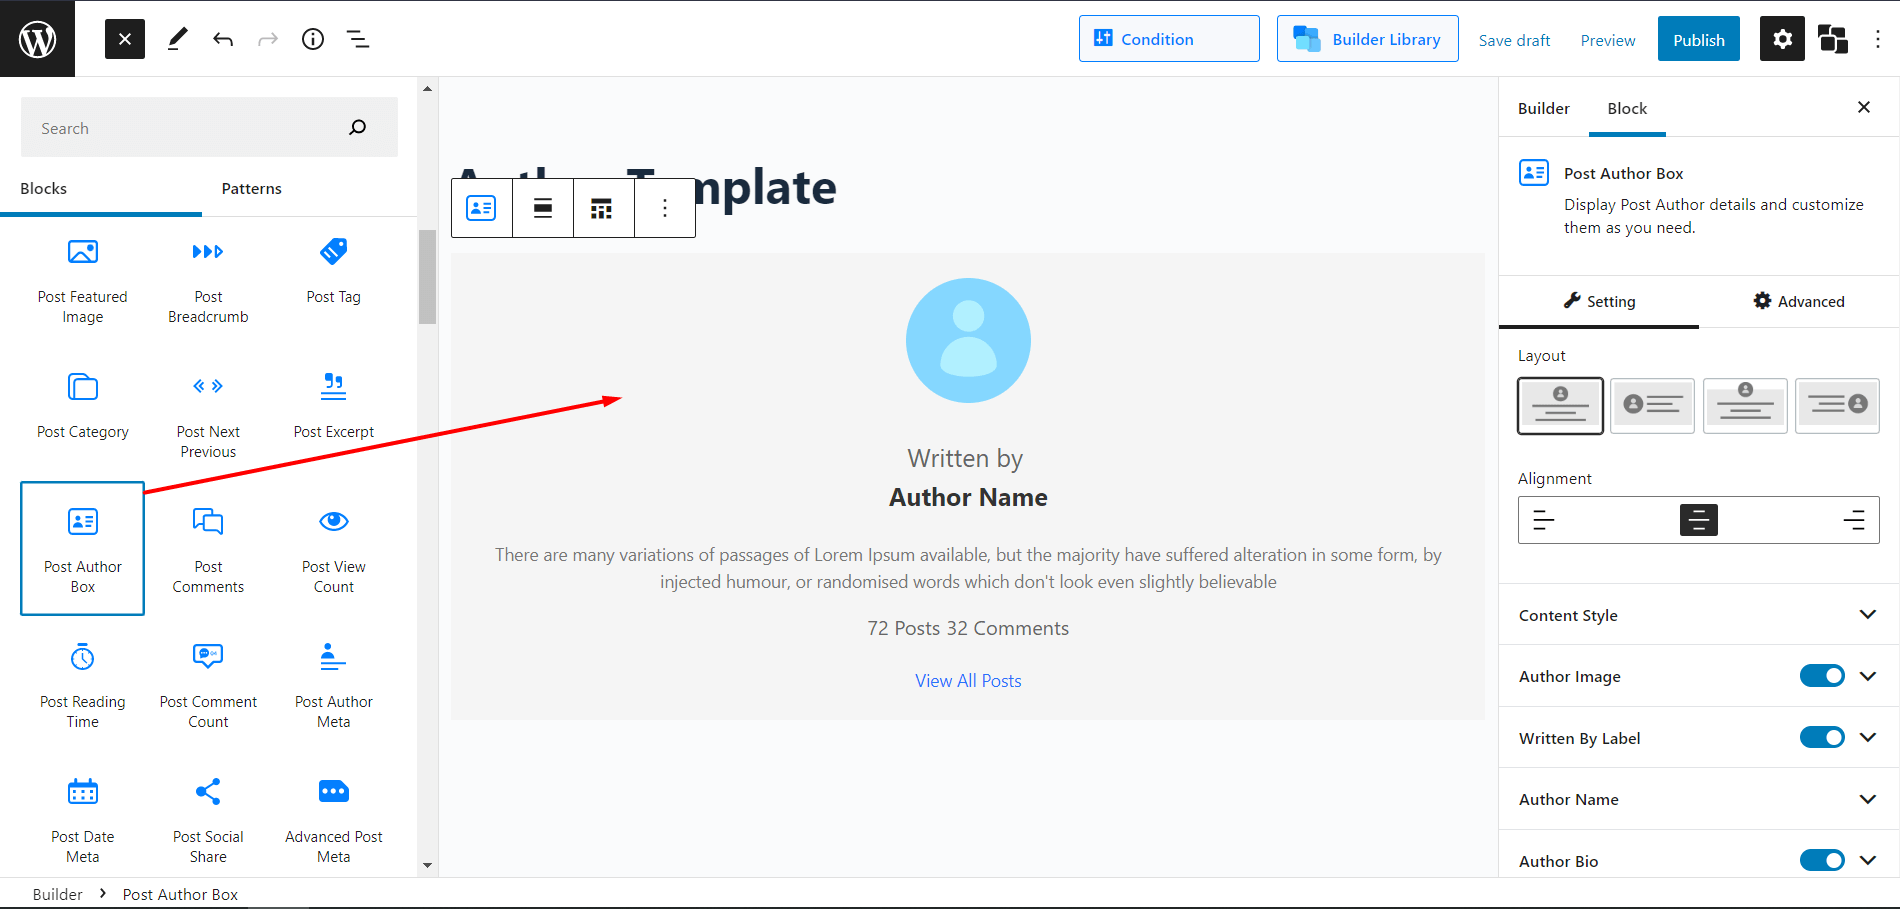
Step 6: And, you’ll see the regular Gutenberg editor format. Now, you can create and customize your author page according to your needs by adding blocks. The ‘+’ icon will open a generous selection of Gutenberg blocks and the author page-specific blocks.
So, you’ll need to find and add the Post Author Box. This is the fundamental block with vast customization options for author-specific features.
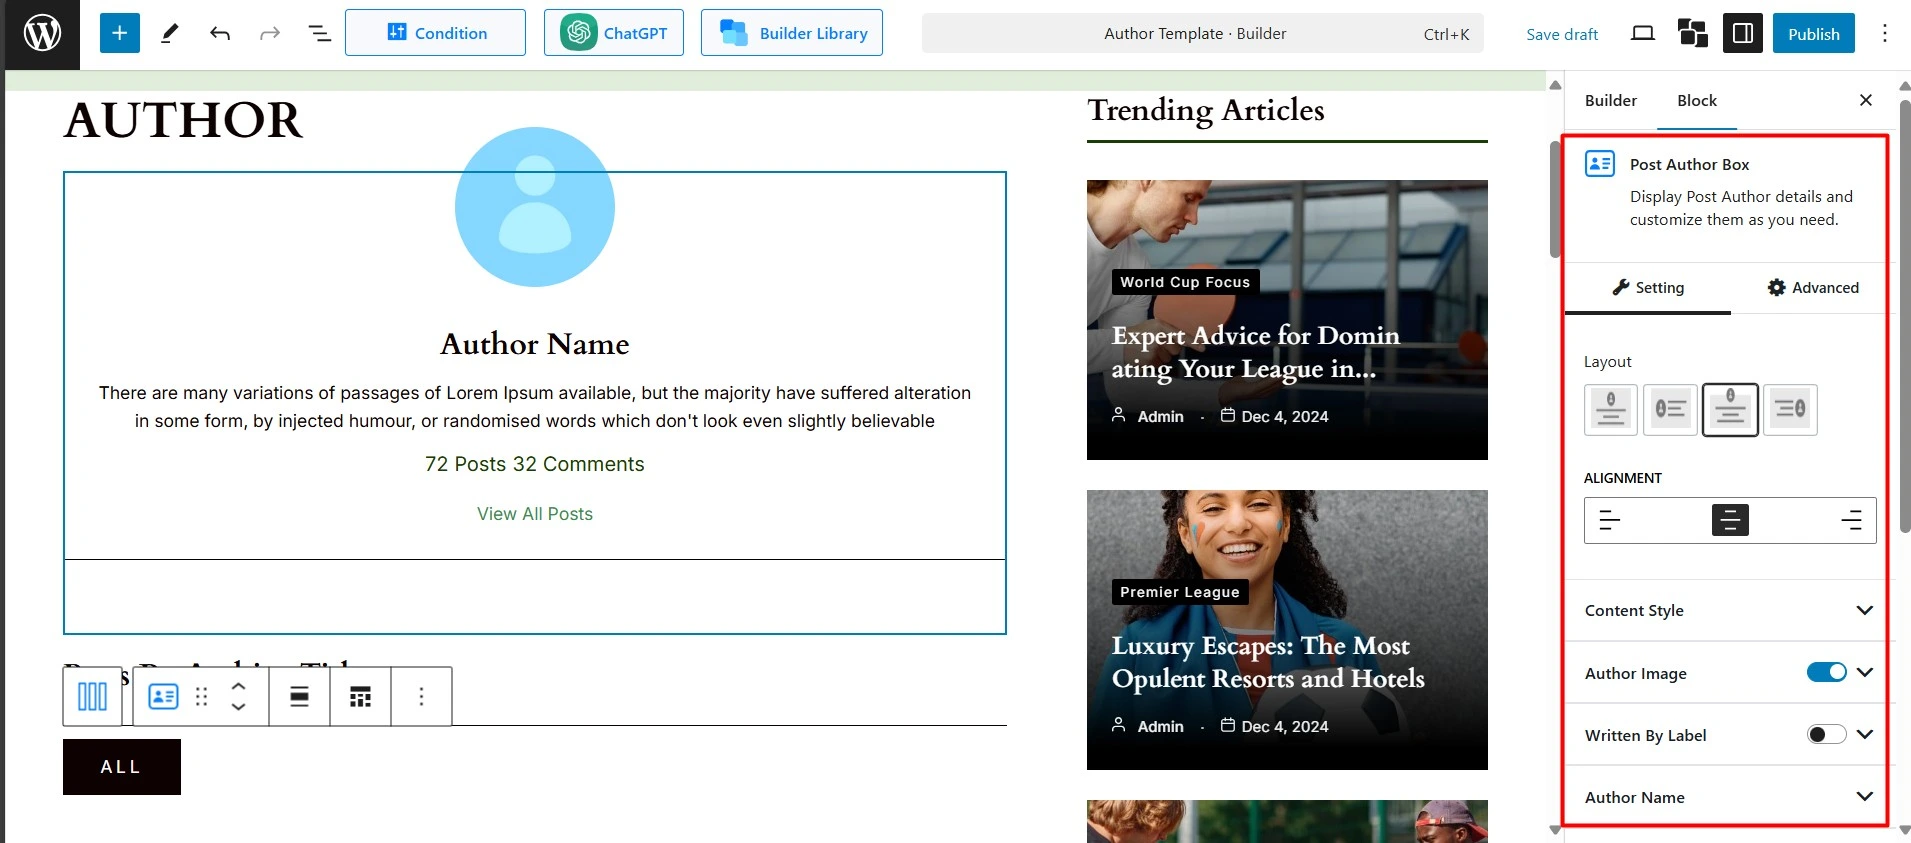
On the author page, you’ll also use Post List/Post Grid blocks to showcase your articles. You can also add paginations or any blocks you desire for further customization.
Step 7: Now, it’s time to design your author page. With PostX, you have the freedom to customize every little detail of your author page. If you want, you can even access pre-made templates right inside the builder.
After you’re satisfied and done with the creation, click publish. You’ll have successfully created a custom WordPress author profile page. Yes, it is that easy to do it with PostX.
If you need additional support, you can check out the official documentation on how to set up a WordPress custom author page.
Method #3: Customizing Theme Files (Complex and Technical)
This is for the more adventurous folks who are comfortable with code! You can directly edit your theme’s files to change the structure and appearance of the author page. But you have some key things to keep in mind.
Back-Up Your Website❗Seriously, this is crucial before making any code changes.
Use a Child Theme❗Never edit your parent theme directly! Create a child theme first. This ensures your changes won’t be overwritten when you update your main theme.
First, locate the Author Archive Template: You’ll likely be looking for files like author.php or archive.php within your theme’s folder (you can access this via FTP or your hosting file manager). Sometimes, themes have specific template parts for author information.
Now comes the hectic part; editing the Code: You can then modify the HTML and PHP code to:
- Change the way the author’s name and bio are displayed.
- Add custom sections for your books or other information.
- Integrate custom CSS for styling.
After making all the changes, check your author page on different browsers and devices. You’re done!
Pro Tip: Learn how to create custom thank you page for WooCommerce.
🤔 Why You Should Customize Your WordPress Author Page
As you already know, WordPress has a non-customizable default author page, which does the bare minimum things. So, you’ll need a custom author page to get things under your control.
A custom author page not only highlights your writers but also helps visitors connect with them. It improves SEO by making it easier for search engines to understand and rank your content.
You might wonder:
- Do I really need a custom author page?
- Can I skip it?
- Will it actually help?
The benefits are bigger than they seem:
✅ Make It Truly Yours – Design your page in your own style so it represents your brand.
✅ Showcase Expertise – Highlight qualifications, experience, and past work to demonstrate authority.
✅ Highlight Achievements – Share new releases, social links, or create CTAs to engage readers.
✅ Enhance Professionalism – Custom pages give your site a polished and credible look.
✅ Boost SEO – Use structured data, optimized headings, and internal links to improve search rankings.
✅ Build Trust – Include a bio, headshot, and disclosures to make readers confident in your content.
✅ Unique Pages for Multiple Authors – Each author can have a distinct and appealing page design.
✅ Easy Content Discovery – Organize content so fans can quickly find all posts by the author.
🎨 How to Design an Effective Author Page
So an author page isn’t just about creating a dedicated webpage and putting your bio and social links on it. It’s really a chance to chat with your readers, show them who you are, and what you know, and get them excited about your work!
Alright, so if you want your author page to really work,
- You gotta make sure it’s nice and tidy – easy for folks to read and click around.
- It should also feel like it belongs with the rest of your site stuff – the same colors and vibe.
- Your bio should be short and engaging– think about what readers would actually want to know.
- Oh, and good-quality headshots are a must for looking pro!
- Plus, it’s gotta work on phones and tablets too,
- Finally, think about what people search for and use those words naturally in your bio so Google can find you.
✍️ Craft Your Custom Author Page Today!
Creating a custom author page in WordPress is a fantastic way to connect with your readers and build your online presence. Choose the method that best suits your technical skills and desired level of customization, and have fun making it your own!
I’ve discussed the PostX page builder plugin which is a real gem. It will make your life easier by giving you full control of your website creation with modern and advanced features.
Let’s not make it boring by saying anything else; why don’t you Get PostX Now and see for yourself what it offers? Best of Luck with your future endeavors.
🧠 FAQs about WordPress Custom Author Page
You might have questions about the WordPress custom author page. Let’s address your concerns.
How do I add a custom author name in WordPress?
To add a custom author name, go to Users > All Users, click on the user you want to edit, and change the Display name under the profile settings. You can also create a new user with the name you want and assign them as the author of the post.
How do I change the author of a page in WordPress?
Open the page you want to edit in the WordPress Dashboard. On the right-hand side, look for the Author option under the Page/Post settings (you may need to click on “Preferences” or “Options” at the top to make it visible). Select the new author from the dropdown and update the page.
How do I create an author alias?
You can create an author alias by creating a new WordPress user with the alias name. Then, assign posts to this new user. If you don’t want this user to log in, just set their role to Subscriber or Contributor, and don’t share login access.
How do I change the default author in WordPress?
WordPress doesn’t have a built-in option for a “default” author. However, if you’re using an auto-posting plugin or importing posts, you can set up a user account to which all posts get assigned. In most cases, you need to manually assign the author when creating or editing posts.
What is the difference between an author and a writer?
In general, a writer is someone who writes content, while an author is a person officially credited or published under a name. In WordPress, an Author is also a user role that can write, edit, and publish their own posts.