If you have been blogging for some time, chances are you focus on displaying recent and popular posts to ensure a better user experience and optimize for SEO. But you may forget about one important thing, “Categories”.
Whether you agree or not, categories are equally important as blog posts, not only for a good user experience, but also for search engines.
Yes, the way WordPress displays categories is not visually appealing. But that doesn’t mean we should ignore them. Don’t worry, we have got your back. This blog post will guide you through adding featured images to categories and creating a category grid. So the categories will stand out like blog posts. And guess what! Changes are, you would be able to rank categories on Google.
Why Display WordPress Categories in Grid Layout?
Now that you know what is category grid is, it’s time to think about why we should add category grids to the home page. Well, every blogger wants to create a custom home page for their blogs. But why?
Because they usually don’t like the design of the default home page. So, they create a custom home page and display blog posts in a visually appealing way.
Similarly, we should also display categories along with blog posts. Because the categories are as valuable as blog posts.
Enough talk, now let’s take a look at the benefits of adding a category grid on the home page.
Better User Experience
Grid layout helps readers to find and explore more content effortlessly. You can instantly find the content they are interested in without scrolling much. This way, you can increase the engagement rates and eventually reduce the bounce rate.
Enhanced Visual Appeal
WordPress allows us to list categories in our desired place. But you must admit that the presentation doesn’t look good. That’s where grid layout stole the show by giving your site a visually stunning and professional look.
Improved SEO
Displaying categories on the home page increases the number of internal links. And making them stand with a grid layout, encourages the readers to click on it. Moreover, you can further optimize with SEO optimized titles and meta descriptions to increase the chance of ranking higher on Google.
Great for Content-Rich Sites
You may or may not display categories on the home page. But it is a must if you have numerous contents or sites. The category grids will ensure a better navigation structure and help readers to find content that interests them.
Best Plugins to Display Categories in Grid Layout
As you are looking for ways to create a category grid, you may already know that WordPress doesn’t offer this feature by default. So you need to use a plugin to create one. I don’t know which plugins offer this feature. Don’t worry, we have done the hard work for you. After numerous hours of searching on the web, I have finally found the best plugins that can help you display categories in a grid layout with featured images.
PostX – Gutenberg Site Builder and Post Grid Plugin
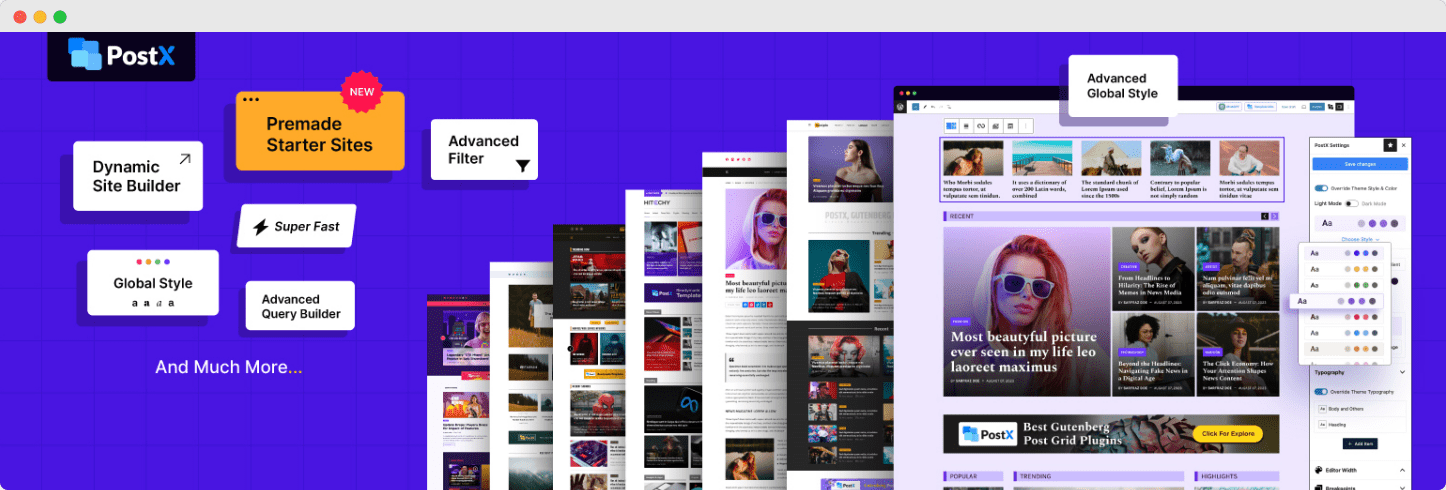
PostX is one of the best WordPress post grid plugins. It has the most number of design variations for grid layouts. But the best thing about PostX that makes it stand out is its vast customization options. You can add featured images to your category pages and display them in beautiful grid and list layouts. And the best part is you can also sort which categories or taxonomies will be displayed on the layout.
Content Views
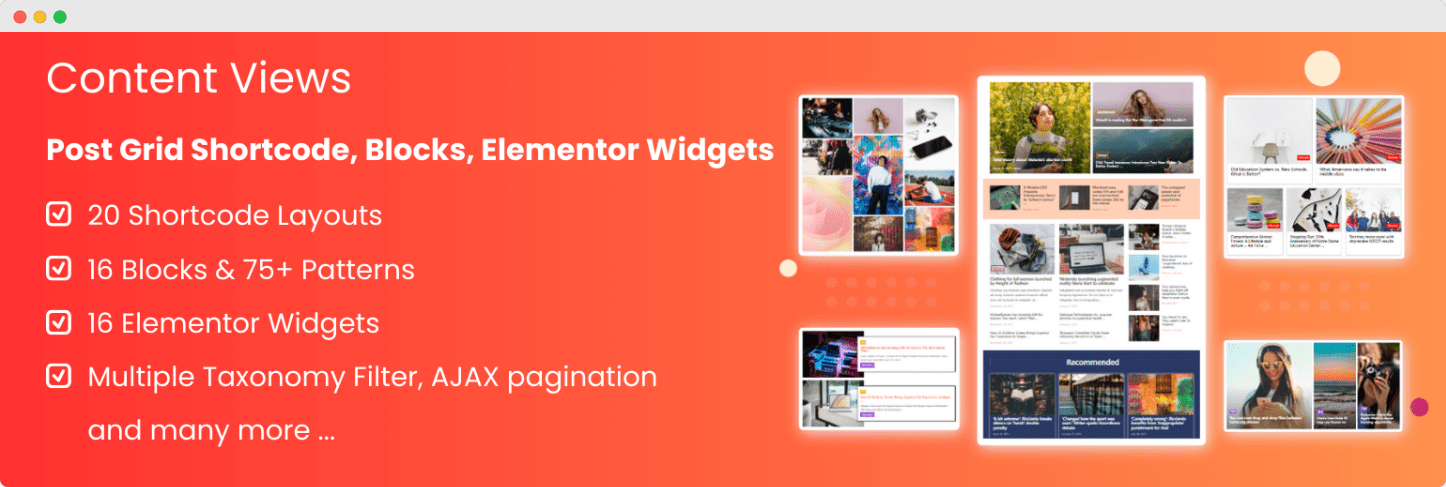
Content Views is another remarkable plugin to display posts, pages, and categories in a grid layout. You can create a category grid with featured images and display it anywhere using the shortcode. However, it also offers some Gutenberg blocks that you can use to display your content.
Powerpack – Beaver Builder Addon

Powepack would be a good choice if you are a Beaver Builder user. It allows you to add custom images to taxonomies (categories, tags, custom taxonomies) and display them in grid and carousel layouts. And most importantly, it also has some customization options for styling.
| Feature | PostX – Gutenberg Site Builder | Content Views | Powerpack – Beaver Builder Addon |
| Primary Use Case | Advanced category and post grids | Displaying posts, pages, categories | Custom images for taxonomies (categories, tags) |
| Grid Layout Variations | Extensive, with pre-made variations | Basic grid and list options | Grid and carousel layouts |
| Customization Options | Highly customizable, choose categories/taxonomies | Moderate customization with shortcode support | Basic styling options |
| Featured Image Support | Yes, with customizable display | Yes, but limited flexibility | Yes, supports custom images |
| Shortcode Support | Yes, for embedding grids | Yes, highly useful | No, integrated with Beaver Builder |
| Gutenberg Block Compatibility | Yes, rich block support | Yes, limited blocks | No, specific to Beaver Builder |
| Best For | Users looking for extensive customization and flexibility | Quick setup with minimal customization | Beaver Builder users needing taxonomy grids |
| Pricing | Free and Premium | Free and Premium | Free and Premium (Addon for Beaver Builder) |
Recommendation:
- You should choose PostX if you want maximum design variations and extensive customization options.
- Pick Content Views for a quick and simple grid setup without much customization hassle.
- Go for Powerpack if you are already using Beaver Builder and have no plan on switching to Gutenberg.
How to Create a Category Grid Using PostX’s Taxonomy Block
Now, let’s start the step-by-step guide on creating a category grid using the taxonomy block of PostX. So, make sure to install the PostX plugin before starting to follow the steps below:
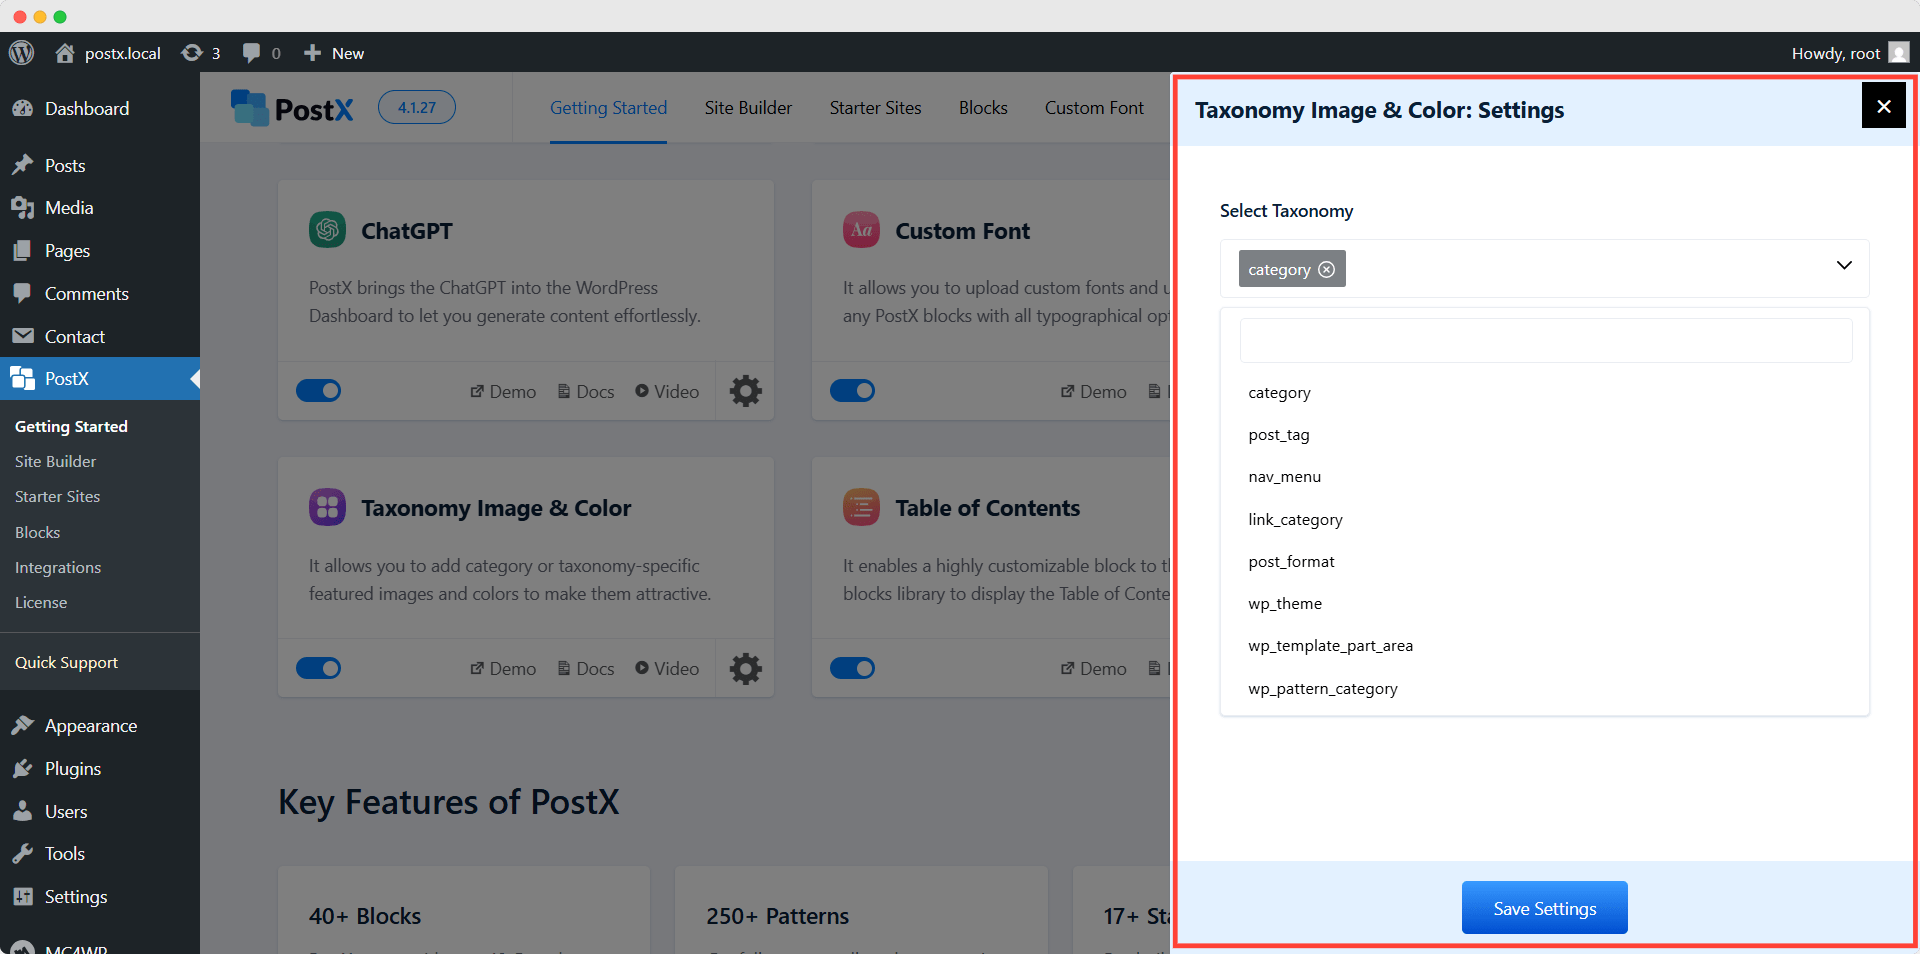
Step 1: Enable Taxonomy Addon

First of all, we need to enable the taxonomy addon from the “Getting Started” section of PostX. Upon enabling the addons, we can click on their settings section. From here, we can select the taxonomies for which we want to add images and colors. We can select categories, tags, and custom taxonomies as well. For now, let’s select categories.
Step 2: Add Featured Images and Colors to Categories

Now, let’s go to the category section and start editing a category. So now we can add featured images and colors to our desired categories. Similarly, we need to add images to all of the categories we want to display in the grid layout.
Step 3: Create a New Page

As the categories are ready, now we can display them on our desired page. For example, we will add the category grid to a custom home page. Let’s go to the page section and click on “Add New” to create a new page.
Step 4: Import a Home Page Template
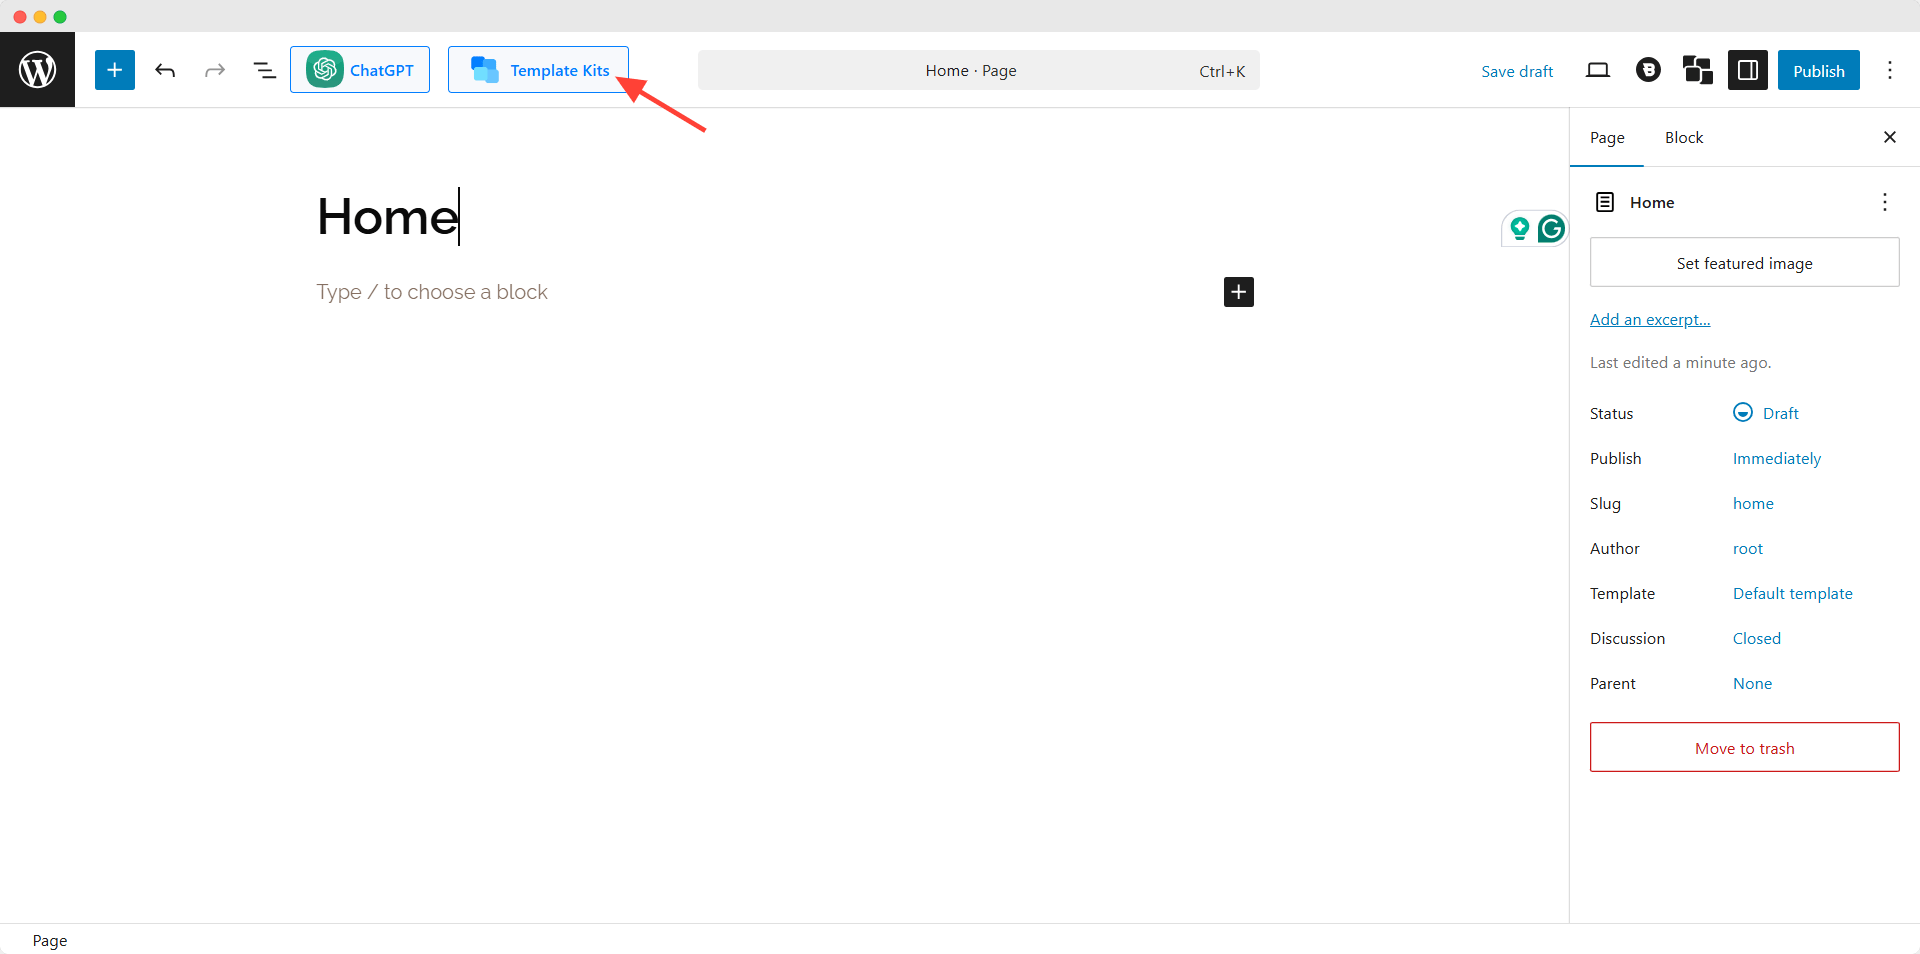
Thanks to PostX, we can import a professionally designed home page template. We can explore all available home page templates by clicking on the “Template Kits” option. Then we need to click on our preferred template, select home, and click on the template button.
Step 5: Create Category Grid Using Taxonomy Blocks
Now we need to decide the place where we want to place the category grid and click on the plus icon at that place. Then, add the taxonomy block to that place.
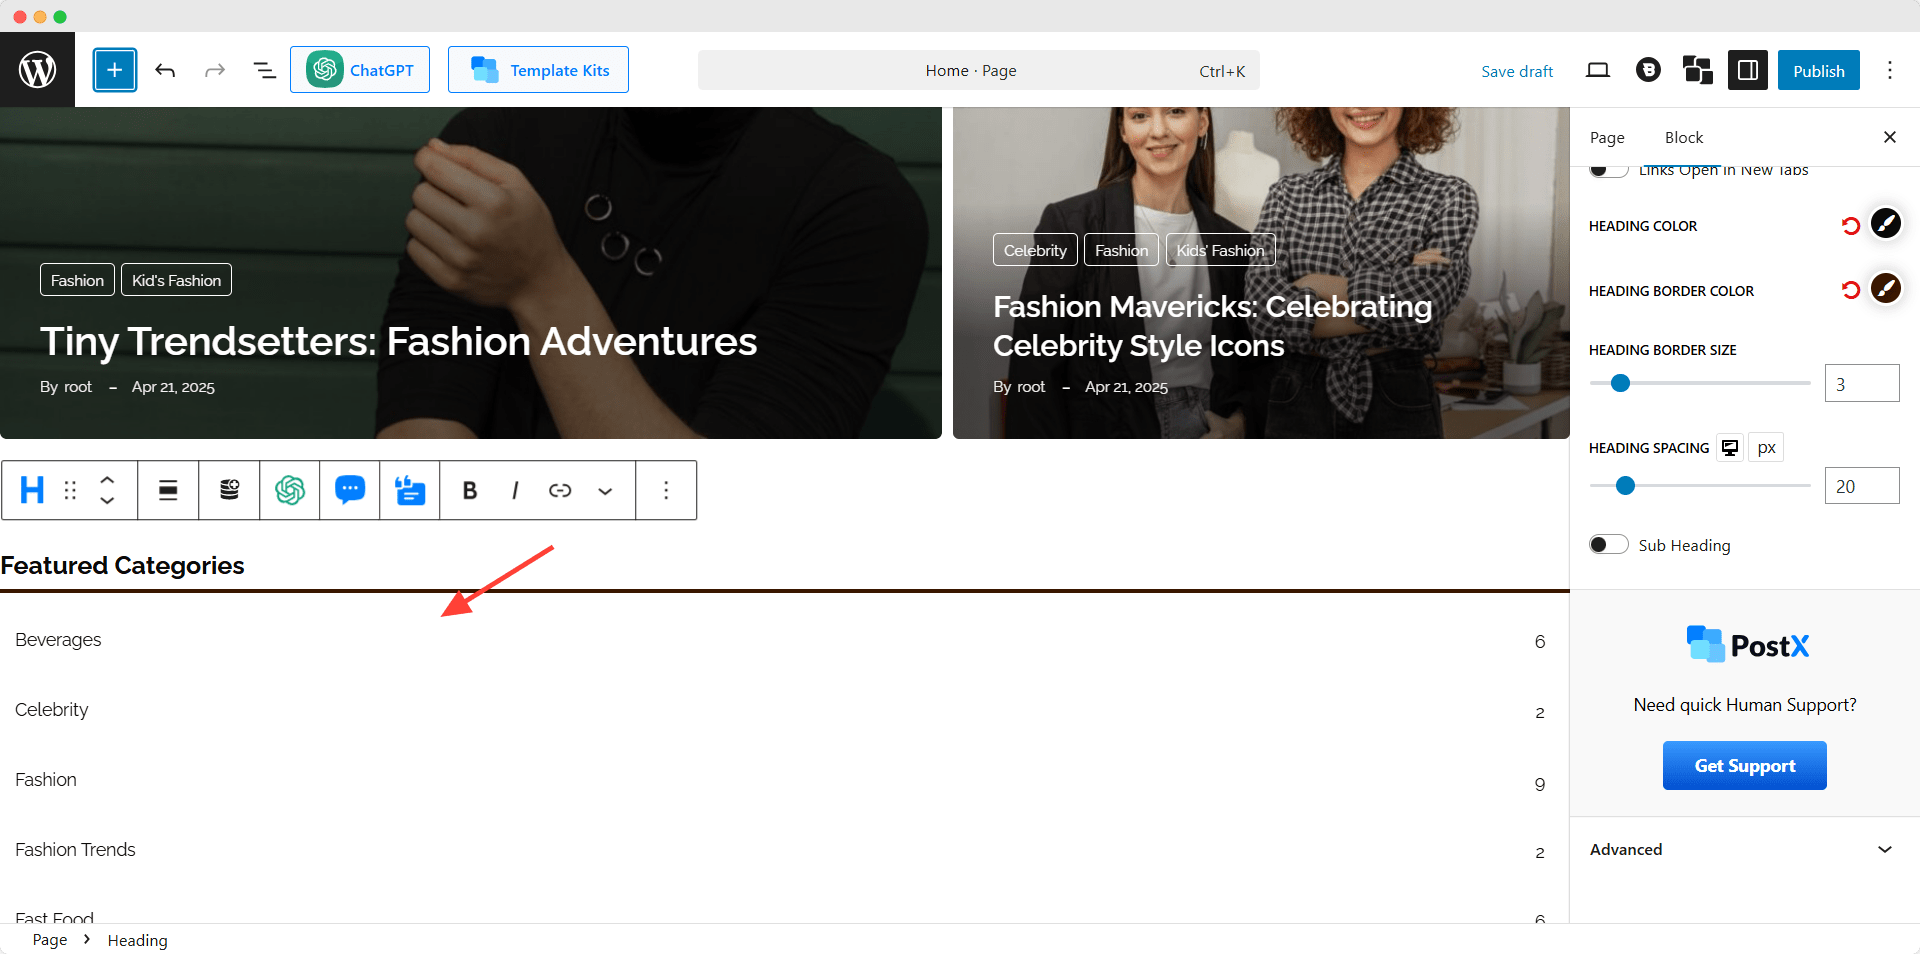
Now, we can see that it is added as a listing instead of a grid. We have to go to the ready-made design section and select a grid layout from the available designs.
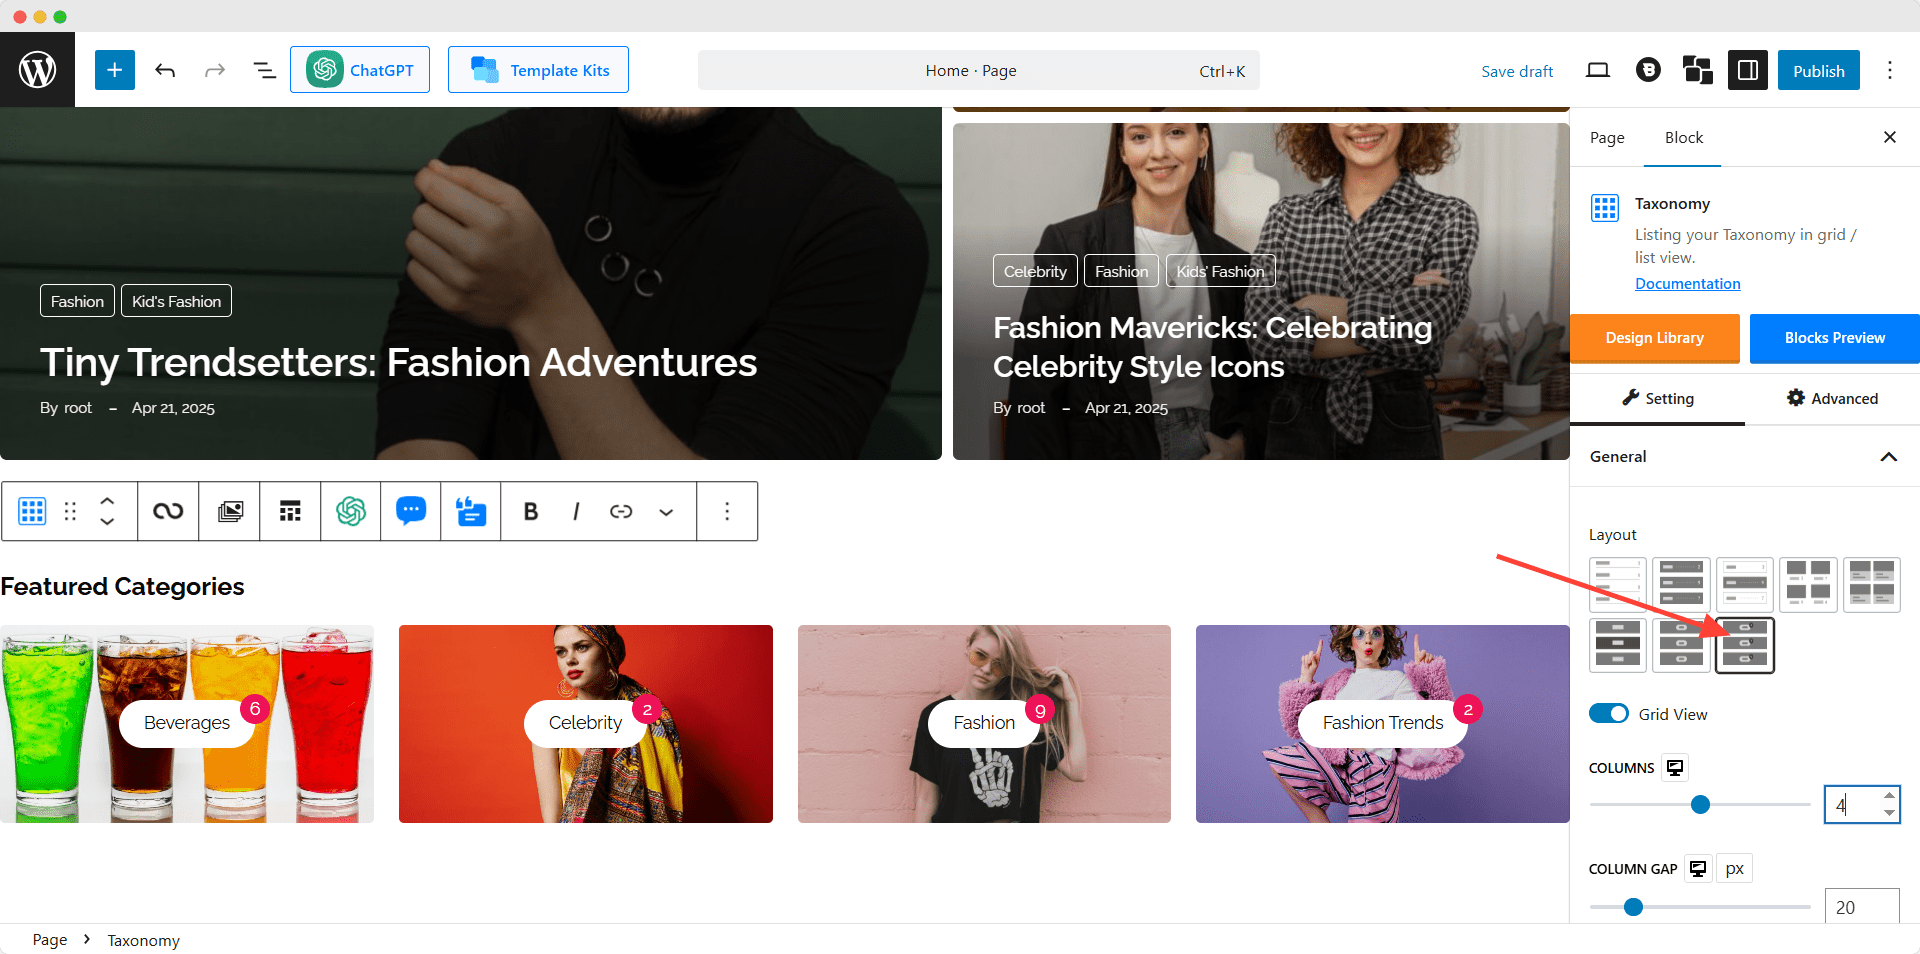
Then we have to work with the Taxonomy query. From where we can decide and select whether we want to show categories or tags in the grid. For now, I am selecting the category.
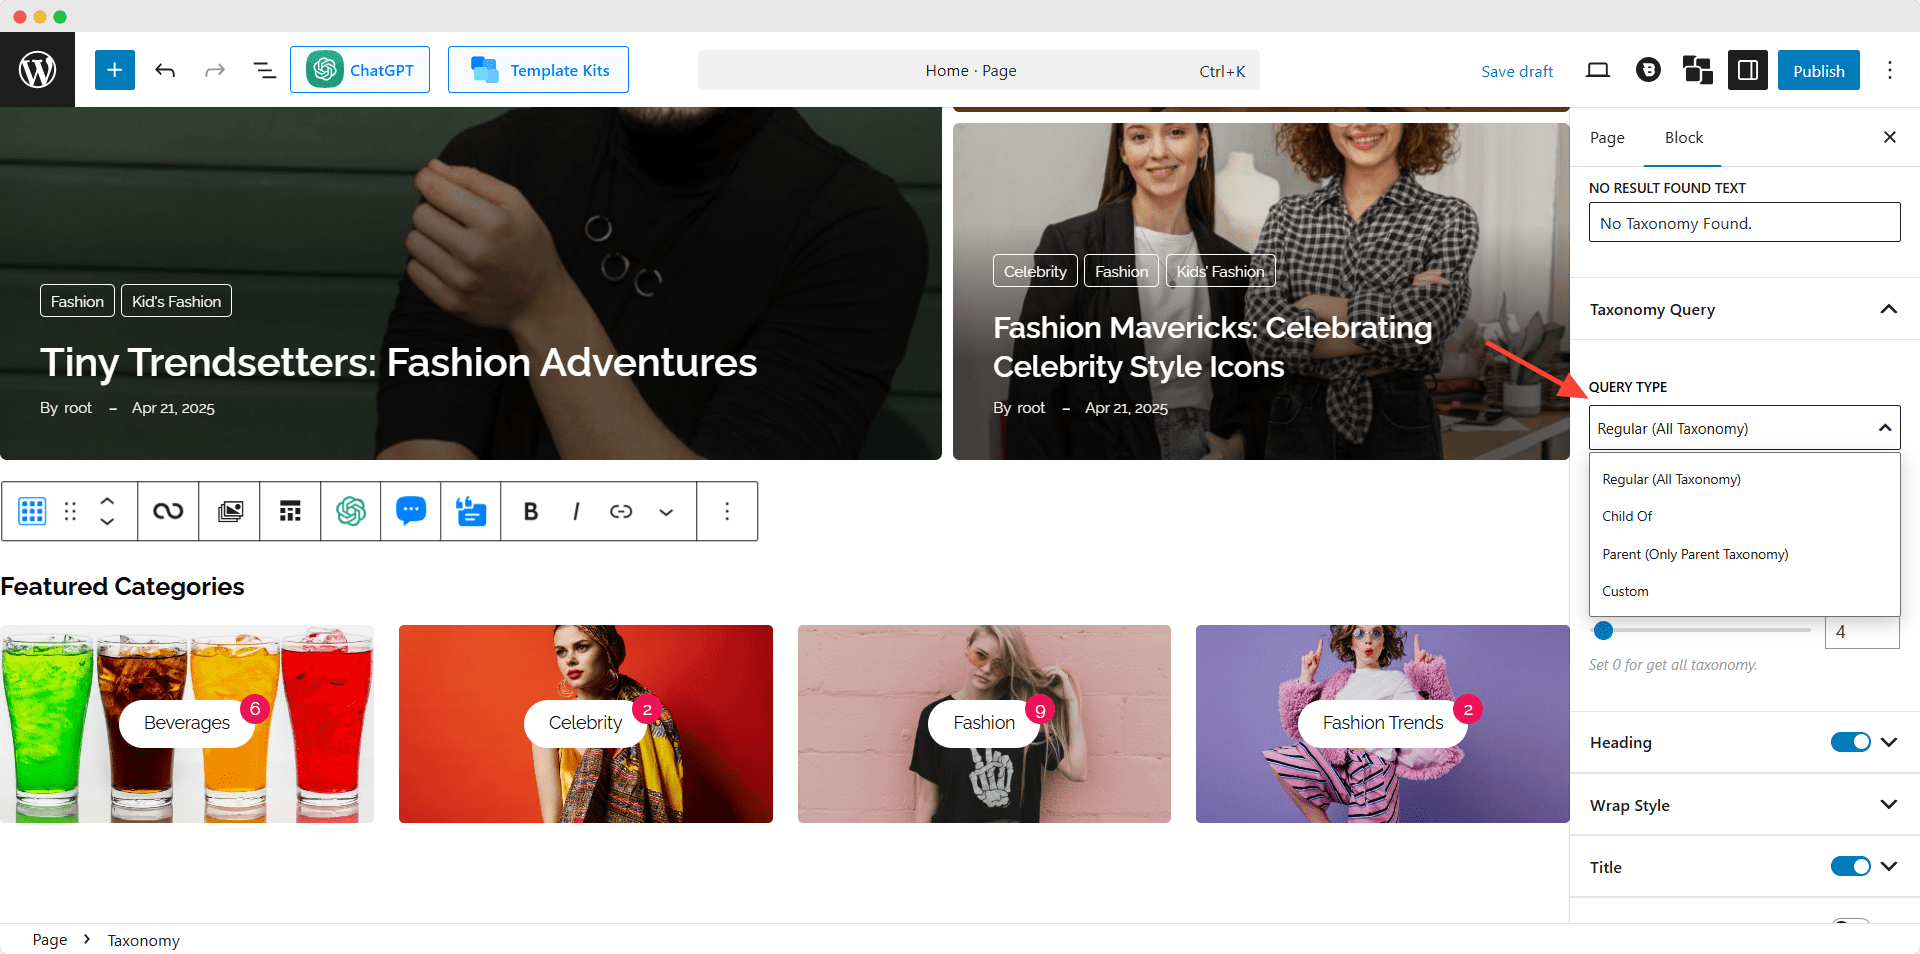
By default, the latest categories will be displayed. However, we can also select custom categories if required. At last, we can select the number of categories displayed on the category grid.
That’s all, now we can publish the page and set it as the home page.
Step 6: Set the New Page as the Home page
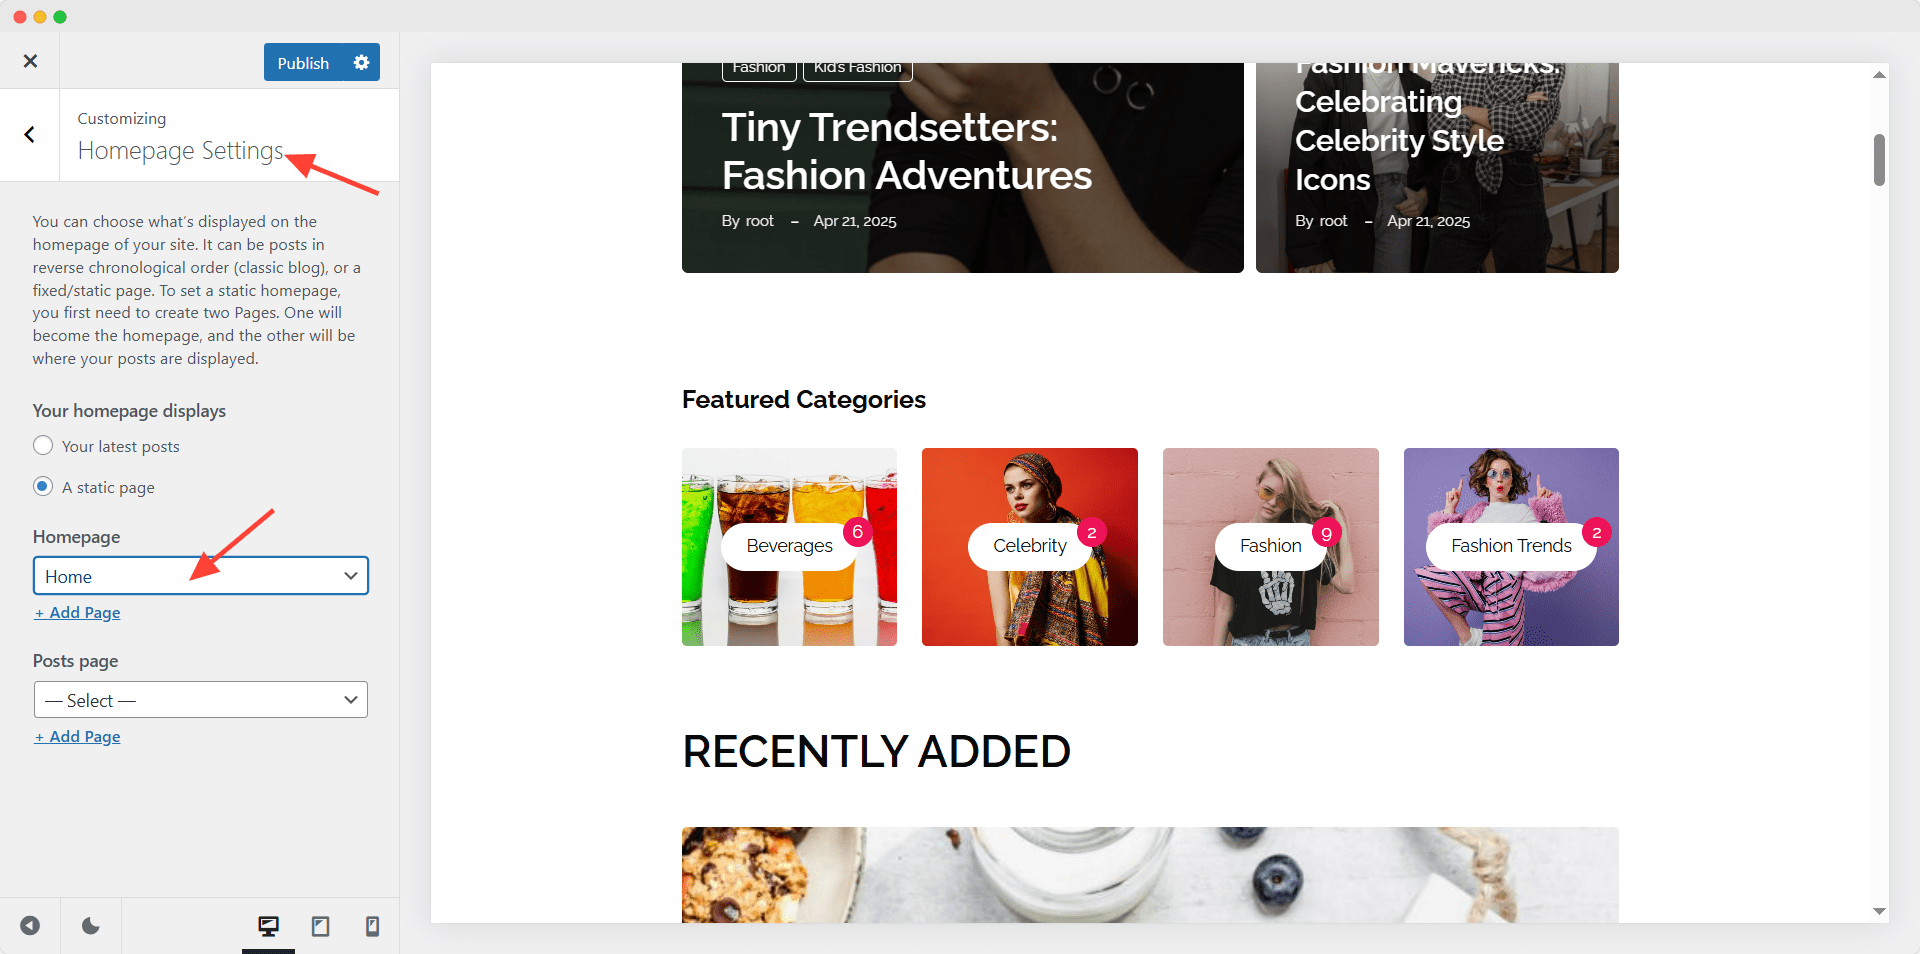
For setting up the page as a home page, we have to use the WordPress customizer option. So:
- Go to the customizer option.
- Click on the home page setting.
- Select the static page option
- Choose the recently created page.
Step 7: Customize Category Grid
Now that we have used the Category Grid on the home page of our site, it’s time to explore customization options. PostX offers full control over customization, which is why it is so popular among more than 40,000 active users. Take a quick look at the customization options of the taxonomy blocks.
General Settings: From the general settings, we can increase or decrease the number of columns and adjust the gap between columns and rows. We can also show and hide elements of the category grid that include heading, title, image, posts count, etc. Once we turn on any elements, we will also be able to explore dedicated setting options for each of the elements.
Heading: Once we turned on the heading option for the taxonomy blocks, we can use the desired text, color, and alignment. If we don’t like the default heading style, there are styles available to choose from. We can also choose our desired heading tag and add any link to it.
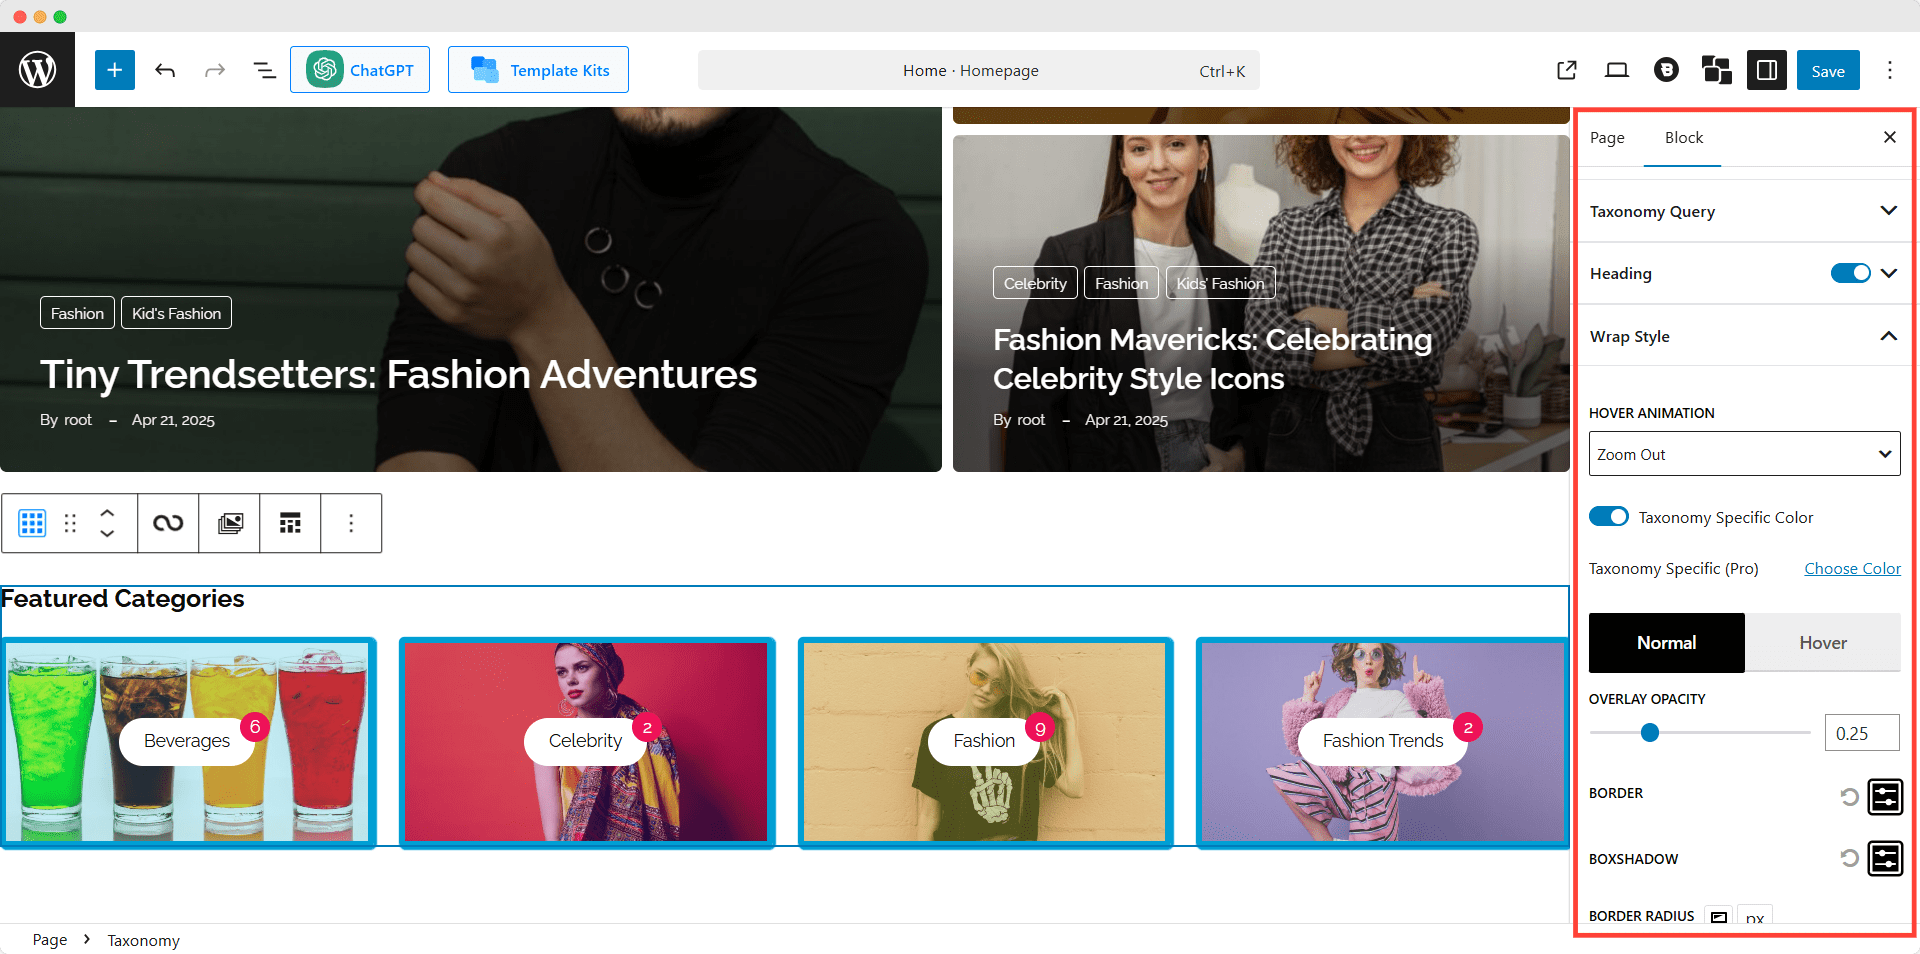
Title: From the title setting options, we can change the text and its hover color. But the main attraction of the option is the category-specific colors. Once we turn it on, the colors we have assigned previously for the categories will be displayed.
Wrap Style: The Wrap Style contains options to choose from 5 hover animations and adding opacity with or without category-specific colors.
Taxonomy Query: As we have seen earlier, the taxonomy query setting helps us to select and choose from categories and tags for the grid. And, we can also increase or decrease the number of categories or tags on the grid.
Post Count: Yes, you have read it right. PostX also offers customization options for the Post count element that contains typography control, solid or gradient color selection, adjusting height, width, etc.
You may also like to read:
- How to Show Subcategories on Category Page in WordPress
- How to Add Categories to the Sidebar in WordPress
Final Words
That’s all about category grid and how you can add one to the home page of your WordPress website. Let us know which plugin you are choosing. If you choose PostX and face any difficulties, contact our support team. You can also share your feedback and suggestions in the comment section below.