Do you know how to create a table in WordPress? If not, then read on:
Tables are a great way to present information clearly and concisely on a website. It helps you break down complex content into an easy-to-read format.
They can be helpful a lot in comparing product features, listing features, organizing data, showcasing pricing plans, and more.
The better you can present information, the easier it becomes for users to make decisions. WordPress offers a default table block. But this native table block has many limitations.
It lacks advanced customization, responsive design options, and interactive features, which may fail to present complex information efficiently.
That’s why you need a custom table builder plugin, like Tableberg, to create modern and responsive tables with flexibility. In this post, we’ll cover a detailed tutorial on how to create tables in WordPress using the Tableberg plugin. Let’s begin.
What Is Tableberg? An Overview
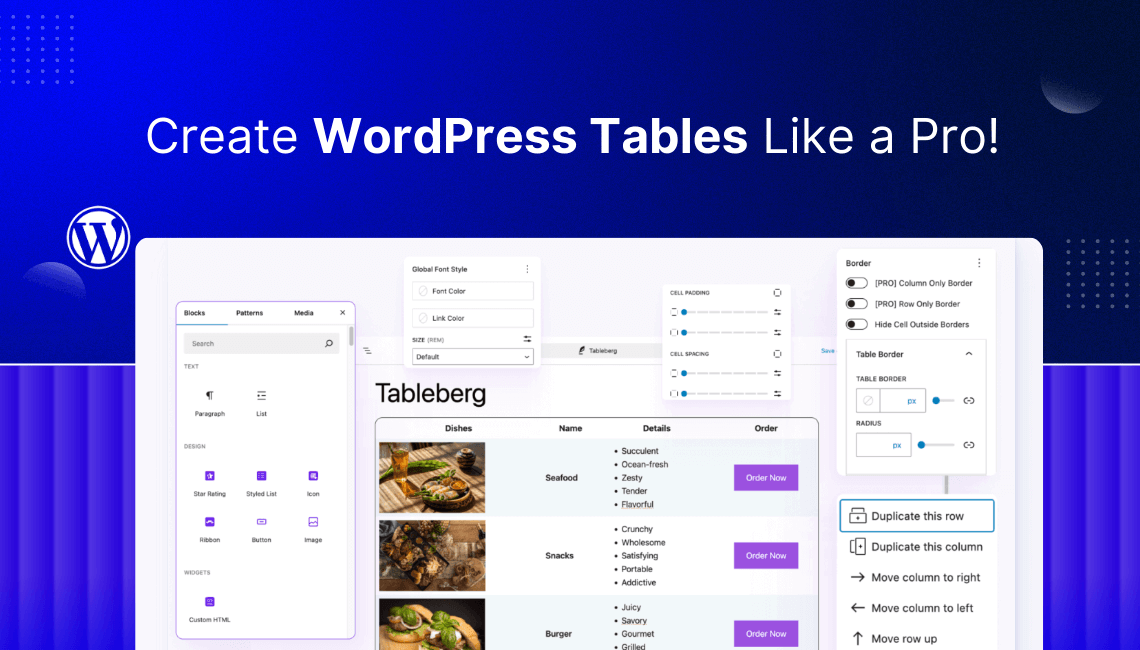
Tableberg is a comparatively new but promising table builder plugin, designed to enhance the default Table block in the Gutenberg Block Editor.
It allows you to add a variety of custom blocks within the cells of the table to display different types of content. For example, styled lists, ratings, buttons, ribbons, images, and more.
The process of adding custom blocks to the table cells is completely similar to the process of adding blocks to the Gutenberg editor. The plugin is extremely lightweight, which can have a very minimal impact on the site’s performance.
Tableberg provides advanced functionalities like cell merging, stylization, responsive controls, and a template library. It comes with a very user-friendly interface that doesn’t require any complex learning curve. You can create tables using this plugin like a pro from the very first day.
Tableberg works seamlessly with the PostX Gutenberg plugin. If you wish to give life to your bland looking blog, Try PostX.
How to Create Tables in WordPress with Tableberg
As already said, you can create different types of tables with the plugin. But for this tutorial post, we’ll show you how to create a pricing table with Tableberg. Keep reading!
Step 01: Install and Activate the Tableberg Plugin
Log in to your WordPress dashboard. Navigate to Plugins > Add Plugin. Type Tableberg in the search box. Once the plugin appears, install and activate it.

Step 02: Add the Tableberg Block to the Editor
Once the plugin is installed, it adds a block, named Tableberg, to the WordPress block library. You need to add it to the Gutenberg editor.
Open a post or page. Find the Tableberg block and add it to the editor.

Once the block is added, set the number of rows and columns you want for the table. Then, click the Create button.

We have created a table layout with three columns and two rows.
Step 03: Start Adding Content to the Table
Give names to the table columns. Usually, a price table covers multiple plans in different columns. So, give names to the columns based on your pricing plans.

Step 04: Add Blocks to the Table Cells for Displaying Pricing Information
Each cell of the table includes a plus (+) icon by which you can open the block library and add the block you want to the table.

By using the paragraph block, add pricing to the columns of the table.
Now, to colorize the pricings, select the entire pricing text > click the More option on the toolbar > select the Highlight option.

You’ll get the option to choose a color for the pricing text. Select a color.

You’ll see that the color of the pricing text has been changed.
Step 05: Add Features for Each Pricing Package
The best way to list the features is using the List or Styled List block. As a free user, you’ll have access to the List block. To unlock the Styled List block, you must upgrade to the premium version of the plugin. Similarly, the plugin has many blocks for which you need to upgrade to the premium version.
Find and add the List block to the table.

Once the List block is added, list the features of the pricing package.

In this way, add features to all the other columns of the table.
Step 06: Add Buttons to the Pricing Table
Add the Button block to the table. Whenever you add a new block, it will automatically appear below the existing blocks.

Once the block is added, a default button will be displayed. You have to write copies and customize it.

After you have added a copy, you can stylize its text color, background color, and hover background color. Do it.
In the same way, add as many buttons as you want to the table columns and stylize them individually.

Step 07: Add Spaces Between the Table Block
Now, you may want to add spaces between the blocks of the table. To do this, select the entire Tableberg block by clicking the icon on the toolbar. Go to the Styles tab.
Come to the Block Spacing option by scrolling the column. Set a spacing value by dragging the option there, which will instantly create a space in between the blocks on the table.

Thus, you can create a pricing table.
Step 08: Upgrade to the Premium Version to Add More Blocks to the Table (Optional)
With the free version, you can create only a basic version of the table. To unlock advanced blocks, you need to upgrade to the premium version of the plugin.
Here’s a quick guide on how to upgrade the Tableberg license. You can get the premium version of the plugin by clicking the button attached below.
Step 09: Add a Ribbon to the Table
Add the Ribbon block to your desired column on the table.

From the Settings tab, select a Ribbon Type, Shape, and Position for the block.

From the Styles tab, select a color for the icon and its background to change them.
Step 10: Add Ratings to the Pricing Table
By using the Star Rating block, you can showcase the popularity of the pricing packages among the users. Add the Star Rating block to a column.

From the Settings tab on the right, you can set a value for the block, select the number of stars to be displayed, and the star size. Do these.

Add the star rating block to all the columns of the table.
Step 11: Add a Background Color to a Column
By adding a background color to a particular column, you can let customers know which one is the most popular pricing plan.
To do this, select a column, go to the Styles tab, and choose a color for the [PRO] Col Background Color section.

Step 12: Hide the Table Borders
Hiding the Table border could be an effective stylization. Select the entire table by clicking the Tableberg icon on the toolbar.
Then, go to the Styles tab on the right sidebar.

Come to the Table Border options by scrolling to the Styles tab. Set the value 0 in both of these options. You’ll see the table border has disappeared.

Step 13: Preview the Table
Now, go to the frontend of the table. Check if it looks perfect or not.

Thus, you can create a pricing table simply on your website using the Tableberg plugin.
Conclusion
Tableberg is honestly a comprehensive table builder plugin. You can do a lot of customizations to the table that have not been possible to showcase in this short tutorial.
But as we said, the plugin is so simple and easy to use that you can explore all the features yourself without any hassle.
In the case of any problem or to satisfy any of your queries, you can reach out to the plugin developer through email or social channels.
They are very prompt at replying. Besides, you can try the basic version of the plugin. Once you love it, you can upgrade to the premium version any time.

