
Here’s how to create a custom single post template using the PostX Dynamic Site Builder:
How to Create a Single Post Template using the Dynamic Site Builder
1. Go to WordPress Dashboard [You need to have the PostX plugin installed on your WordPress website – check out the installation doc to learn more].
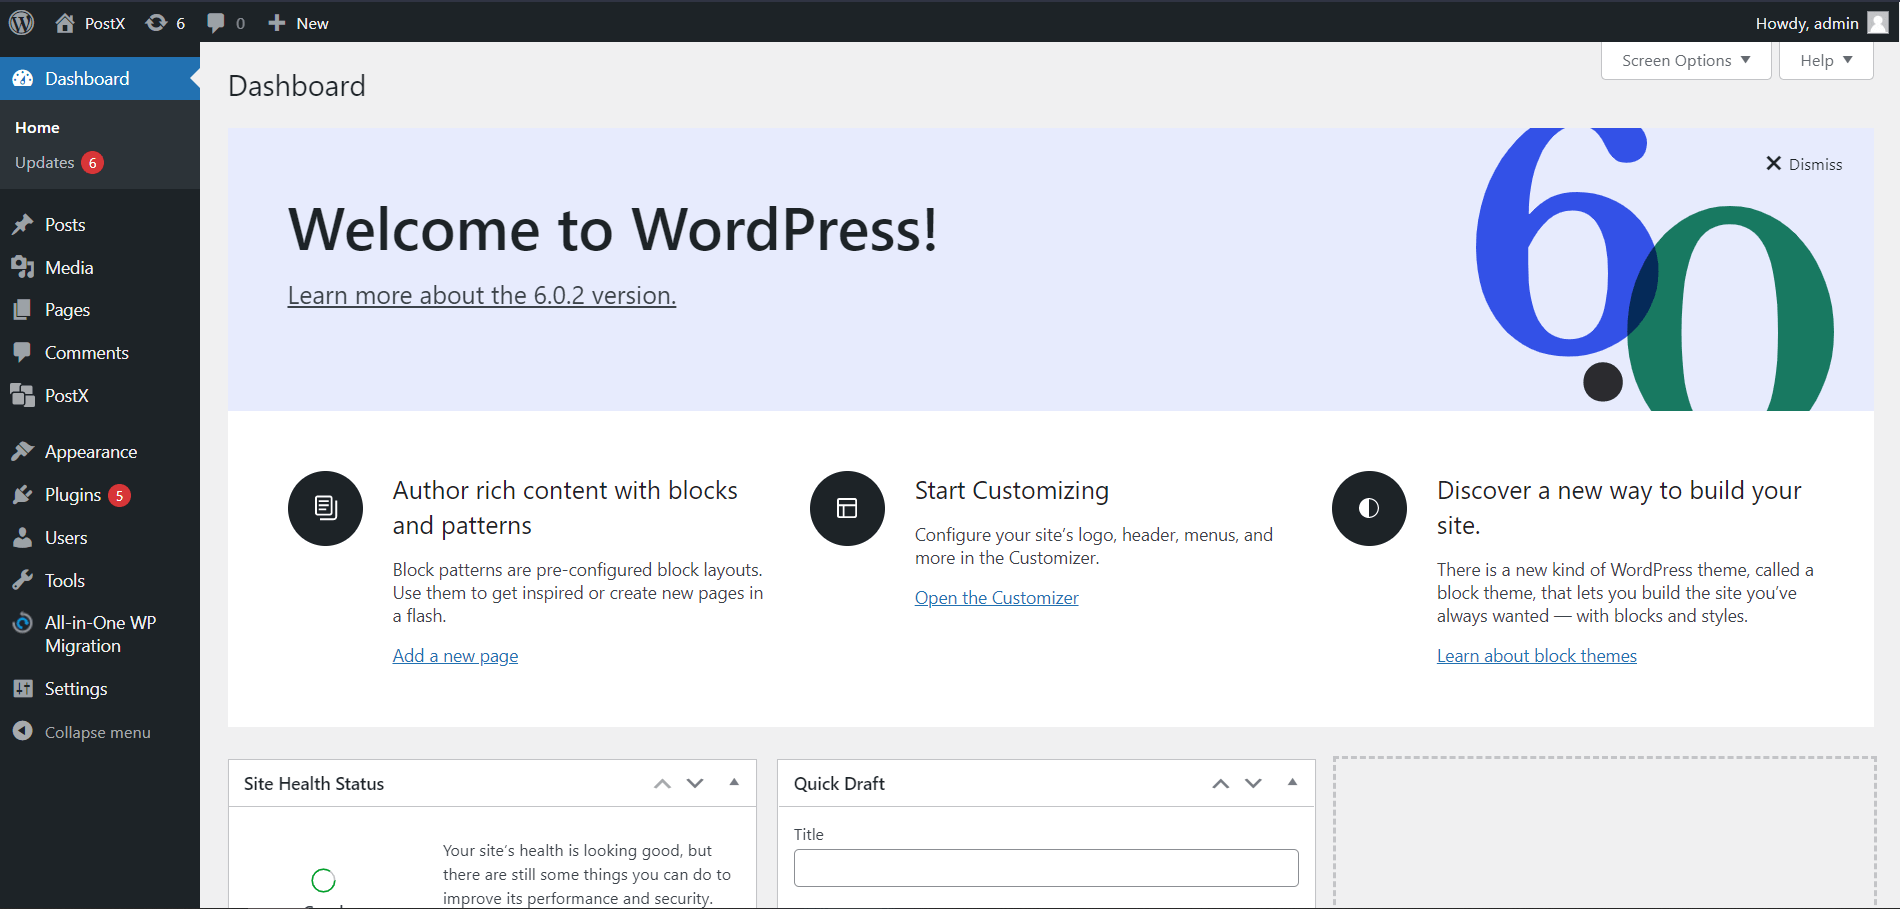
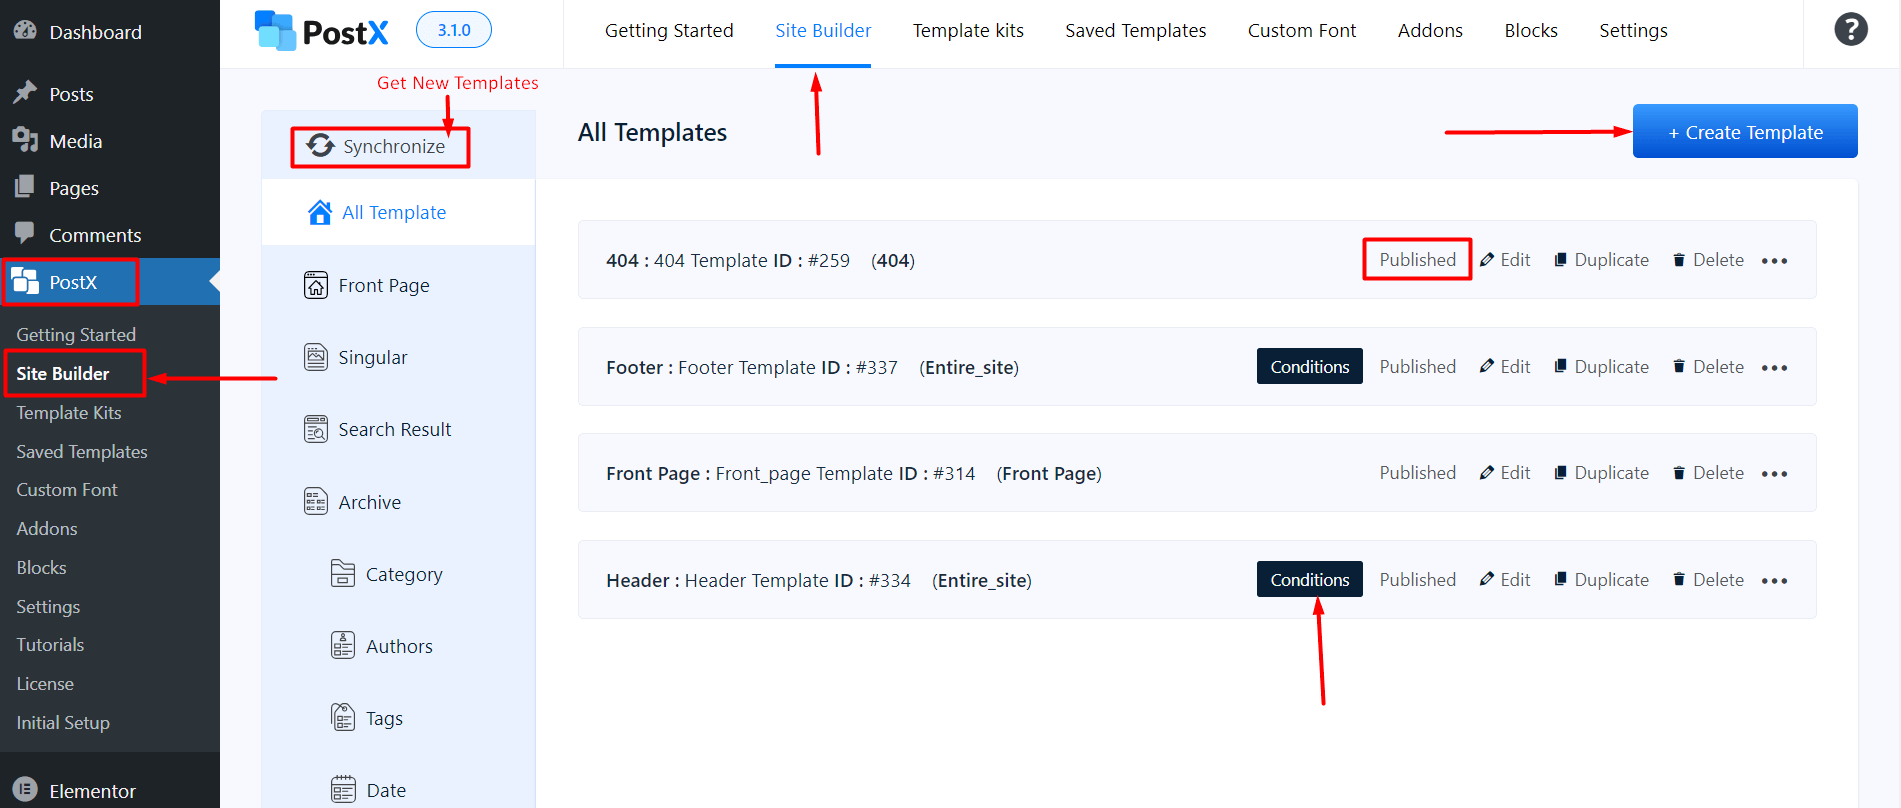
2. From the WordPress dashboard, click on PostX > Site Builder.
Note: Use the synchronize button to access newly published pre-made templates. In the site builder dashboard, if you have published templates, you can see the page template status. Also, you can use the three dots to access additional settings. If you click on the Conditions button (for a specific page), you will be able to change the condition to that particular page. Check out the image below:
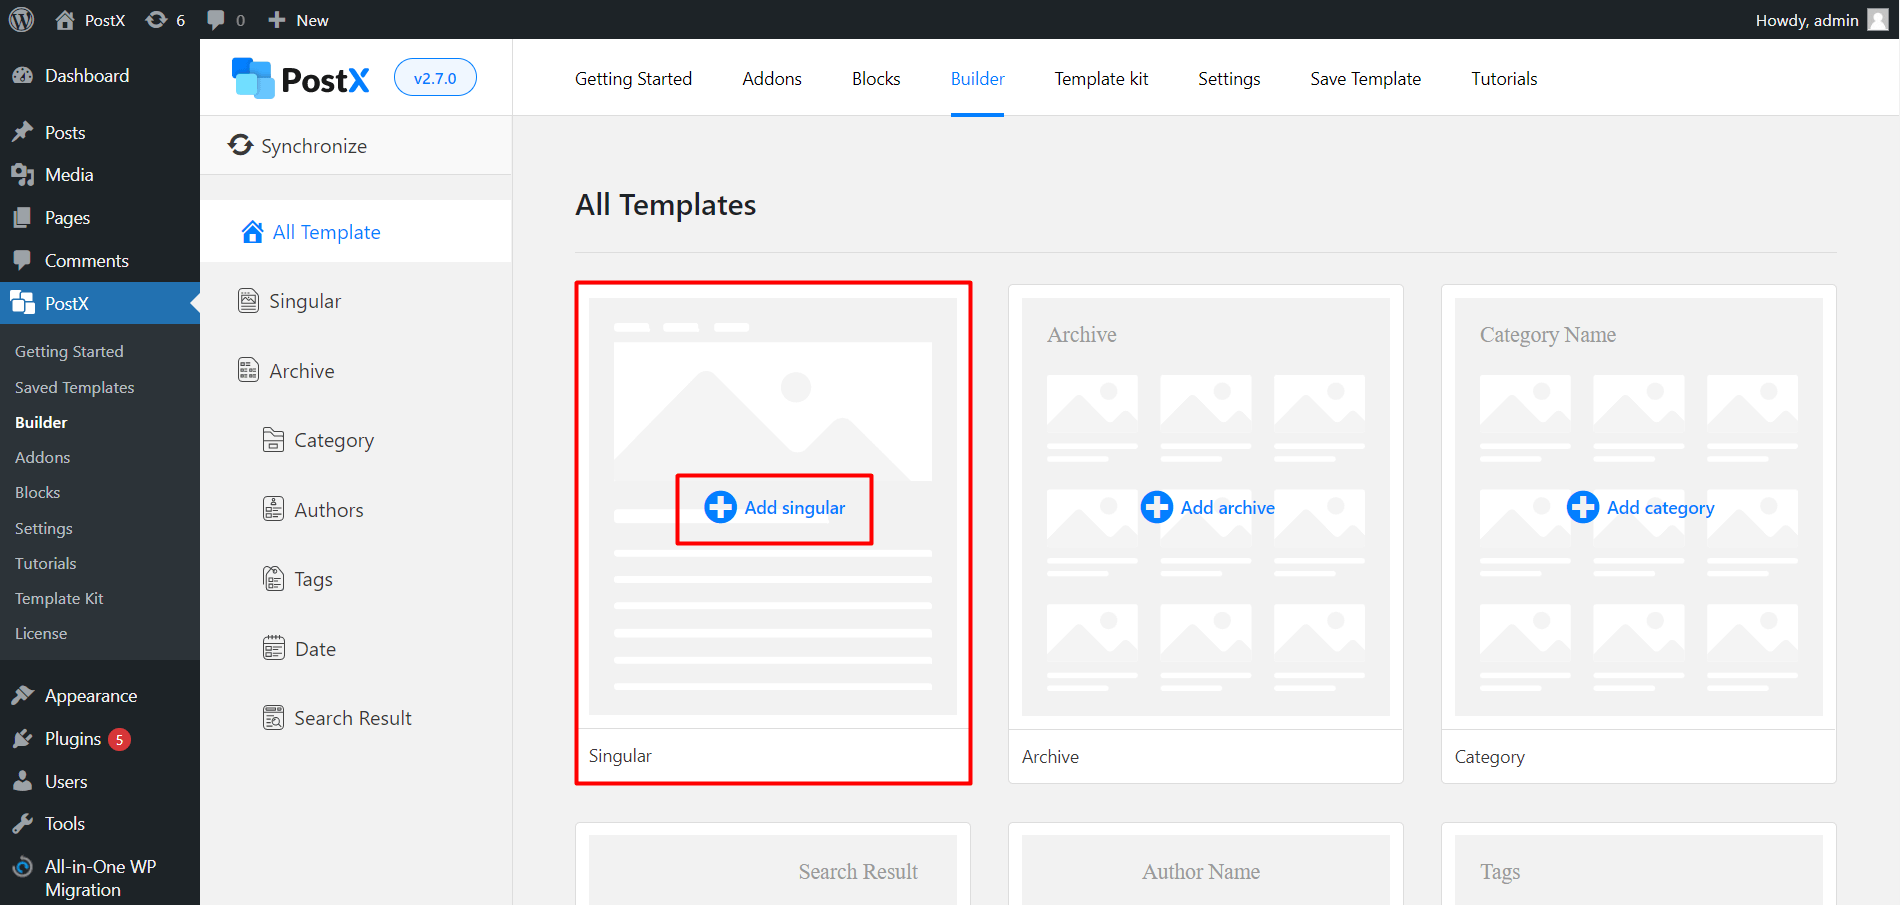
3. Select Add Singular [This is for first time creations, otherwise, you will see the published templates in the All Templates section].
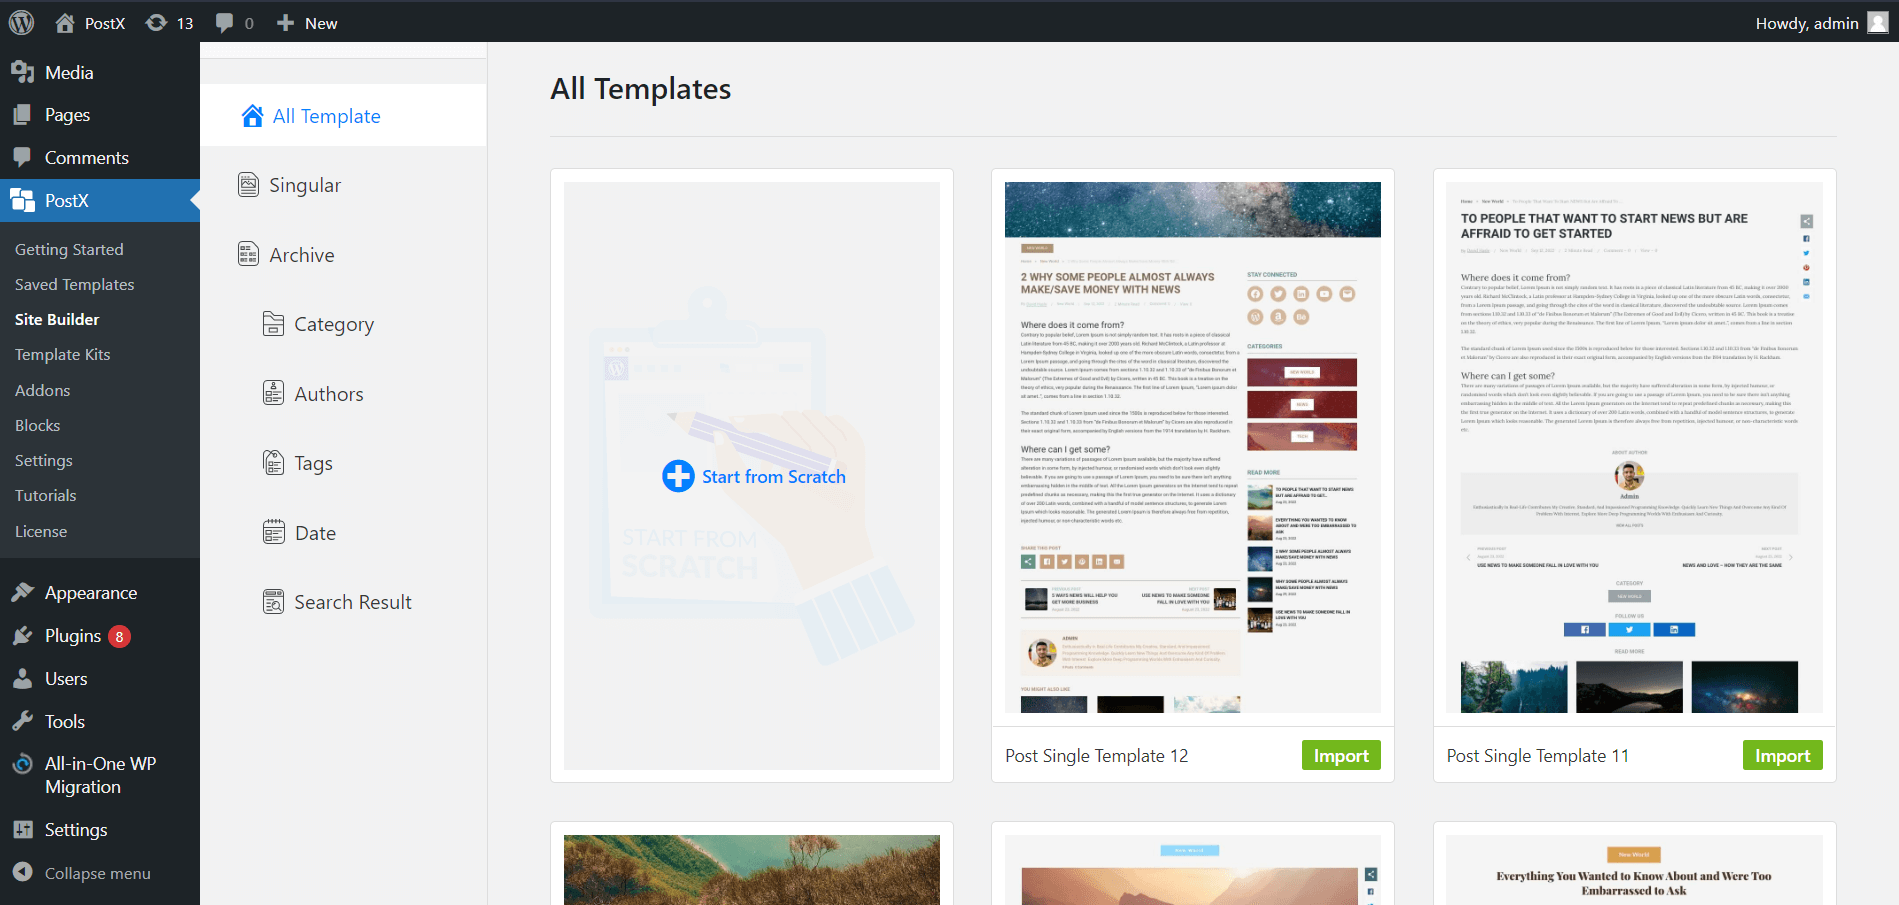
4. Select Start from scratch (if you want to make it from scratch) or Import a pre-made template (if you want a premade template).
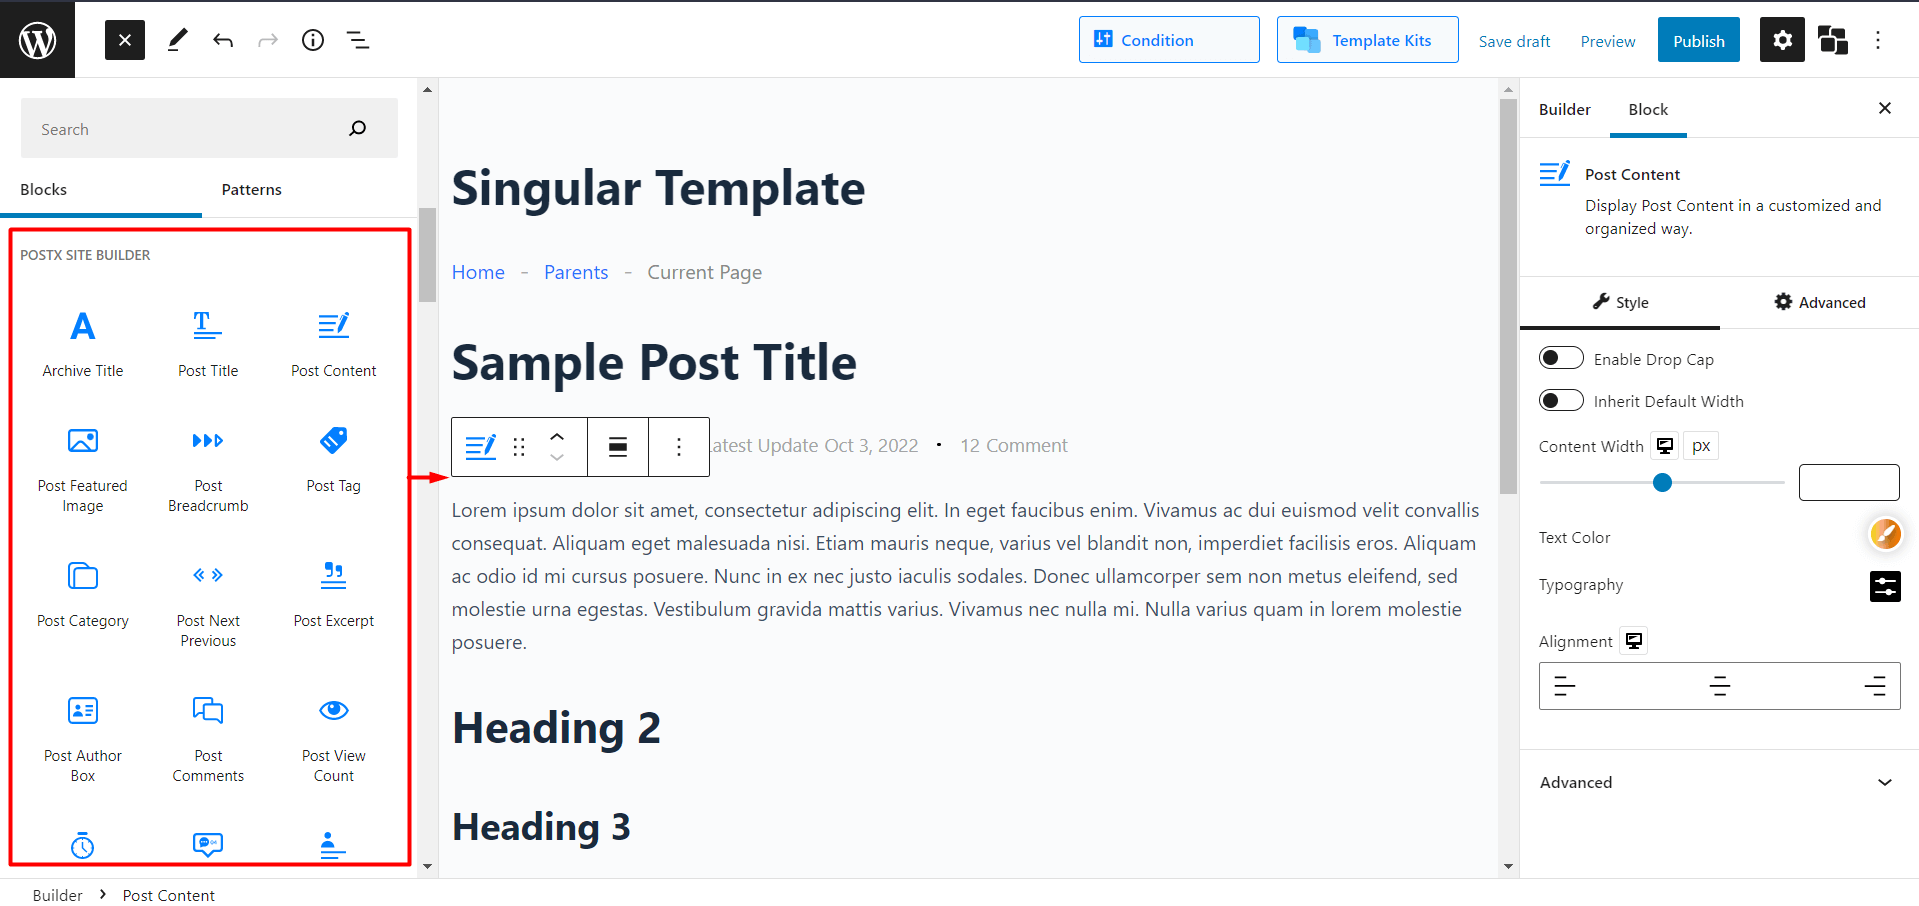
5. Name your Template, then Click the plus icon (toggle block inserter), Add your desired Blocks to create your page.
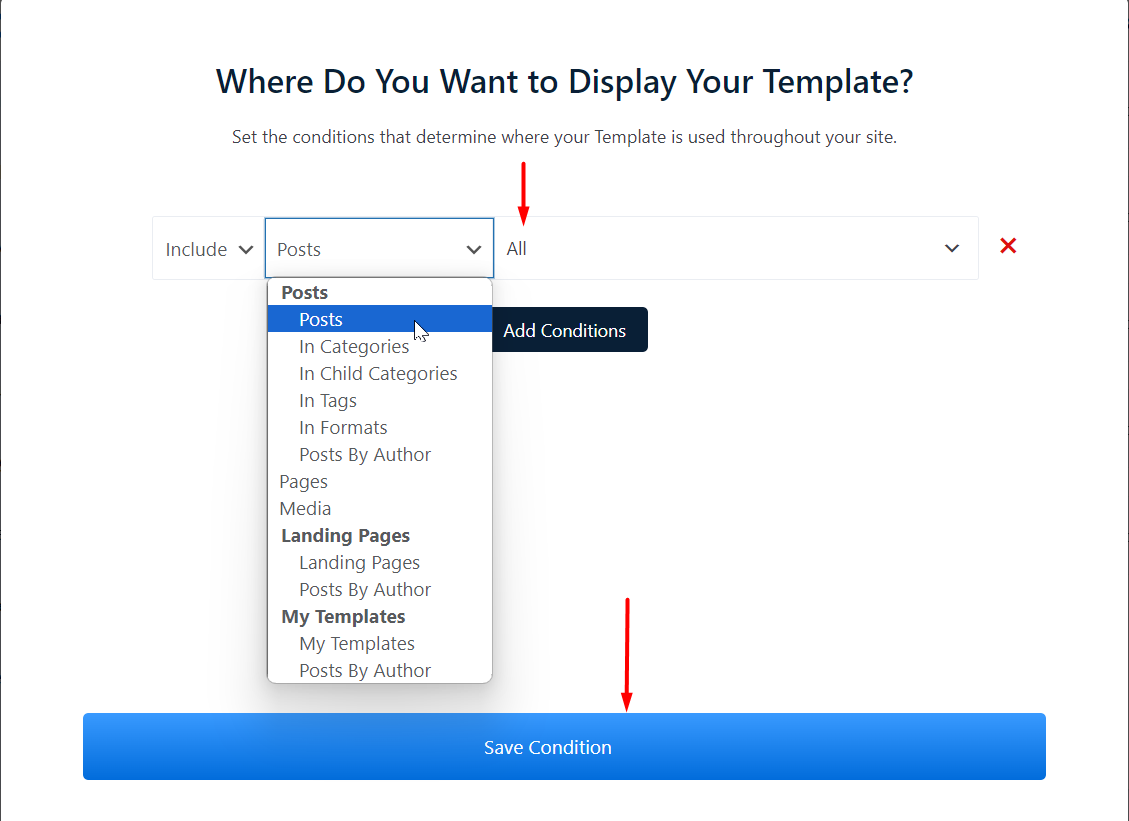
6. Now hit Publish. You will see a popup box of “Where Do You Want to Display Your Template?” Here Select Include; Select Posts and then select All (You can add multiple conditions by clicking Add Conditions). Select Save Condition and Exit the Popup box by clicking the Cross (X) button.
You can change the conditions using the dropdowns. You can also add new conditions to show templates in very specific pages:
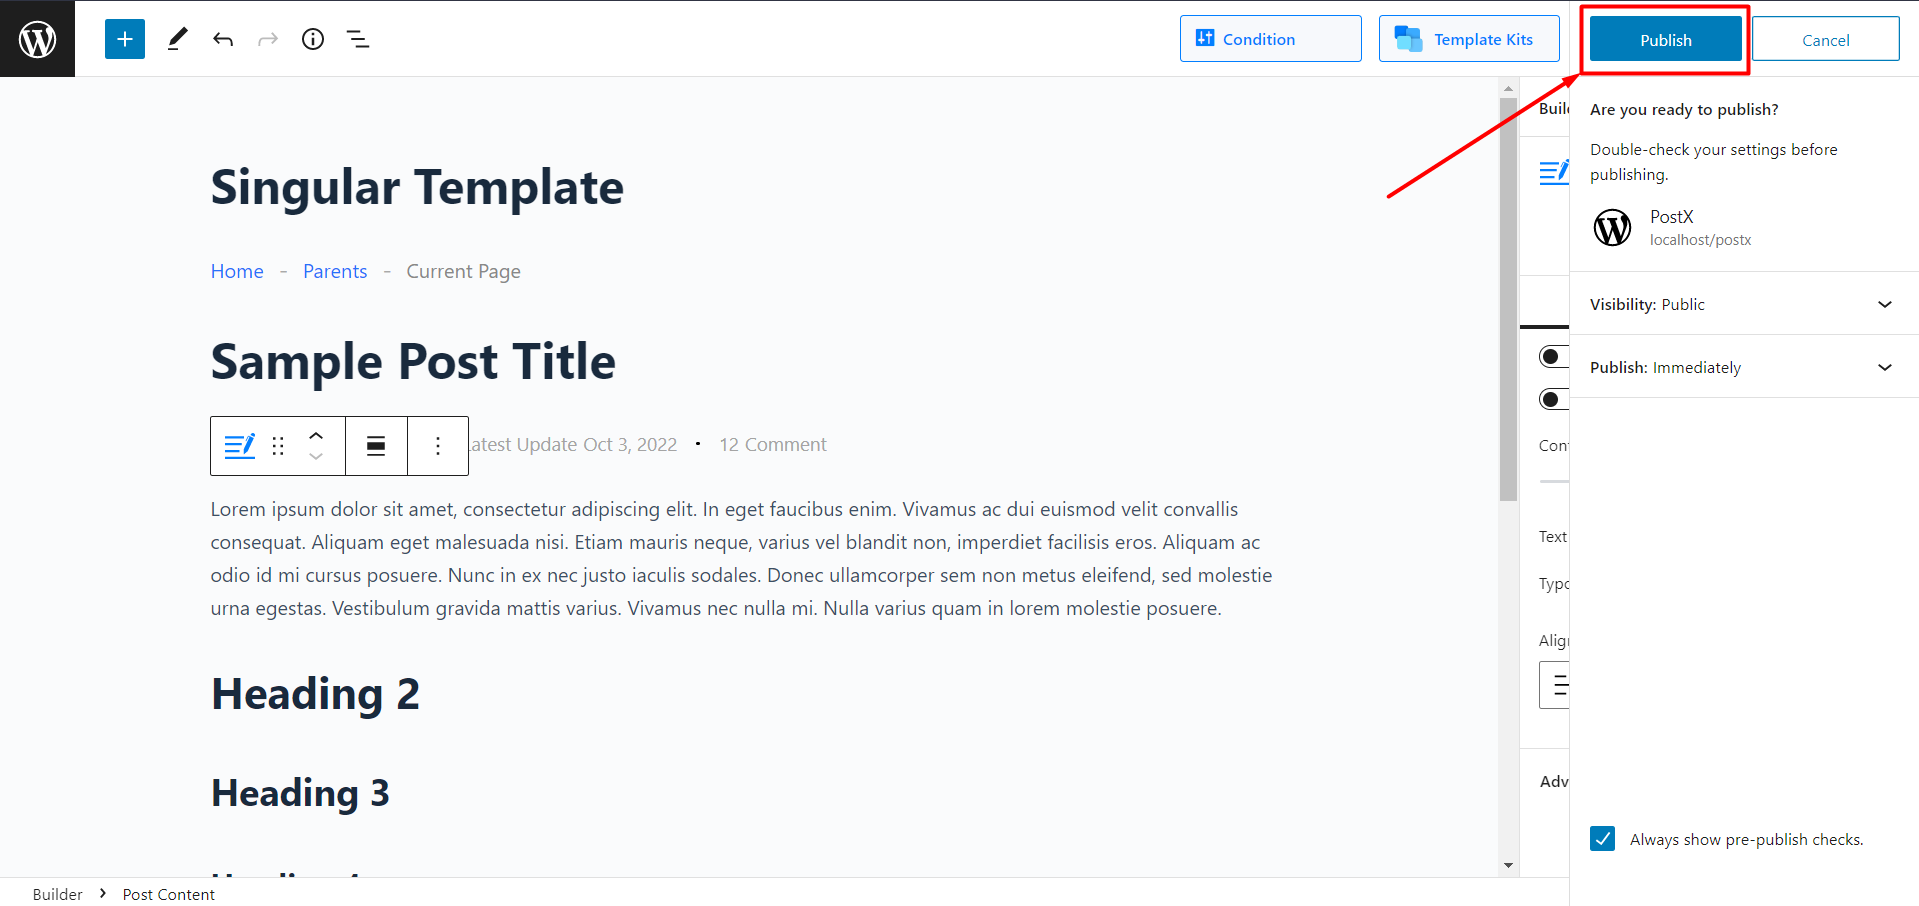
7. Click Publish.
And you have successfully created your custom single post page template. Now all your posts will look like the following: